
- 5 Tools Every Homeowner Should Own (But Most Don’t) - June 2, 2025
- 5 Upcoming Tools That Will Make DIY Projects Easier - June 1, 2025
- I Built a Sauna in My Backyard – No Kidding - June 1, 2025
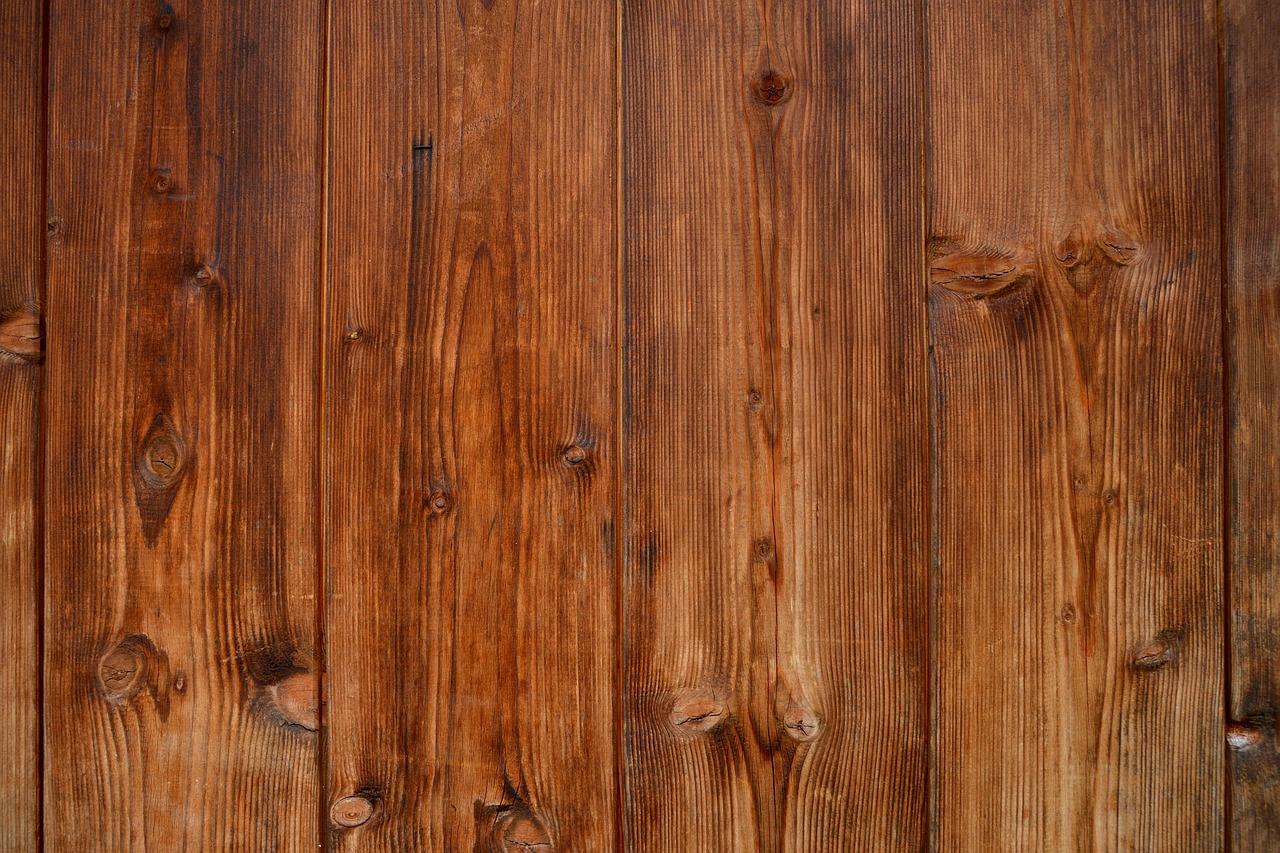
The Secret Life of Wood: Not All Boards Are Equal

If you thought all wood behaves the same when it’s time to stain, brace yourself for a surprise. Each wood species has its own personality—some soak up stain like a thirsty sponge, others resist like they’re wearing a raincoat. Softwoods such as pine, fir, and cedar are notorious for their hungry pores, often absorbing up to 50% more stain than hardwoods like maple or oak, according to the Wood Products Council. It means your favorite shade might look dramatically different on one board compared to another. This can be both inspiring and frustrating, especially if you’re aiming for a uniform look. It’s why professionals always advise testing stain on a scrap piece before committing to the whole project. Failing to account for wood type can result in uneven color, splotches, or a tone that’s much darker than expected. Knowing your wood is like knowing your dance partner—understanding its moves can save you from a lot of missteps.
Sanding: The Step Everyone Races Through (But Shouldn’t)
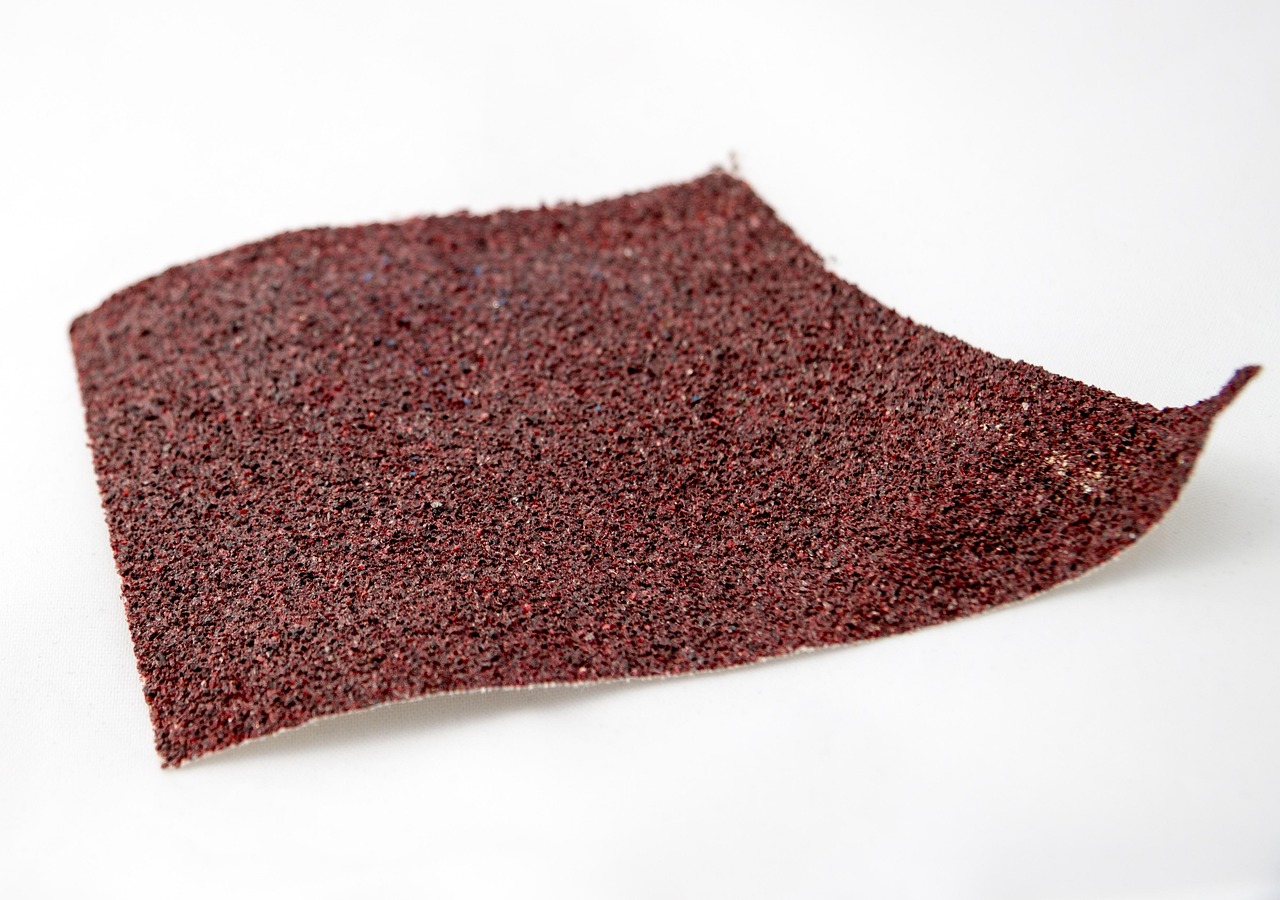
It’s tempting to rush through the prep work and get straight to the staining, but this is where most disasters begin. Sanding is not just about smoothing the surface; it’s about opening up the wood’s pores so stain can settle in evenly. The National Wood Flooring Association found that sanding to a fine finish not only enhances stain absorption but also prevents unsightly blotches and streaks. Skipping grades or using a dull sander can leave behind scratches that become glaringly obvious once the stain goes on. A proper sanding job, ending with 180- or 220-grit sandpaper, can make even the cheapest wood look elegant. And don’t forget to wipe away all the dust—a tack cloth works wonders. Many folks don’t realize that a single missed step here can turn a dream project into a patchy nightmare.
Pre-Stain Conditioners: The Unsung Heroes
Few DIYers talk about pre-stain conditioners, but they’re a game-changer, especially with blotch-prone woods like pine, birch, or cherry. These products act like a primer, soaking into the wood and partially filling in the pores to ensure the stain absorbs more evenly. Using a conditioner can mean the difference between smooth, even color and a result that looks like a leopard print. According to the American Wood Council, pre-stain conditioners reduce blotching by up to 70% on softwoods—an incredible improvement for such a simple step. Timing matters: apply the conditioner, let it soak in for about 15 minutes, then wipe off excess before staining. Skipping this step is one of the most common regrets among first-time stainers. If you’re after professional-looking results, don’t overlook this tiny bottle in the stain aisle.
Choosing a Stain: Oil, Water, or Gel?

The world of stains is a lot bigger than most people realize. Oil-based stains have been the classic choice, known for their deep penetration and rich color, but they can be slow to dry and smelly to use. Water-based stains are easier to clean up and dry quickly, making them a favorite for indoor projects. Gel stains, thicker and more forgiving, are a lifesaver on tricky surfaces or vertical panels. Data from the American Coatings Association shows that nearly 60% of DIYers now prefer water-based stains for their convenience and lower odor. But here’s the catch: water-based stains can raise the wood grain, leading to a rougher feel unless you sand lightly after the first coat. Each type of stain has its sweet spot, and matching the product to your project can save you from sticky messes or disappointing colors.
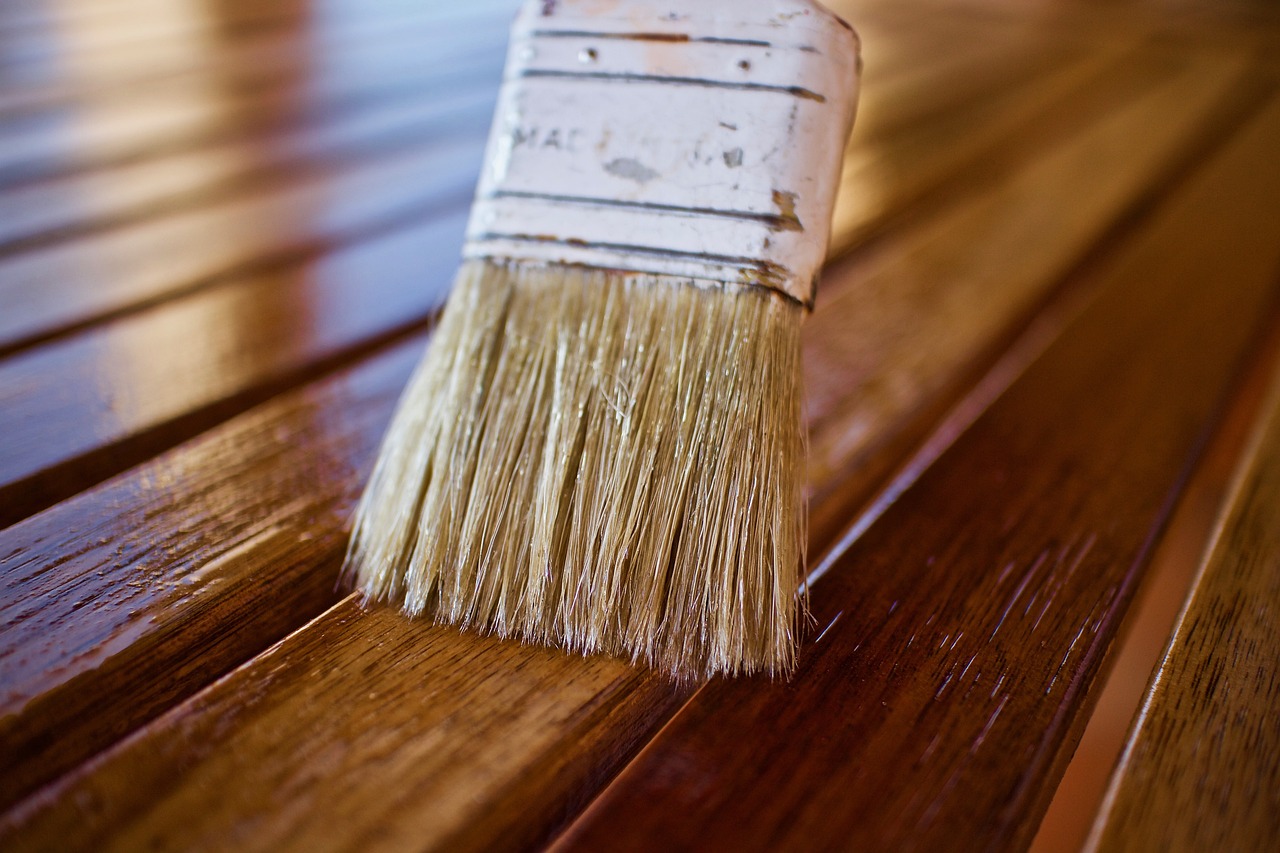
Application Techniques: More Art Than Science

It’s not just what you put on the wood—it’s how you put it there. Application methods can change everything about the final look. Brushes offer control and are great for getting into corners and grooves, but they can leave behind streaks if not used carefully. Rags and sponges provide a softer, more blended appearance and help prevent excess buildup. The Woodworking Institute found that applying multiple thin coats, rather than a single thick coat, leads to more even coloring and reduces the risk of runs and drips. Always work along the grain, not against it, to avoid unsightly marks. And don’t let the stain sit too long before wiping off the excess—timing is everything for even color. Many DIYers are shocked to see how different each application method can make the same stain look.
Timing and Weather: The Invisible Enemies

Staining wood isn’t just about what happens on the surface—temperature and humidity can make or break your project. Staining in weather that’s too cold or too hot can cause the stain to dry unevenly, leaving behind sticky or tacky patches. The Paint Quality Institute recommends working in temperatures between 50°F and 90°F (10°C to 32°C) and avoiding high humidity, which can slow drying times and promote blotchiness. Rushing between coats is a recipe for a gummy, uneven finish. Most stains need at least 24 hours to dry fully before a second coat, but in humid conditions, it can take even longer. These variables are often overlooked and can turn a weekend project into a weeklong headache.
Finishing Touch: The Protective Layer

Stain might bring out the wood’s beauty, but it doesn’t protect it from moisture, scratches, or sunlight. That’s where a clear finish comes in—polyurethane, varnish, or lacquer. Polyurethane is the most popular, known for its durability and water resistance, but it can add a yellowish tint to lighter stains. Varnish provides a classic look but can be more time-consuming to apply. According to the American Wood Council, adding a protective finish can extend the life of stained wood by up to 50%. Application is just as important as the product: apply thin, even coats and sand lightly between each one. Don’t skip the finish, or all your hard work could be undone by a single spill or scratch.
Common Pitfalls: Where Most Projects Fail

Every seasoned woodworker has a horror story about stain gone wrong. One of the biggest mistakes is not sampling the stain on a test piece of the actual wood you’ll use. This quick step can reveal unexpected color shifts or absorption issues. Applying too much stain at once, or failing to wipe off the excess, can lead to sticky messes and an uneven finish. A survey from DIY Network noted that 70% of homeowners admitted to struggling with uneven color because they didn’t follow the recommended application techniques. Another trap: not reading the product instructions carefully, which can result in incompatible stain and finish combinations. Taking shortcuts or skipping steps almost always leads to disappointment and extra work.
Maintenance: Keeping That Freshly Stained Look

Stained wood doesn’t stay beautiful on its own. Regular maintenance is essential to keep that fresh, rich look. Dust and grime can dull the finish, and sunlight can fade even the deepest colors over time. Cleaning with a mild soap and water solution every few months helps maintain the surface. Reapplying a clear finish every couple of years, especially on outdoor projects, can protect against water damage and wear. According to the National Association of Home Builders, well-maintained stained wood can last for decades, making all the effort worthwhile. Neglect, on the other hand, can lead to peeling, cracking, and a much shorter lifespan for your hard work.
Did You Know? Staining Can Be Reversible (Sometimes)

If you make a mistake or change your mind, you’re not always stuck with your first attempt. Light sanding or using a wood refinisher can sometimes remove or lighten stain, especially if caught early. This is a relief for many DIYers who fear ruining a piece forever. However, deep-penetrating oil stains are much harder to remove, so always test and proceed with caution. While full reversals can be challenging, knowing there’s a way back can make the process less intimidating and encourage creativity.
Staining: More Than a Weekend Project

Many people start a staining project thinking it’s a quick weekend job, only to discover it takes patience, planning, and a bit of artistry. From choosing the right stain to preparing the wood, applying it skillfully, and finishing with care, every step matters. The reward is a beautiful piece that’s uniquely yours—and the satisfaction of knowing you mastered a craft that few truly understand.