
- Avoid a Holiday Disaster with These Quick Repairs - June 4, 2025
- “These 5 DIY Wood Projects Are Trending Like Crazy Right Now” - June 2, 2025
- The Lazy Person’s Guide to Home Maintenance - May 31, 2025
A Surprising Start: The Courage to Build Without Blueprints

If you’ve ever stared at your bedroom floor and thought, “Could I really build my own bed frame from scratch?”—you’re not alone. I felt that same mixture of excitement and anxiety when I decided to take on this challenge, especially without any formal plans or the convenience of power tools. There’s something raw and thrilling about relying only on your hands, instincts, and a pile of reclaimed wood. The process was not just about saving money or being eco-friendly, but also about proving to myself that creativity and determination could stand in for fancy gadgets and professional instructions. As I stood in my garage, surrounded by mismatched planks and a handful of basic tools, I realized that sometimes the best projects are the ones that start with nothing but an idea and a willingness to try.
Gathering Materials: Turning Scrap Into Treasure

Finding the right materials was the first big step, and it set the tone for the entire project. I made a conscious choice to use reclaimed wood, which I collected from local salvage yards and even a few construction sites willing to part with scraps. This approach not only kept costs low but also made the bed frame more environmentally friendly. According to the EPA, using recycled building materials can reduce landfill waste and save significant amounts of energy. I needed about ten pieces of wood, mostly 2x4s, plus some screws and wood glue. Each plank had its own character—some with weathered edges, others with knots that told their own story. Gathering these materials felt like assembling a puzzle where every piece had a past and a purpose.
Designing Without Plans: Trusting My Instincts
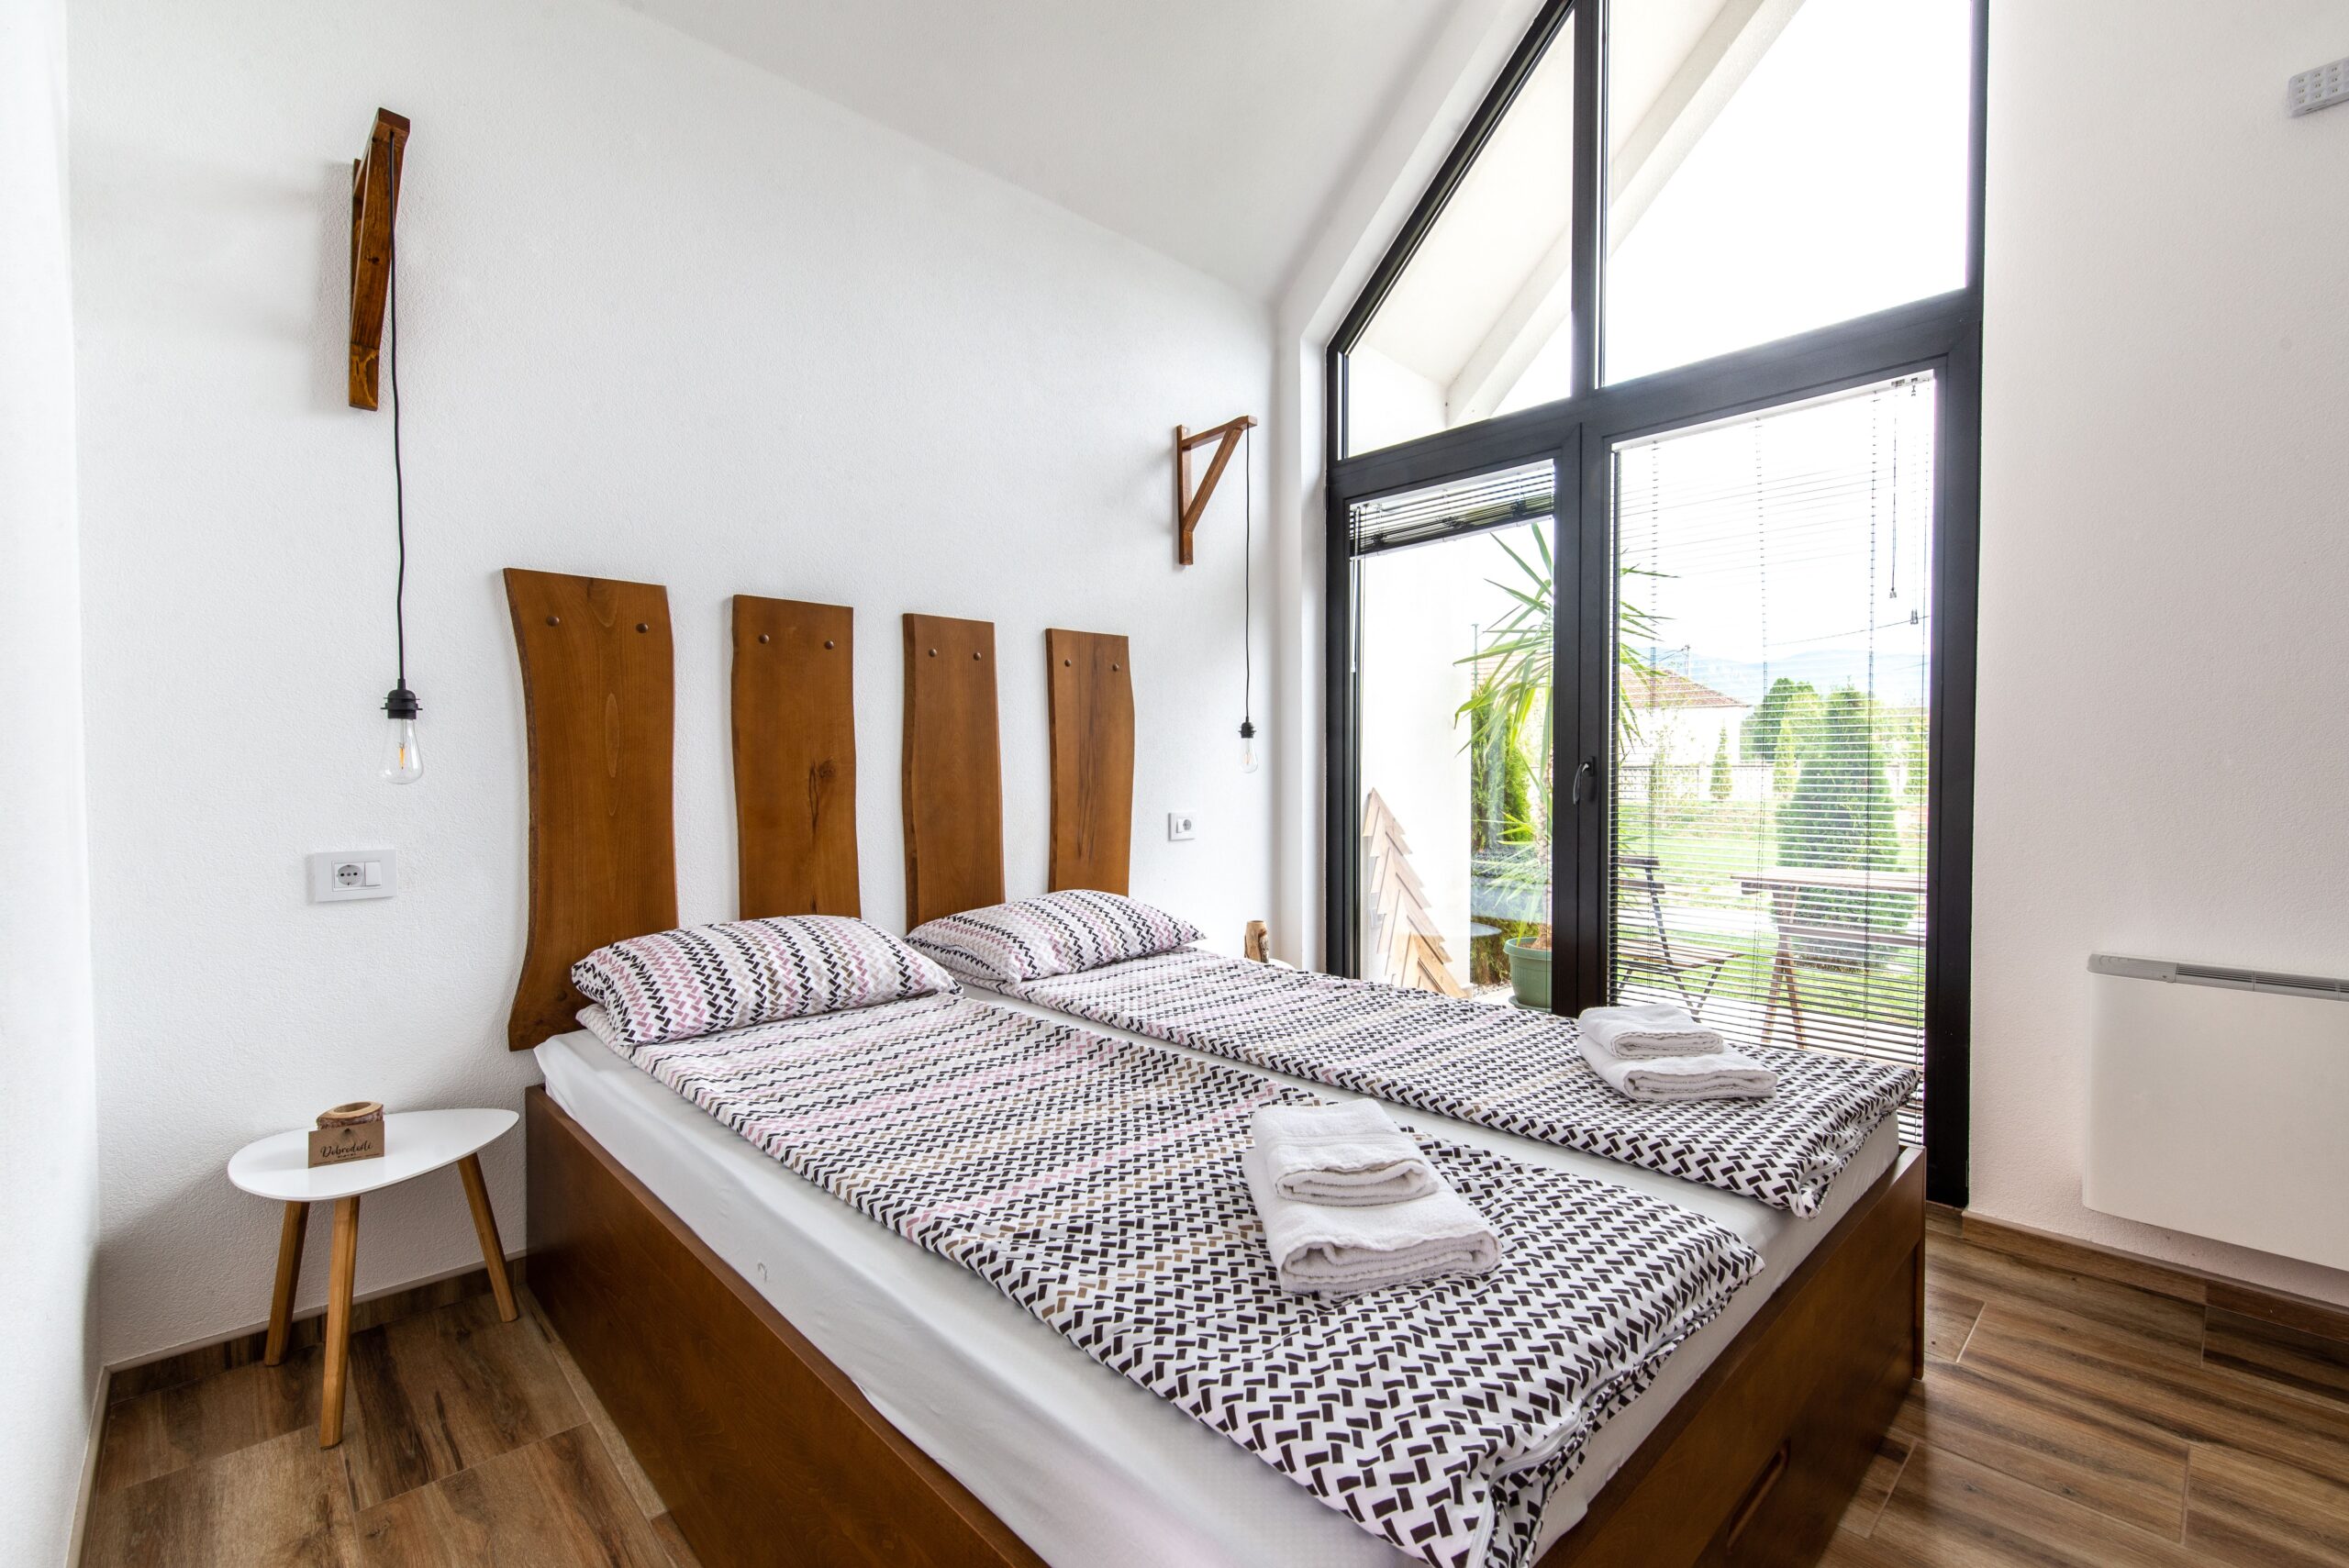
Without a formal blueprint, I had to shape the vision for my bed frame using nothing but rough sketches and a lot of imagination. I opted for a simple, sturdy platform bed—low to the ground and minimalist in style. The finished size needed to fit a queen mattress, so I measured out 60 inches by 80 inches for the frame. Instead of obsessing over every detail, I focused on the essentials: stability, support, and a clean look. Studies from the furniture industry have shown that platform beds remain popular for their sleek appearance and practical benefits, especially for small spaces. My approach was flexible, allowing for adjustments as I went along, which kept the process creative rather than stressful.
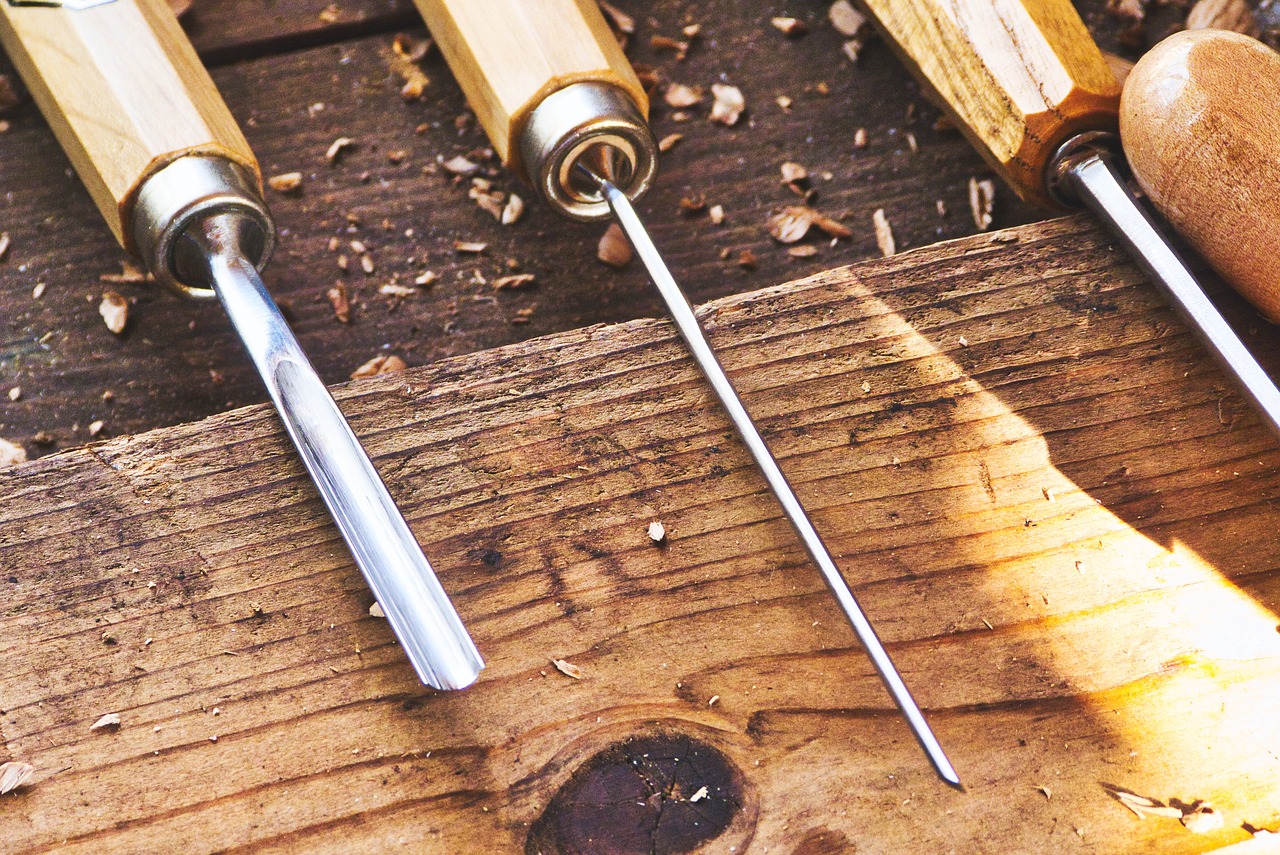
Manual Cutting: Embracing the Hand Saw
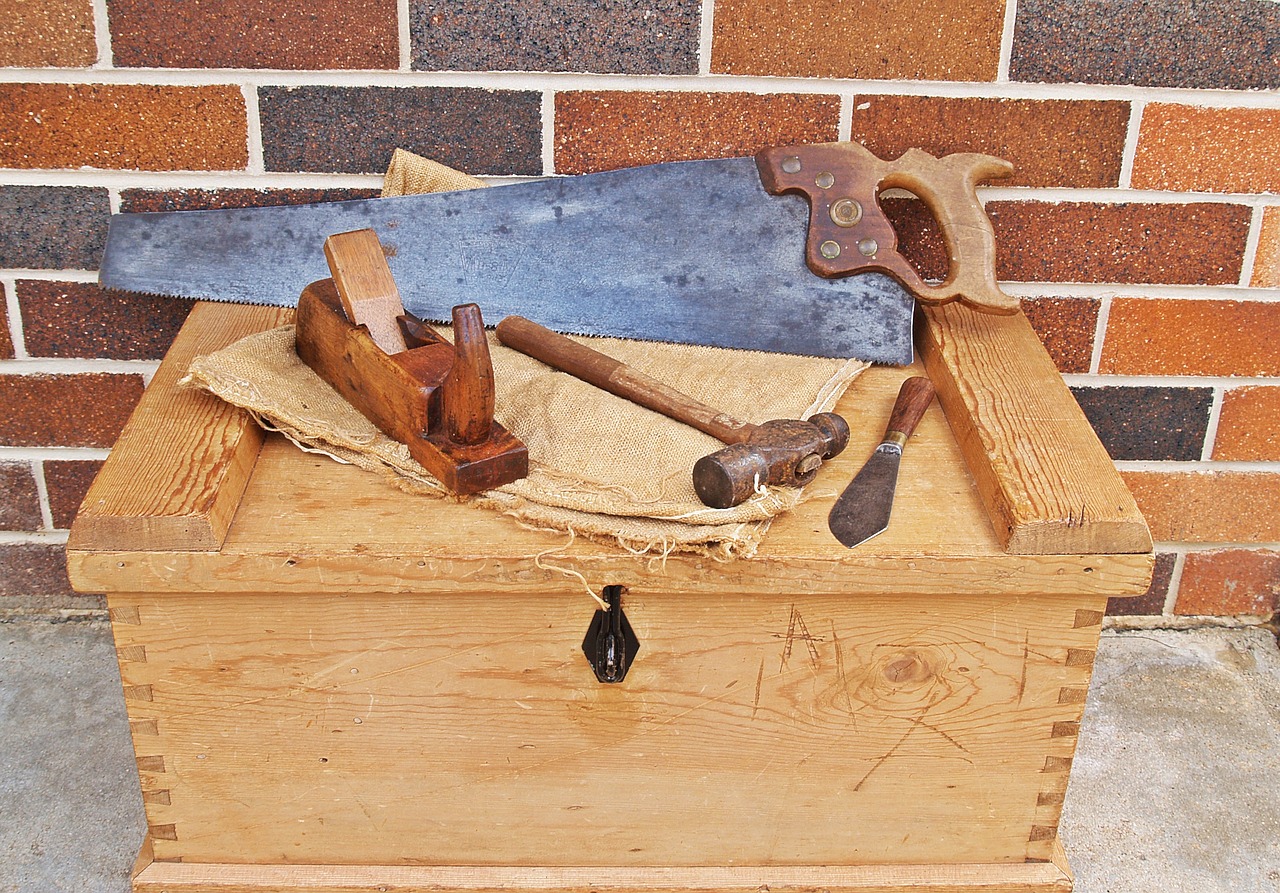
Cutting the wood without power tools was, honestly, hard work. I relied on a trusty hand saw, measuring and marking each cut with extra care. Every stroke required patience and attention, and I quickly learned that a steady rhythm worked better than brute force. According to the Home Improvement Research Institute, hand tools can be just as effective as power tools for small DIY projects, and they give you a sense of connection to the materials. My arms ached, but I found satisfaction in the physical effort—it was like each cut brought me closer to the finished product, shaping the raw planks into something purposeful.
Assembly: Piecing It All Together
Building the frame was the most nerve-wracking part. I started by laying out the planks into a rectangle and double-checking the corners for squareness. Using a drill for pilot holes (the only concession to modern tools), I fastened the joints with wood glue and screws, making sure every connection was tight. Next, I added a central support beam to keep the frame from sagging. Research from the Sleep Foundation highlights the importance of a strong, stable base for mattress longevity and sleep quality. This step took a steady hand and some creative problem-solving, especially when two mismatched boards needed coaxing to fit together.
Securing the Slats: Support That Lasts

With the frame sturdy and square, I turned my attention to the mattress slats. I cut several thinner strips from the remaining wood, spacing them evenly across the frame. These slats allow air to circulate and support the mattress, which according to sleep experts, can help prevent mold and extend both mattress and frame life. I attached each slat with screws, checking that there was no wobble or flex. The process was repetitive but satisfying—each new slat was a small victory in the march toward a finished piece of furniture.
Sanding and Finishing: Bringing Out the Beauty

A rough, splintery bed frame wouldn’t do, so I spent hours sanding every surface with medium and then fine-grit sandpaper. The transformation was remarkable—edges softened, and the wood’s natural grain started to emerge. To protect the wood, I applied a coat of natural oil finish. According to the American Wood Council, finishing wood helps prevent damage from moisture and daily wear, making it a vital step for any DIY furniture. The scent of the oil and the warm glow it brought to the planks made all the hard work feel worthwhile.
The Final Touch: Assembling and Placing the Bed

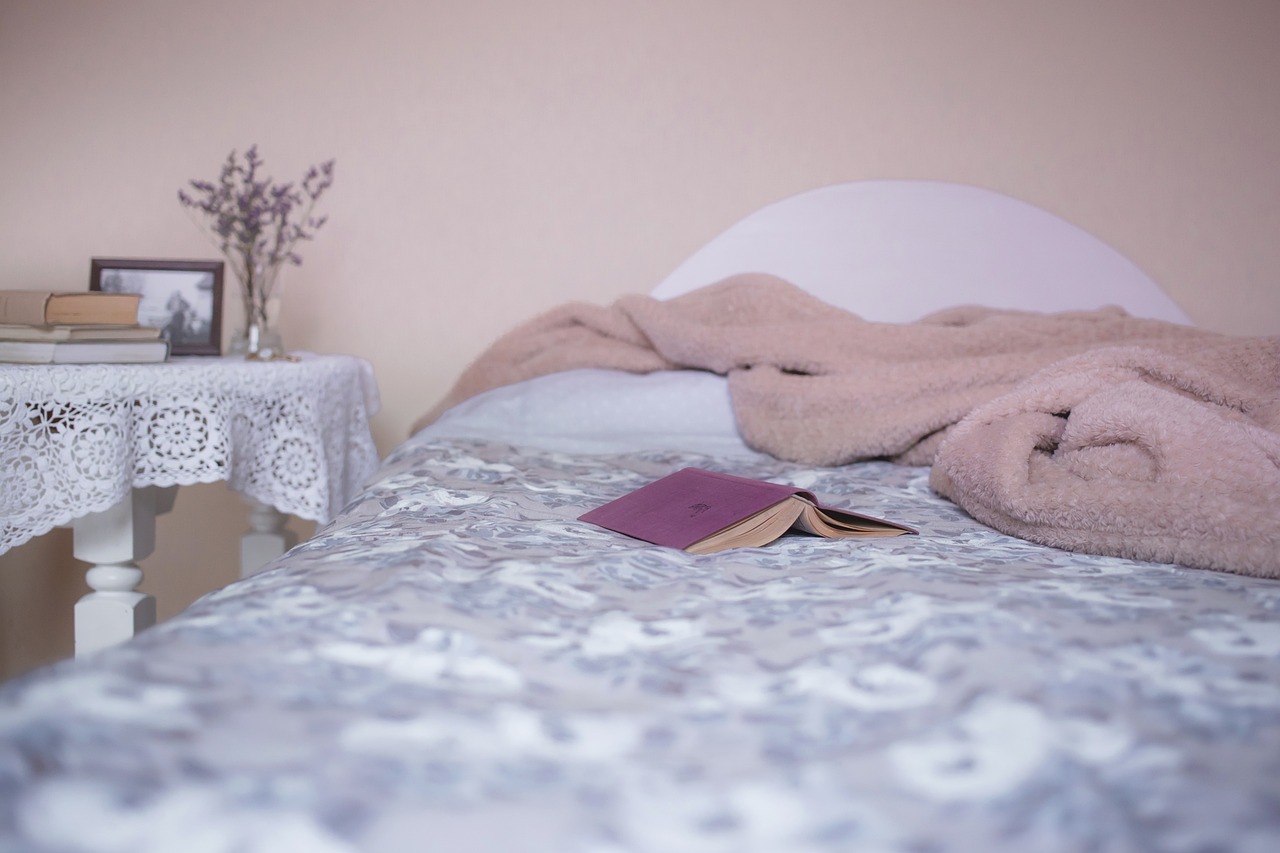
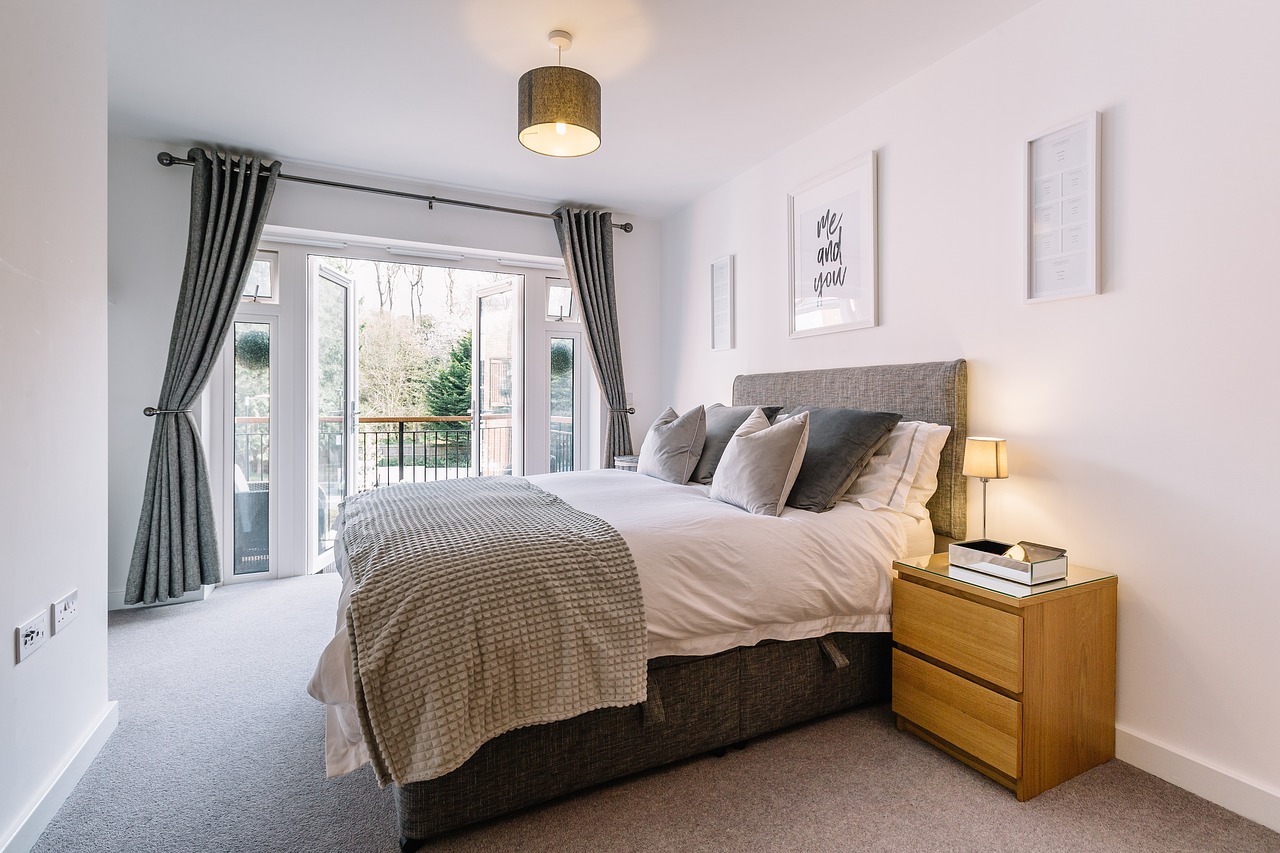
When all the parts were dry and ready, I carried the frame into my bedroom piece by piece. I assembled it in place, making sure it was perfectly level and centered. Lifting the mattress onto the new frame was a thrilling moment—the creak of the wood and the solid feel underfoot told me I’d built something truly sturdy. According to a National Sleep Foundation survey, a good bed frame can dramatically improve sleep quality by providing consistent support and eliminating annoying squeaks. Standing back and seeing the finished bed in my own room was a moment of pure pride.
What I Learned: Patience, Creativity, and Satisfaction
Reflecting on the project, I realized that building a bed frame without plans or power tools taught me more than just woodworking. It demanded patience—every step took longer without shortcuts. It required creativity, especially when the materials didn’t fit together perfectly. And above all, it gave me a deep sense of satisfaction. There’s something powerful about sleeping on a bed you built yourself, knowing that every joint and surface was shaped by your own effort. As I lay down that first night, I couldn’t help but smile, knowing I’d turned a pile of scrap wood into a place to rest and dream.