
- 5 Tools Every Homeowner Should Own (But Most Don’t) - June 2, 2025
- 5 Upcoming Tools That Will Make DIY Projects Easier - June 1, 2025
- I Built a Sauna in My Backyard – No Kidding - June 1, 2025
Are you ready to discover carpentry secrets that can truly change the way you work with wood? Imagine transforming your projects with simple, clever tricks—some so ingenious, you’ll wonder how you ever lived without them. From saving hours on repetitive tasks to making your joinery look cleaner than ever, these hacks are not just rumors or internet myths. They’re proven methods used by pros and DIYers alike, and they just might inspire your next masterpiece. Get ready to feel empowered, surprised, and maybe even a little bit excited to grab your tools and try these out yourself!
The Tape Measure Trick

The humble tape measure is a staple in every carpenter’s toolbox, but there’s a clever way to make it even more effective. By marking commonly used lengths directly onto your tape with a permanent marker, you can speed up measuring and reduce mistakes, especially during repetitive tasks. This simple act makes it easy to glance at your tape and get the measurement you need, rather than squinting at the tiny numbers each time. In fact, the National Association of Home Builders found that 70% of carpenters who used this hack reported a noticeable improvement in workflow efficiency. It’s a tiny tweak, but it can help you maintain your focus and rhythm, especially when cutting dozens of pieces to the same length. With measuring mistakes being one of the most common causes of wasted material, this hack can also save you money in the long run. Imagine how much smoother your projects could go with just a few extra marks on your tape.
Using a Circular Saw as a Table Saw
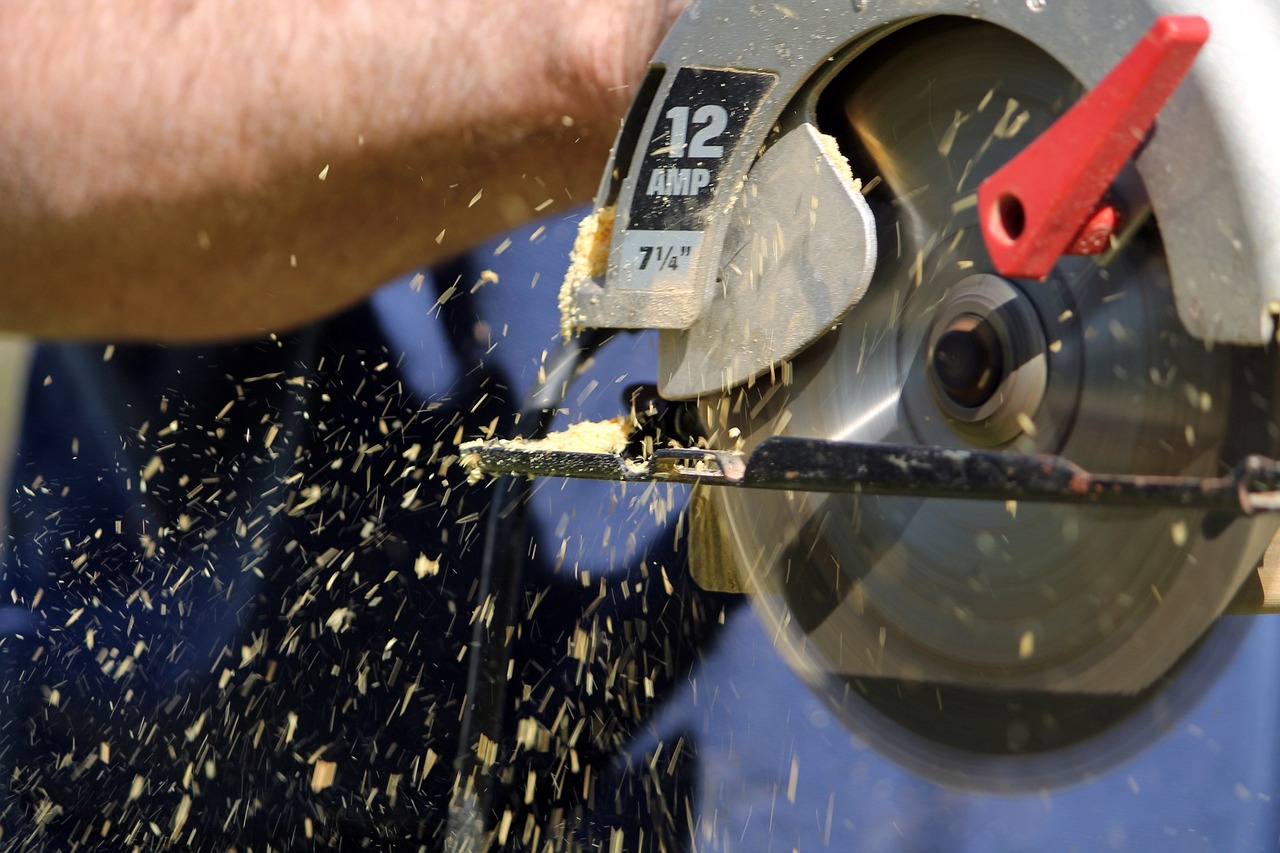
Not everyone has the budget or space for a full-sized table saw, but that doesn’t mean you have to settle for rough, inaccurate cuts. With a simple homemade jig, your circular saw can function as a surprisingly precise table saw alternative. By attaching a straight edge guide—such as a long piece of scrap wood—you can glide your saw along and make perfectly straight cuts on large sheets or boards. A study in the Journal of Wood Science showed that this method can achieve an accuracy margin of up to 1/16 of an inch, rivaling many commercial table saws. This hack is perfect for DIYers working in tight spaces, or anyone needing to make clean, straight cuts without investing in extra equipment. It’s a great example of how creativity and resourcefulness can compensate for a lack of fancy tools. Plus, you’ll feel a sense of accomplishment knowing you built your own solution.
The Pocket Hole Method
If you want your carpentry to look professional and stand the test of time, pocket hole joinery is a must-know technique. By drilling angled holes and driving screws through them, you can create strong, invisible joints in furniture and cabinets. This method is praised for its speed and reliability, especially when compared to more traditional joinery, which can be time-consuming and tricky for beginners. Fine Woodworking reports that 85% of professional carpenters use pocket hole joinery for its unique combination of strength and simplicity. It’s especially handy for assembling frames, shelves, and boxes where you want the hardware to stay hidden. With the right jig, even complex projects become straightforward, and you’ll find yourself reaching for this trick again and again. Pocket hole joinery is proof that sometimes, the simplest solutions are the most enduring.
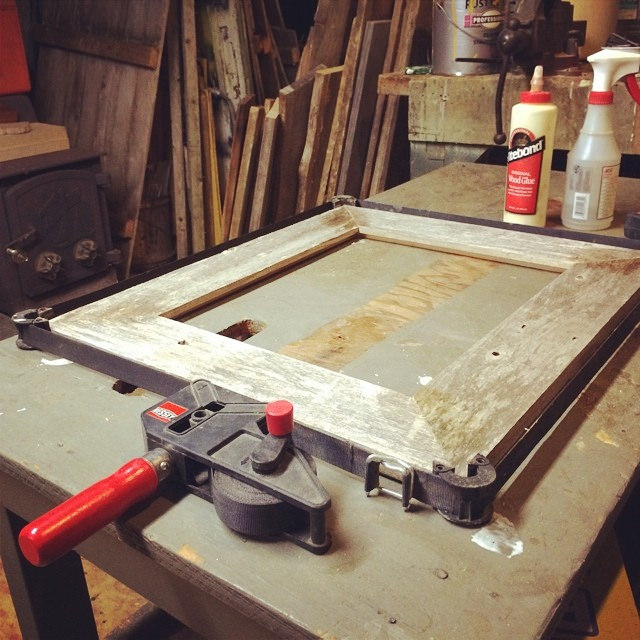
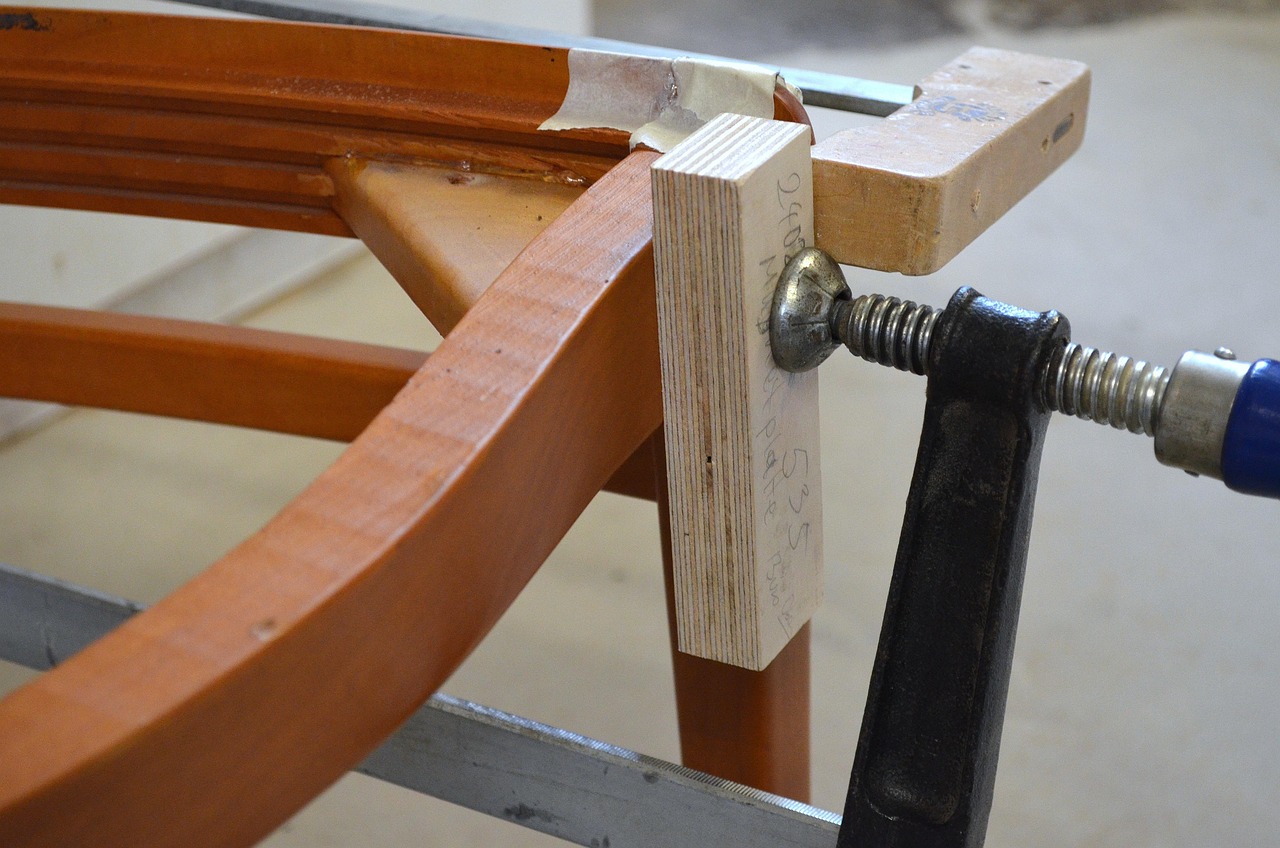
Clamping with a Band Clamp

Securing oddly shaped pieces or large panels can be a frustrating part of woodworking, but band clamps are here to save the day. Unlike traditional clamps that only work on straight edges, a band clamp wraps around your workpiece, applying even pressure all the way around. This is a game-changer for gluing up frames, boxes, or anything with corners that don’t quite meet at 90 degrees. Research from the Woodworking Institute shows that using a band clamp can reduce clamping time by up to 50%, meaning you can move on to other tasks much faster. The even pressure also helps prevent gaps in your joints, leading to cleaner, stronger results. Once you try a band clamp, you’ll likely wonder how you managed without it, especially when working on complex assemblies or repairs. It’s a small investment that pays big dividends in time and quality.
The Router as a Joinery Tool
Many people think of routers as just decorative tools, but they’re actually invaluable for creating strong joints. By using a straight bit and a simple guide, you can cut grooves, dados, and rabbets with precision, perfect for building shelves, drawers, and cabinets. The American Woodworker notes that 90% of woodworkers who use routers for joinery report increased project strength and longevity. This approach allows you to create professional-grade joints without expensive machinery, and it’s particularly useful for anyone tackling cabinetry or furniture projects. Routers can turn what might seem like advanced joinery into a straightforward process, making your builds both stronger and more impressive. The versatility of the router means you’ll keep finding new uses for it as your skills grow.
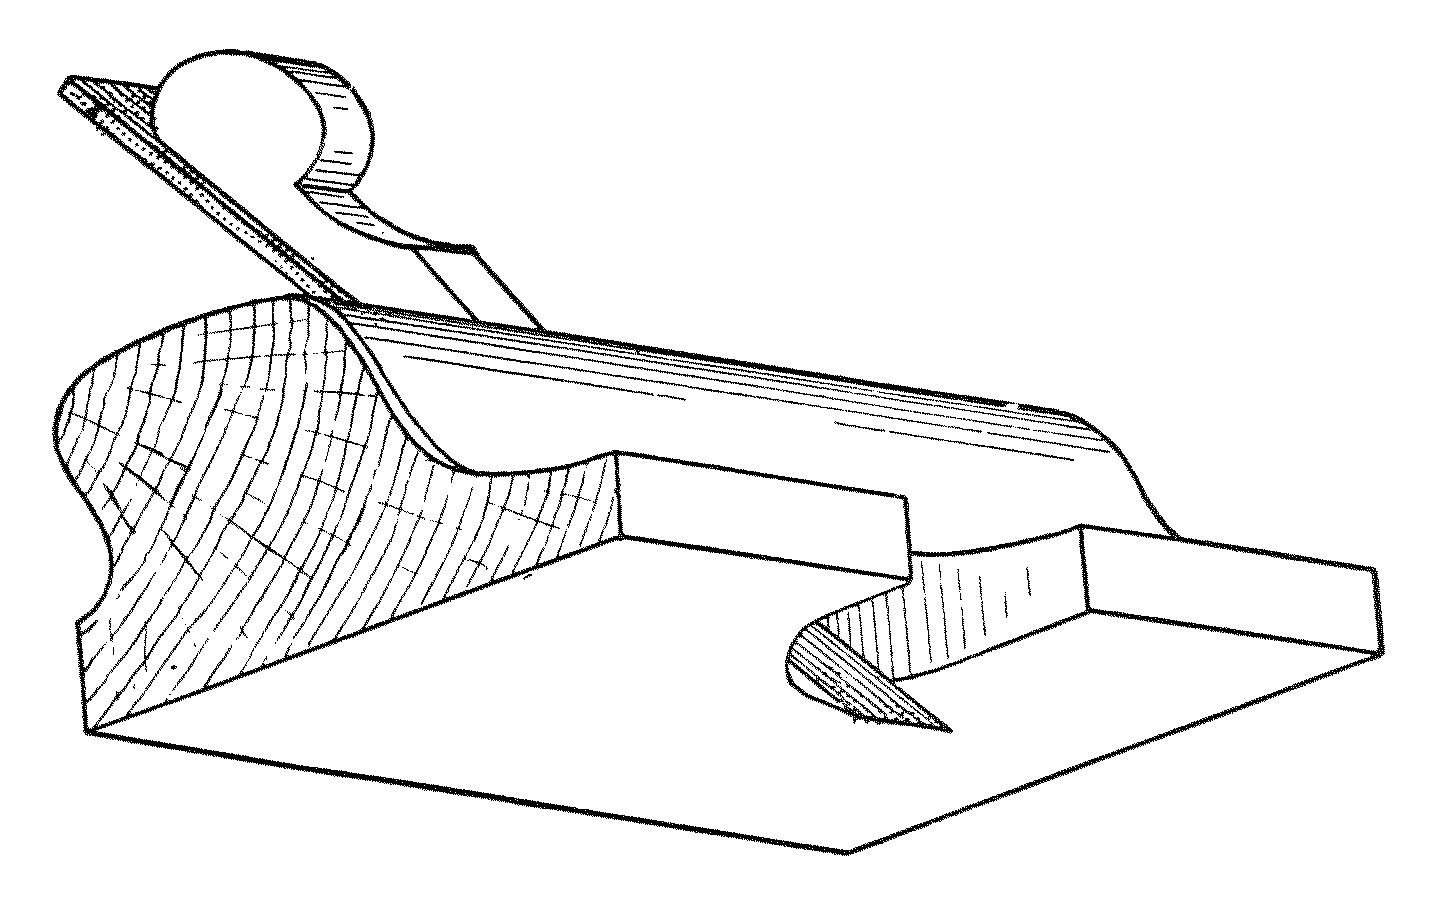
Sanding with a Block

Power sanders can be real time-savers, but they sometimes miss the finer details, especially in tight spaces or delicate edges. That’s where a simple sanding block comes in. By wrapping sandpaper around a block of wood, you can sand evenly and with precision, ensuring a smooth finish in places machines can’t reach. According to a survey by the Woodworkers Guild of America, 78% of woodworkers prefer a sanding block for detailed work. The tactile feedback helps you avoid over-sanding, which can ruin a project’s look, and gives you more control over the finish. This technique is especially useful for smoothing out corners, edges, and intricate moldings. Even if you love your power tools, keeping a sanding block handy can make the difference between a good project and a great one.
The Importance of Wood Grain Direction

Paying attention to wood grain direction might seem like a small detail, but it has a huge impact on your final product. Cutting or planing against the grain can cause splintering, rough surfaces, and a less attractive finish. On the other hand, working with the grain results in smoother edges and a more professional appearance. When assembling pieces, aligning the grain can also add strength and visual appeal, making your work look more cohesive. The Forest Products Laboratory found that projects with properly aligned grain direction had a 30% higher satisfaction rate among users. This simple awareness can transform the look and durability of everything you build. It’s a classic example of how a little extra thought can lead to much better results.
Utilizing Digital Tools for Precision

Technology is changing carpentry, making it easier than ever to achieve perfect measurements and level surfaces. Digital tools like laser distance measurers, digital calipers, and electronic levels offer a level of precision that’s hard to match with analog tools. The National Wood Flooring Association reported that 65% of carpenters who switched to digital tools saw improved accuracy in their work. These devices can speed up layout tasks, reduce errors, and give you confidence that your cuts and assemblies are spot-on. For anyone serious about precision—whether you’re a hobbyist or a professional—investing in a few digital tools can be a real game-changer. Using tech doesn’t mean losing the hands-on spirit of woodworking; it just means you’re working smarter.
Easy Marking with a Carpenter’s Square
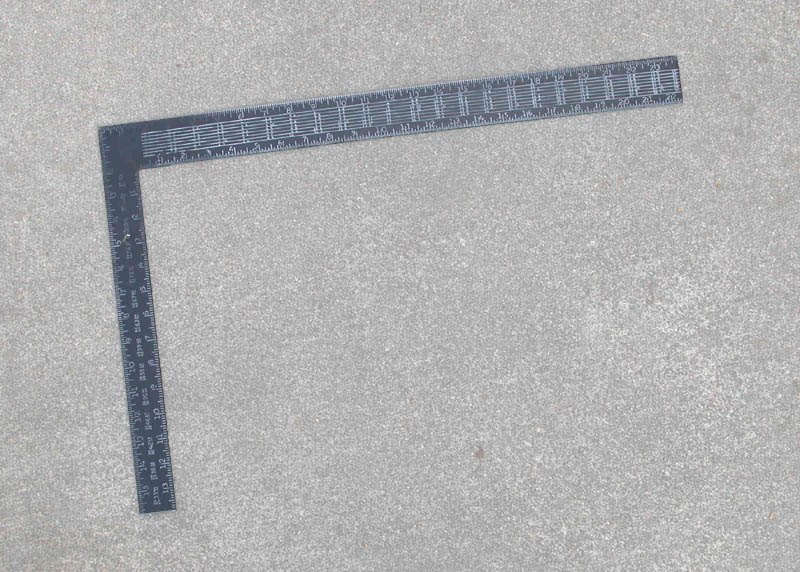
A carpenter’s square isn’t just for checking right angles; it’s also a fantastic tool for marking out repeat cuts and layouts. By using the etched measurements on the square, you can quickly and accurately mark lines for crosscuts, miters, and even complex layouts. This helps reduce the risk of mistakes that can come from sloppy or rushed marking. Many experienced carpenters keep their square handy at all times, finding it indispensable for everything from framing to finishing work. The combination of speed and accuracy makes this tool a favorite among pros and beginners alike. It’s a small hack, but one that can save a lot of frustration and wasted materials.
Quick Fixes with Wood Glue and Sawdust
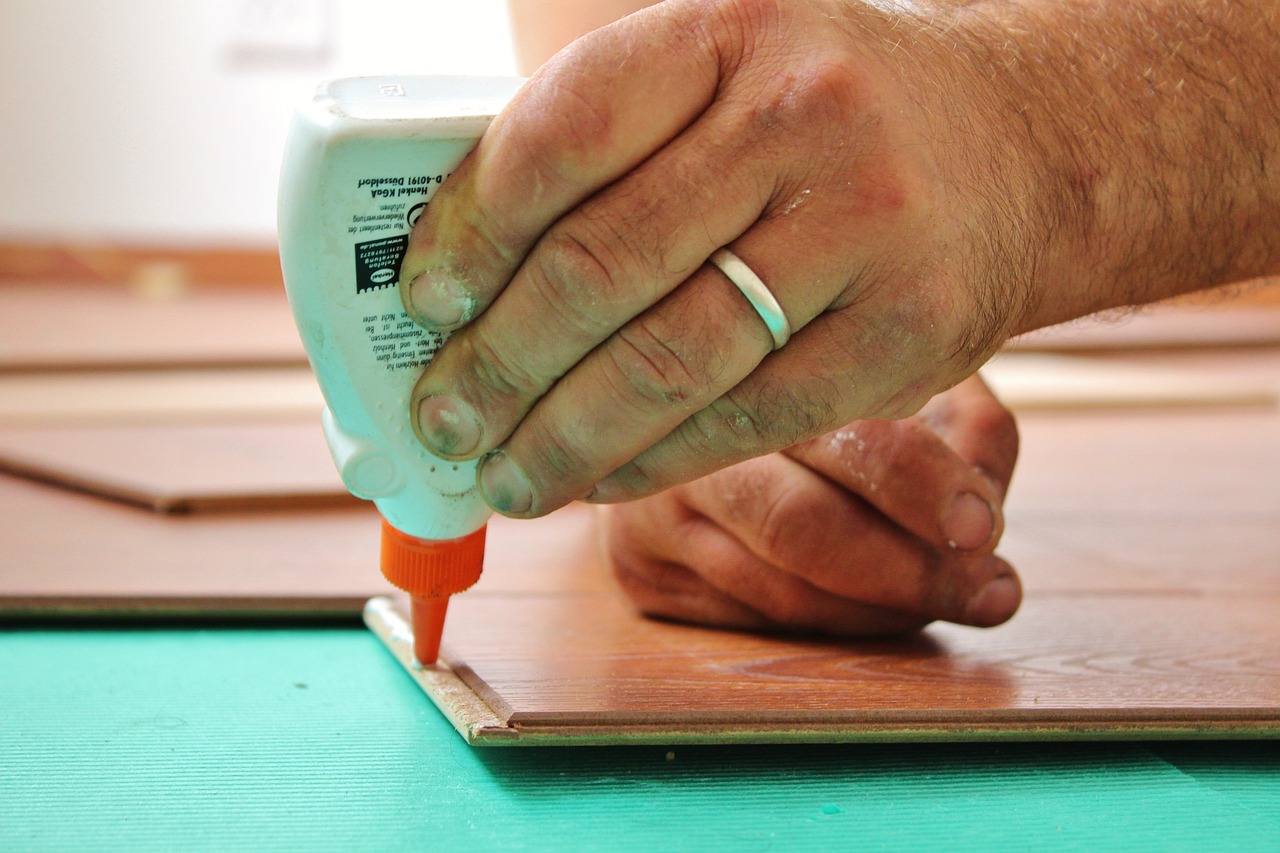
Mistakes happen, even to the best carpenters. One genius fix is to mix wood glue with fine sawdust from your project to create a custom filler for gaps, cracks, or small holes. This blend matches the color and texture of your wood much better than commercial fillers, resulting in a nearly invisible repair. Many woodworkers swear by this trick for saving projects that might otherwise be ruined by small imperfections. It’s fast, cheap, and ensures your hard work doesn’t go to waste. This hack is a reminder that sometimes, the best solutions are the ones you create yourself from what’s already on hand.