- How to Prevent Rust on Your Hand Tools - June 3, 2025
- This DIY Project Only Requires 3 Tools—Perfect for Beginners - June 3, 2025
- The Easiest DIY Pergola Project You Can Actually Finish - May 29, 2025
The Revolutionary Power of Three

Picture this: you walk into a hardware store, overwhelmed by thousands of tools and gadgets, wondering where to even start. But what if I told you that 98% of home-owning Americans have tackled at least one DIY endeavor in their lifetime, and many of those projects required only three basic tools? It’s true—you don’t need a garage full of expensive equipment to create something beautiful and functional for your home. The secret lies in understanding which tools truly matter and how to use them effectively. In fact, 62% of Americans say that a top reason for attempting DIY projects is to save money, making this three-tool approach even more appealing for budget-conscious homeowners. Think of it like cooking—you don’t need every gadget in the kitchen to make an amazing meal, just the right basics used skillfully.
Why Simple Projects Pack a Financial Punch

The numbers don’t lie when it comes to DIY savings. According to the U.S. Census Bureau’s latest American Housing Survey, the average home improvement project costs $6,352 when professionally done — vs. $2,502 for do-it-yourself. That’s a whopping 61% savings just by rolling up your sleeves! But here’s the kicker—American DIYers typically spend between $2,000 to $5,000 on their largest DIY projects, which means you can accomplish quite a bit with minimal investment. The beauty of three-tool projects is that they dramatically reduce your startup costs while still delivering impressive results. Plus, 77% of DIYers said they believed their project would increase the future sale value of their homes. It’s like investing in your home’s future while learning valuable skills today.
Meet Your Three Essential Companions

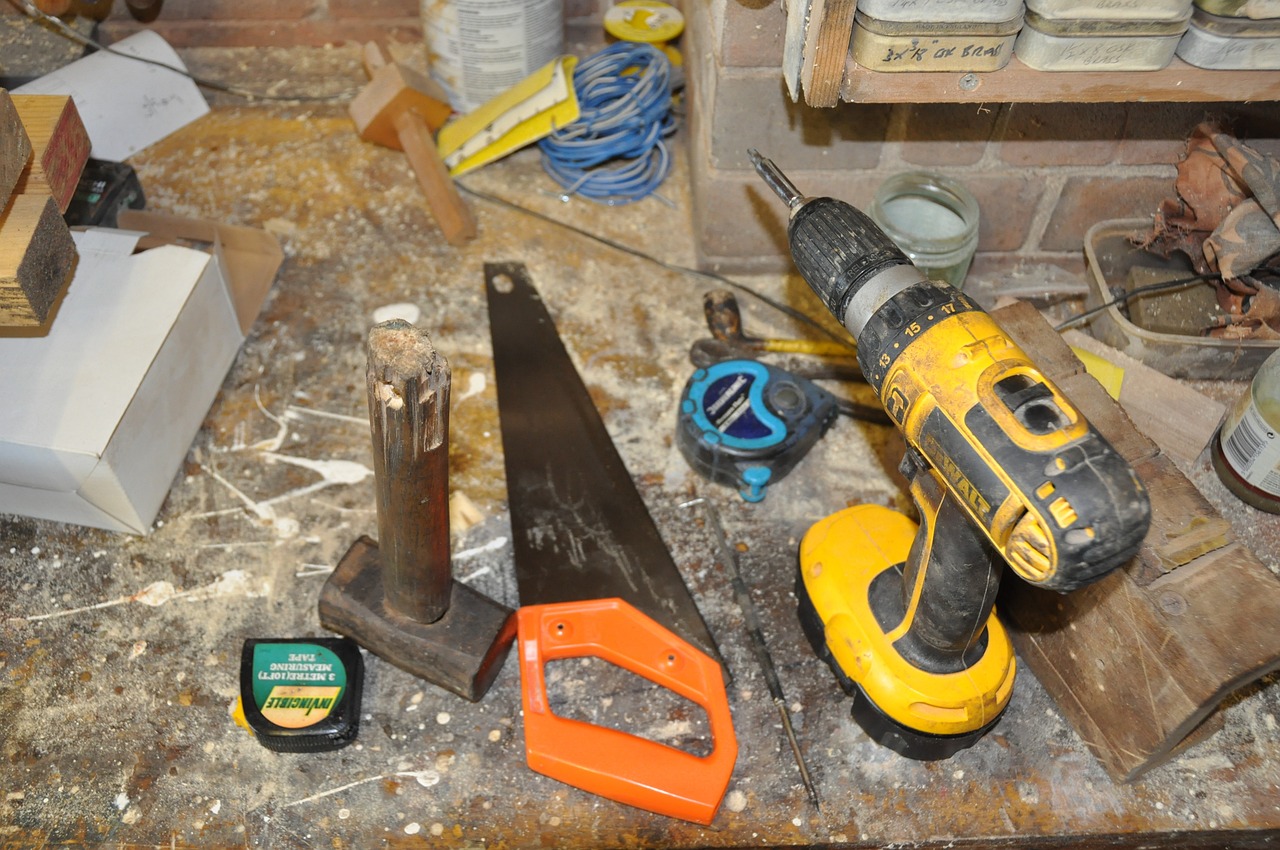
Let’s introduce the holy trinity of DIY tools that will become your best friends in this journey. First up is the hammer—a 16-ounce claw-style hammer will handle most jobs around the house, and the more you use one, the more you’ll appreciate a cushioned grip. This isn’t just for banging nails; it’s your demolition buddy, your precision partner, and sometimes even your gentle persuader when parts don’t want to fit quite right. Next comes the screwdriver set—opt for a tool box set of separate screwdrivers in sizes you’ll use most: three sizes of flathead screwdrivers and three Phillips head screwdrivers in #1, #2 and #3 sizes. Finally, the tape measure, which should be a 25-foot tape measure with a locking measuring blade. These three tools might seem basic, but they’re the foundation upon which countless projects are built.
The Perfect Beginner Project: Your First Wooden Shelf

Now for the main event—building a simple wooden shelf that’s both functional and beautiful. This project is perfect because it teaches you fundamental skills while creating something useful for your home. Most stores will cut wood boards for free, so you can save yourself the effort of getting out your saw and making the cuts—just tell a clerk at the store how long you want the boards to be, and let them do the work. Think of this shelf as your training ground where you’ll practice measuring, drilling pilot holes, and assembling components. The satisfaction of seeing that first shelf mounted on your wall, perfectly level and sturdy, is something every DIYer remembers forever. It’s not just about the shelf—it’s about proving to yourself that you can create something with your own hands using just three simple tools.
Materials Shopping Made Simple

Here’s where many beginners get overwhelmed, but I’ll break it down into bite-sized pieces. For your shelf project, you’ll need one piece of wood (1×6 or 1×8 pine board works great), wall brackets that match your shelf width, and wood screws that are appropriate for your wall type. Common lumber from the hardware store, like Home Depot, is easy and relatively inexpensive—they will even cut the board to whatever length you want for free. The total cost for materials typically runs between $15-30, making this an incredibly budget-friendly first project. Don’t forget sandpaper (120 grit is perfect for beginners) and optional wood stain or paint if you want to customize the finish. Remember, you can often save money on DIY projects by using reclaimed materials and borrowing or renting tools instead of buying them.
Measuring Twice, Cutting Never (Because the Store Does It)

The old carpenter’s saying “measure twice, cut once” becomes even more important when you’re new to DIY. ‘Measure twice, cut once’ isn’t the most shared DIY tip for nothing—ensure you have a good tape measure so you can build accurate projects. Start by deciding where your shelf will go and measuring that space carefully. Write down the exact dimensions and double-check them before heading to the store. Taking accurate measurements is essential to any DIY project, and using proven tips and tricks can take your measuring skill to the next level. When measuring for wall brackets, remember they typically need to be placed 12-16 inches apart for optimal support. Pro tip: use painter’s tape to mark your measurements on the wall before making any holes—it’s much easier to move tape than to fill unwanted holes!
The Assembly Dance: Where Magic Happens

This is where your three tools really shine and work together like a well-choreographed dance. Start by lightly sanding your wood to smooth any rough edges—this prevents splinters and gives you a professional-looking finish. Next, use your tape measure to mark where the brackets will attach to the wall, ensuring they’re level by measuring from the floor or ceiling at multiple points. Using a long level, mark the bracket placement with a pen on the tape and make sure they are level with each other. Your hammer comes into play for tapping drywall anchors into place (if needed), while your screwdriver secures everything together. The beauty of this process is that each tool has its moment to shine, and you’ll quickly understand why these three are all you need for most basic projects.
Avoiding Rookie Mistakes That Cost Time and Money

Let me save you from the mistakes I made when starting out. First, never skip the pilot holes when screwing into wood—your screwdriver will thank you, and you’ll avoid splitting the wood. 4 out of 5 people attempting DIY projects make mistakes, and 45% of DIYers report that they have completely butchered a project, but most of these are easily avoidable with proper preparation. Always check your measurements three times before making any permanent holes or cuts. Another common mistake is not considering what’s behind your walls—use a stud finder or knock gently to locate wall studs for maximum holding power. Remember, more advanced projects may require special tools that minimize the cost-effectiveness of DIY, but our three-tool shelf project avoids this pitfall entirely.
Safety First: Protecting Your Most Important Tool (You!)

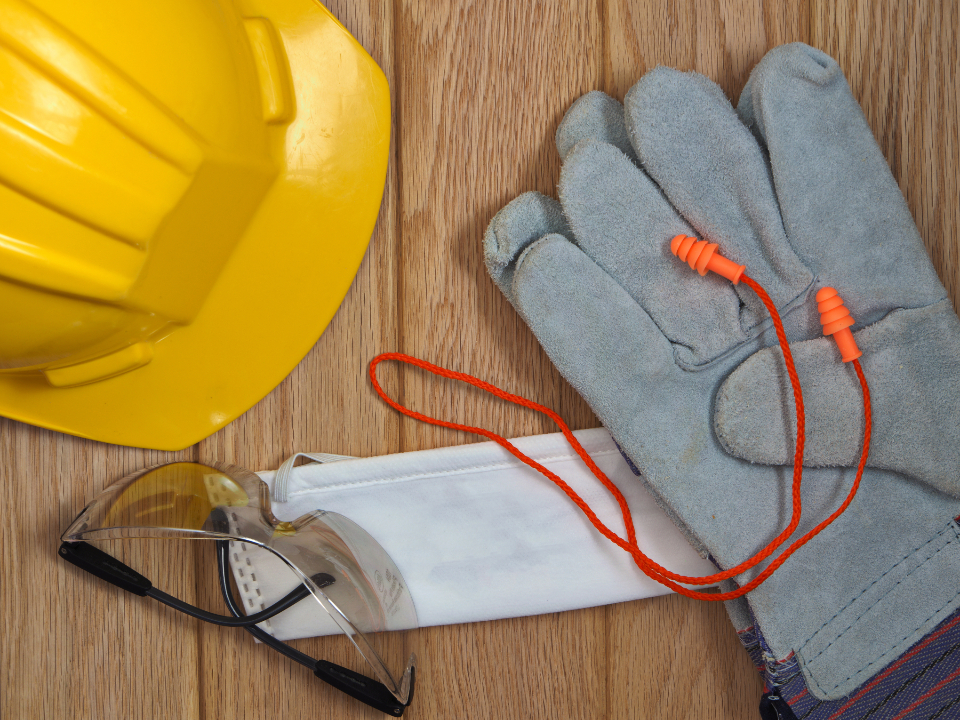
Your safety is more valuable than any project, so let’s talk about keeping yourself protected while having fun. Always wear safety glasses when hammering or drilling—wood chips and debris have a way of finding eyes at the worst moments. Safety goggles are necessary if you’re planning any demolition or power tool usage—protect your eyes, you need them for further projects. Keep your workspace clean and well-lit; most accidents happen when we’re rushing or can’t see clearly. When using your hammer, grip it firmly near the end of the handle for maximum control and power, and always hit nails squarely to avoid bending them or missing your target. If something doesn’t feel right, stop and reassess—there’s no shame in taking a break to think through a problem.
Troubleshooting: When Things Don’t Go as Planned

Even with the best preparation, sometimes projects throw you curveballs. If your shelf isn’t sitting level, don’t panic—use your tape measure to check if the brackets are the same distance from your reference points. Wood has natural variations, so small gaps between the shelf and wall are normal and can be hidden with decorative trim later. If screws aren’t going in easily, you might need to predrill smaller pilot holes with a nail and hammer technique (carefully tap a small nail to create a starter hole, then remove it). 80% of people attempting DIY projects make mistakes, but the key is learning from them rather than getting discouraged. Remember, every master craftsperson started exactly where you are now—with basic tools and the determination to learn.
Adding Personal Touches That Make It Yours

Once your shelf is securely mounted, the real fun begins with customization. A simple coat of wood stain can transform basic pine into something that looks like expensive hardwood. If painting is more your style, prime first for the best results, then use two thin coats rather than one thick one. Consider adding decorative brackets for a more ornate look, or route the edges slightly for a softer appearance (though this requires additional tools). This DIY home project is a great way to update older furniture on a budget—refreshing old furniture with paint breathes new life into your space and saves money on replacements. The beauty of DIY is that every choice you make reflects your personal
