
- Avoid a Holiday Disaster with These Quick Repairs - June 4, 2025
- “These 5 DIY Wood Projects Are Trending Like Crazy Right Now” - June 2, 2025
- The Lazy Person’s Guide to Home Maintenance - May 31, 2025
Are you looking for a way to turn your backyard into a little slice of paradise? Imagine stepping outside on a warm summer day and washing off the stress beneath a gentle spray. Outdoor showers aren’t just for beach houses or luxury resorts anymore—they’re popping up in regular backyards across the country, and for good reason. With some basic tools, a bit of planning, and a dash of creativity, you can create a refreshing space that feels like a mini-vacation every time you use it. If you think building an outdoor shower sounds intimidating, get ready to be surprised by how doable (and rewarding) it really is.
Why Build an Outdoor Shower?

Outdoor showers offer so much more than just a way to rinse off. According to the National Association of Home Builders, adding outdoor living features—including showers—can boost a home’s value by as much as 20%. That’s not just a little bump; it’s a serious investment in your property. Beyond the numbers, outdoor showers are perfect for families who swim, garden, or have pets that love to roll in the dirt. They keep muddy footprints and chlorine out of your house, making clean-up easier. Plus, there’s something almost magical about showering under the open sky, surrounded by birdsong and fresh air. This small project can turn your routine into a daily retreat and even inspire a bit of envy from the neighbors.
Choosing the Perfect Location

Picking the right spot for your outdoor shower is crucial. Ideally, you want a place that balances privacy and convenience—close enough to the pool, garden, or back door, but tucked out of sight from neighbors or the street. Many people use fencing, trellises with climbing plants, or even tall shrubs to create a natural screen. Sunlight is another factor: a sunny location ensures your shower dries quickly and stays free from mold. Drainage should also be top of mind; low-lying areas can turn soggy fast, so look for a slightly elevated spot or plan for a gravel drain bed. According to HomeAdvisor, proper placement can save you time and money later, as moving water lines or drainage is much harder after construction.
What Materials Will You Need?
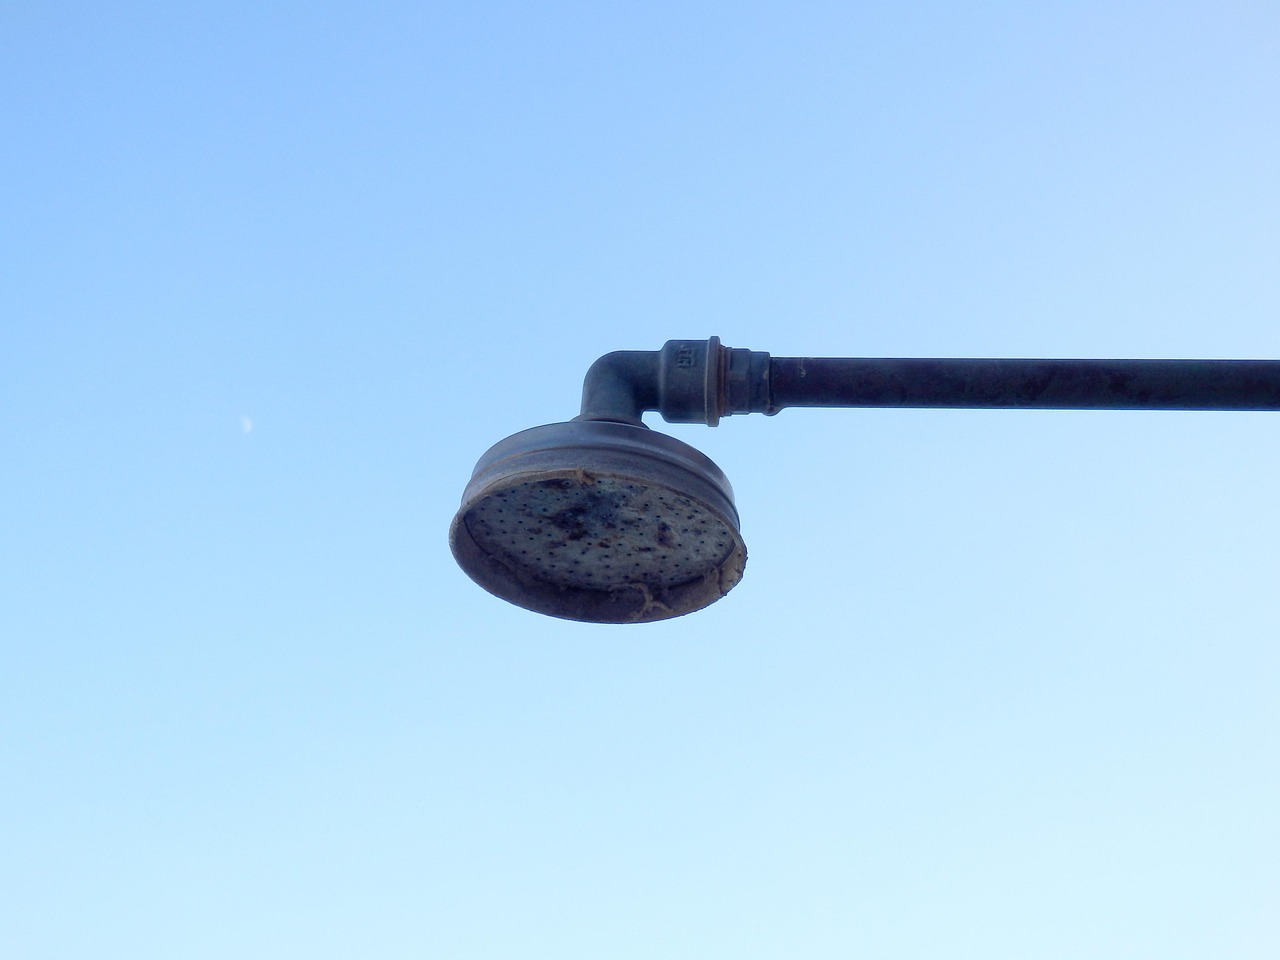
Gathering the right materials will make your project run smoothly from start to finish. The essentials include a weather-resistant showerhead, sturdy pipes (PVC or copper work well outdoors), and durable wood—like cedar or pressure-treated pine—for the frame and enclosure. You’ll also need strong fasteners, like galvanized screws and brackets, to hold everything together. For the floor, many DIYers opt for wooden slats or a gravel base, which help with drainage and prevent slipping. Don’t forget a water source: connecting to an existing hose bib is often the easiest way, but you can also tap into your home’s plumbing or use a portable tank. Before you begin, check your local building codes, as some places require permits or specific drainage solutions. These small steps prevent headaches down the road and keep your project up to standard.
Building a Sturdy Frame

Once you have your spot and supplies, it’s time to get building. Start by laying out the base, which will support everything else. Pressure-treated wood is best here, as it resists rot and insects. Mark out a square or rectangular footprint, usually about three feet by three feet, and anchor the posts firmly into the ground. Use a level to make sure everything is straight—nothing’s worse than a crooked shower. Attach side panels or slats for privacy, and if you want, add a simple roof or trellis overhead for shade. Screws and brackets should be tightly secured, as outdoor showers have to handle wind, rain, and sun. This part of the project is hands-on and can be fun if you enjoy working with your hands—or grab a friend to help speed things along.
Plumbing: Bringing Water to Your Shower

Plumbing might sound daunting, but it’s often simpler than you think. If your shower is close to a hose spigot, you can use a splitter and run a hose line to your new shower. For a more permanent solution, PVC or copper pipes can be run from your existing plumbing. Always turn off the water supply before cutting or connecting pipes. Fit your showerhead at a comfortable height, usually around 6 to 7 feet off the ground, and check for leaks before closing up the wall. Don’t forget about drainage—gravel beds, stone pavers, or a simple dry well are all good options for letting water soak away. In colder climates, consider adding a shut-off valve to drain the pipes in winter; frozen pipes can burst and cause expensive damage.
Adding Personal Touches and Comfort

Once the basics are in place, it’s time for the fun part: making your outdoor shower feel special. Add hooks for towels and robes, a small bench for sitting, or even a shelf for shampoo and soap. Many people decorate with potted plants, string lights, or bamboo screens to give the space a spa-like feel. Painting or staining the wood not only adds color but also protects it from the weather. Some families place smooth river stones on the floor for a gentle foot massage every time you step in. These little touches turn a utilitarian space into a relaxing retreat and make every shower an experience to look forward to.
Ensuring Proper Drainage

Drainage is one of the most important—and most often overlooked—parts of an outdoor shower. Poor drainage can lead to puddles, muddy patches, and even damage to your home’s foundation. A popular solution is a gravel bed beneath the shower, which allows water to soak into the soil. For heavy use, a French drain (a trench filled with gravel and a perforated pipe) can move water away from your house. Some homeowners connect the drain to their existing sewer system, but this usually requires a permit and professional installation. According to the DIY Network, spending a little extra time on drainage pays off in a cleaner, safer, and longer-lasting outdoor shower.
Staying Safe and Following Local Rules

Safety and legality are just as important as style. Always check your city or county’s building codes before you start, especially for plumbing and drainage. Some places require backflow preventers to keep outdoor water from contaminating your main supply. If your shower is powered by hot water, proper insulation and temperature controls are a must to prevent burns. Non-slip flooring and rounded edges on wood help prevent accidents. If you’re not sure about something—especially plumbing or electrical work—consult with a licensed professional to avoid costly mistakes or code violations.
Maintenance for Years of Refreshment

An outdoor shower can last for years with a little regular care. Clean the showerhead and pipes regularly to prevent mineral buildup, especially if you have hard water. Inspect the wood for signs of mold, warping, or rot, particularly after heavy rain or snow. In cold climates, drain the pipes before winter and cover the fixture to protect it from ice. Reseal wood every year or two to keep it looking fresh and weather-resistant. A quick check-up every season ensures your shower stays safe, clean, and ready for use whenever you need a refreshing break outdoors.
How Outdoor Showers Can Change Your Lifestyle

Many homeowners say that adding an outdoor shower transforms how they use their yard. Suddenly, gardening is less messy, pets can be rinsed off outside, and pool parties have a dedicated clean-up spot. Families with kids love the convenience of washing off mud without tracking it through the house. Even on days when you don’t need to wash up, the simple joy of showering outside can be a mood booster. It’s a small investment with big returns—both for your home’s value and your daily happiness.
Outdoor Showers: A Trend on the Rise
Outdoor showers have become one of the hottest backyard trends in recent years. Data from the National Association of Home Builders and HomeAdvisor show a steady increase in demand, with more homeowners seeking ways to blend indoor comfort with outdoor living. This rise is partly driven by people spending more time at home and wanting to make the most of every square foot. DIY outdoor showers are popular because they’re affordable, customizable, and surprisingly simple to build. As more people discover the joys of outdoor bathing, it’s likely this trend will only continue to grow.