
- Avoid a Holiday Disaster with These Quick Repairs - June 4, 2025
- “These 5 DIY Wood Projects Are Trending Like Crazy Right Now” - June 2, 2025
- The Lazy Person’s Guide to Home Maintenance - May 31, 2025
If you’ve ever dreamed of building your own workbench, you might be surprised at how much it can change your approach to projects. I never guessed how many small details would matter—or how satisfying it would be to make something so useful with my own hands. This journey wasn’t just about following instructions; it was about learning, making mistakes, and finding joy in the process. Let’s walk through the most important lessons and insights I gained, step by step.
Discovering What I Really Needed
Before even picking up a tool, I had to think about what I truly needed in a workbench. Would I use it mostly for woodworking, or for other hobbies like gardening or electronics? I measured my available space and looked at different designs online. According to the Woodworkers Guild of America, most people prefer a bench height between 28 and 36 inches, depending on their own height and the work they plan to do. I settled on 34 inches, which felt just right for my back and arms. I also decided on a 6-foot length and 2.5-foot width, since it offered ample space without overwhelming my garage. Planning this out made a huge difference and helped me avoid the frustration of realizing, later on, that something was missing.
Choosing Materials That Last
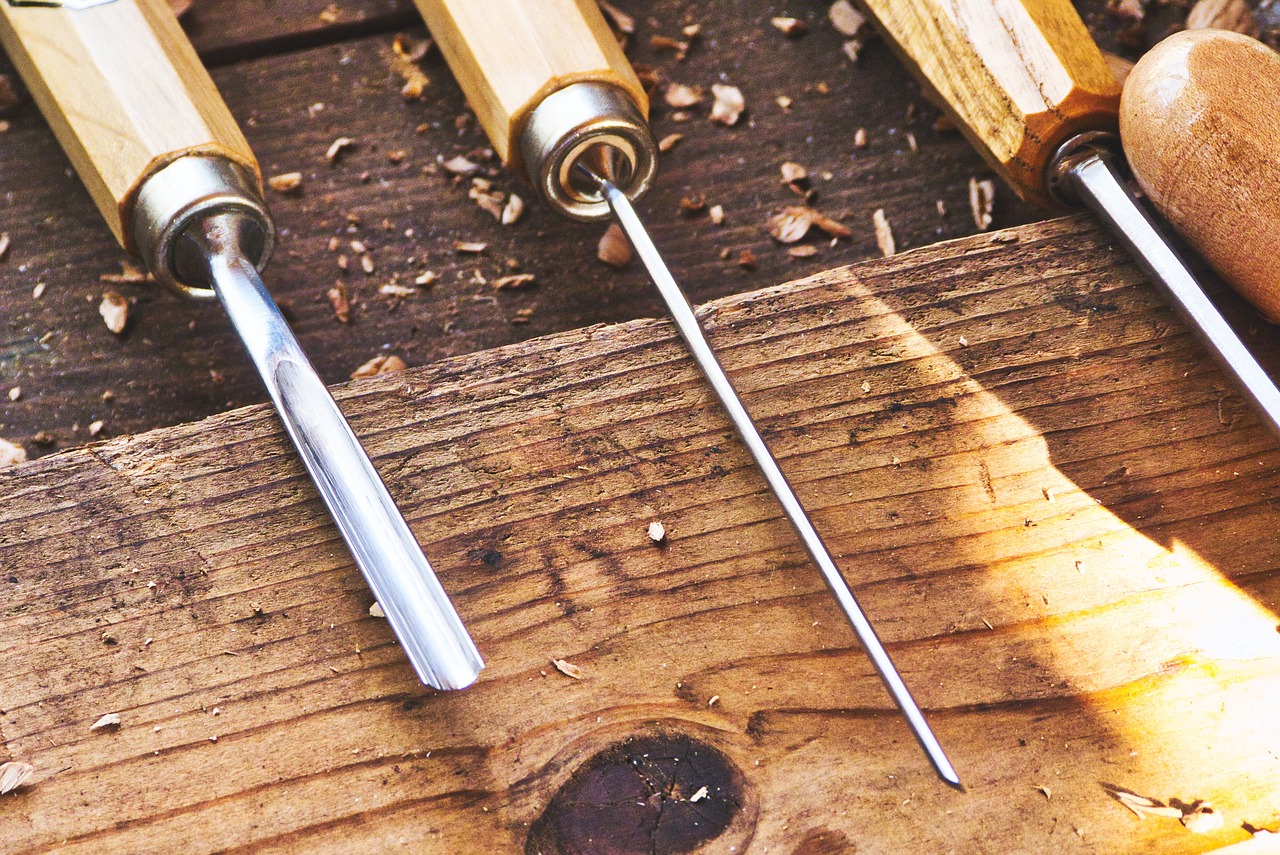
It’s tempting to save money on materials, but I quickly learned that quality counts. I chose a thick plywood sheet for the benchtop, supported by solid pine legs and a sturdy frame. The American Wood Council notes that high-quality wood can extend your workbench’s lifespan by years. I considered using MDF for the top because it’s smooth and cheap, but plywood was sturdier and easier to finish. For the legs and supports, I avoided any warped or cracked boards, since even a little weakness there could mean wobbles down the line. Using wood glue in addition to screws, as recommended by many experts, helped everything hold together under pressure.
Gathering the Right Tools
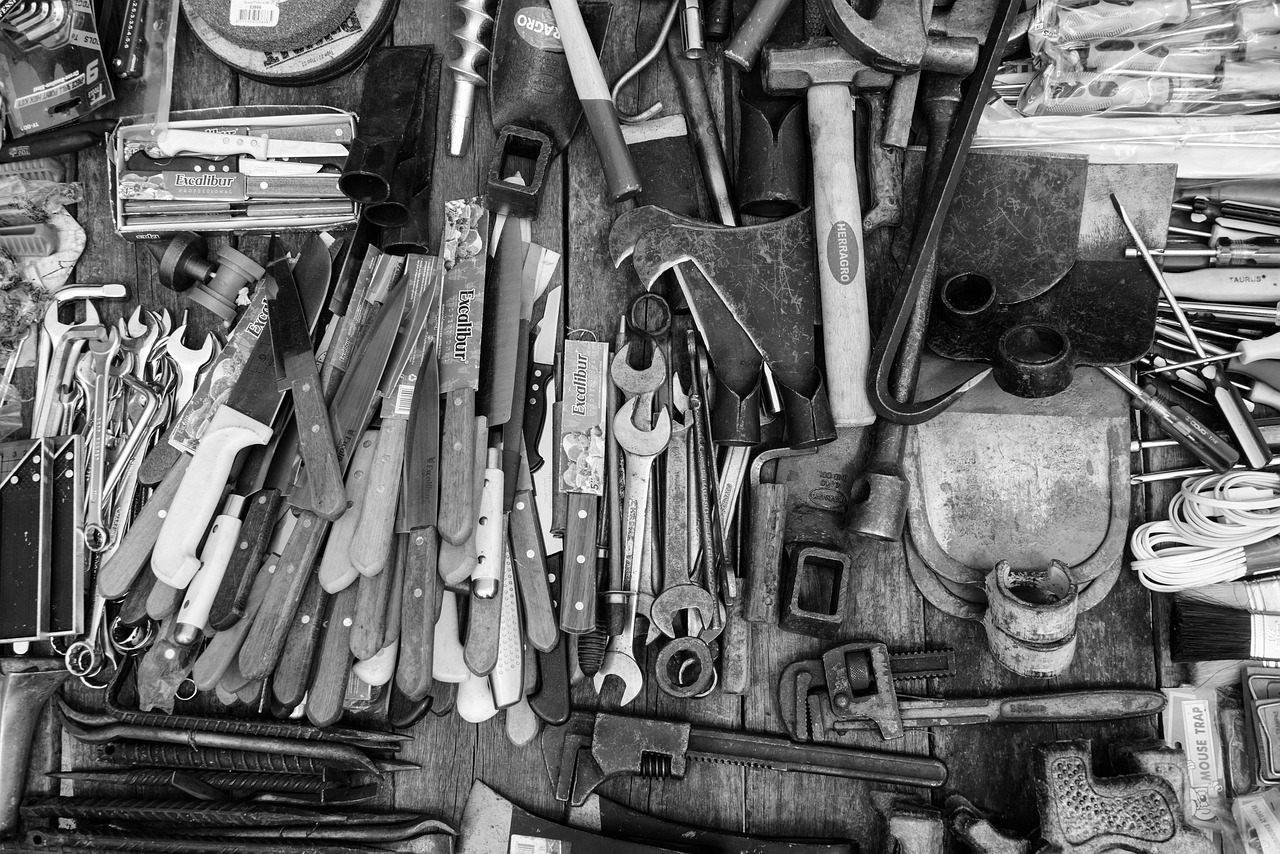
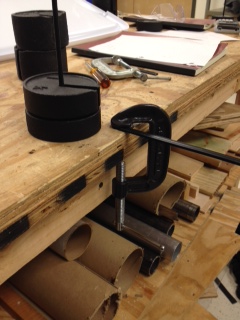
No project goes smoothly without the right tools, and I learned this the hard way when my old drill gave out mid-project. For most of the build, I used a circular saw, a power drill, a sander, and several clamps. The Home Improvement Research Institute highlights that investing in quality tools pays off in accuracy and time savings. I borrowed a friend’s miter saw for cleaner, more precise cuts, which made a noticeable difference in how things fit together. Clamps turned out to be my unsung heroes—holding everything tight while the glue dried. For anyone starting out, I’d say don’t skimp on clamps or a solid drill; they’ll save you headaches.
Measuring Twice (and Then Again)
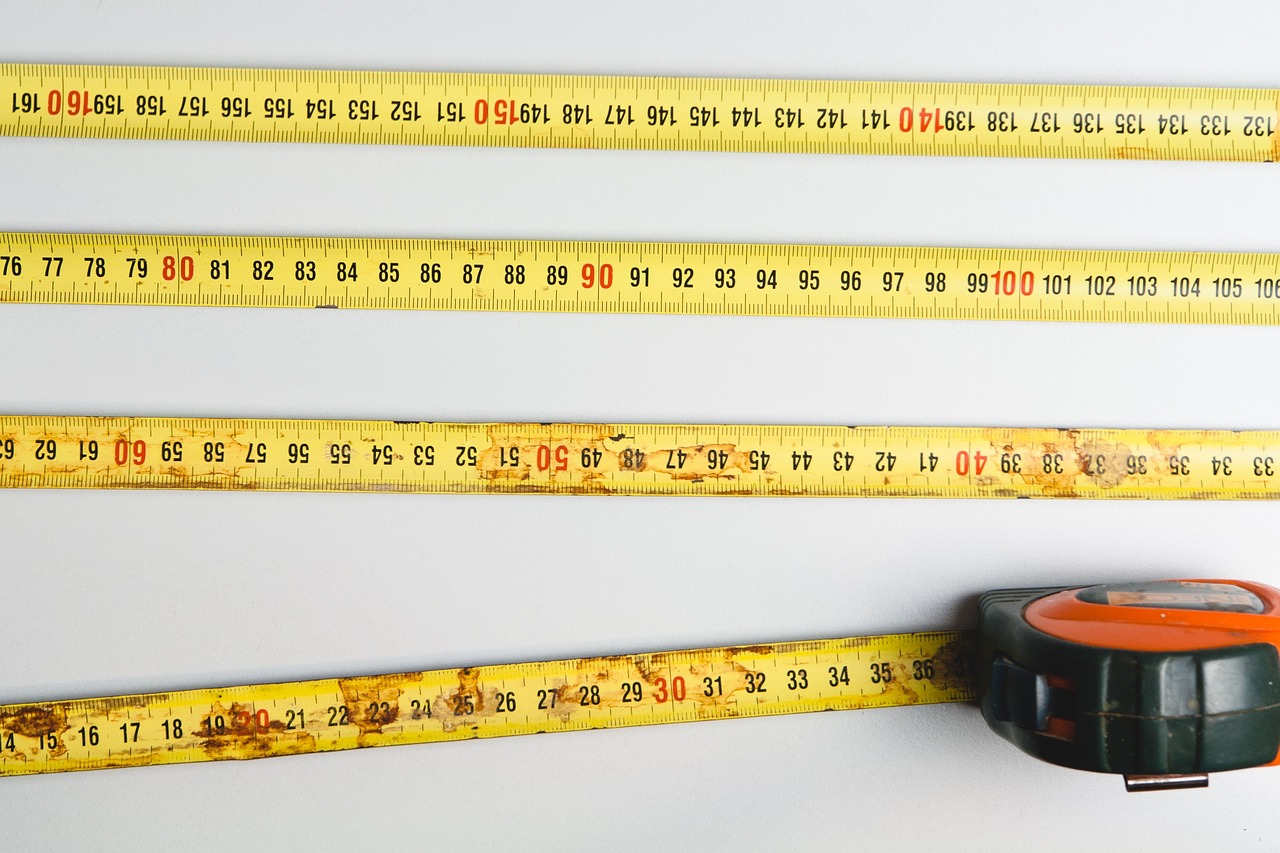
Precision became my mantra as I started cutting and assembling the pieces. I followed the classic advice: measure twice, cut once. Still, I found myself double- and triple-checking measurements before making each cut. Even a half-inch mistake could throw off the whole structure, leading to wobbly legs or crooked surfaces. According to Fine Woodworking, most mistakes in DIY projects come from rushing the measuring process. I used painter’s tape to mark where cuts would go and double-checked with a square to keep everything straight. Taking time here meant fewer corrections later, and the parts fit together much better in the end.
The Assembly Adventure
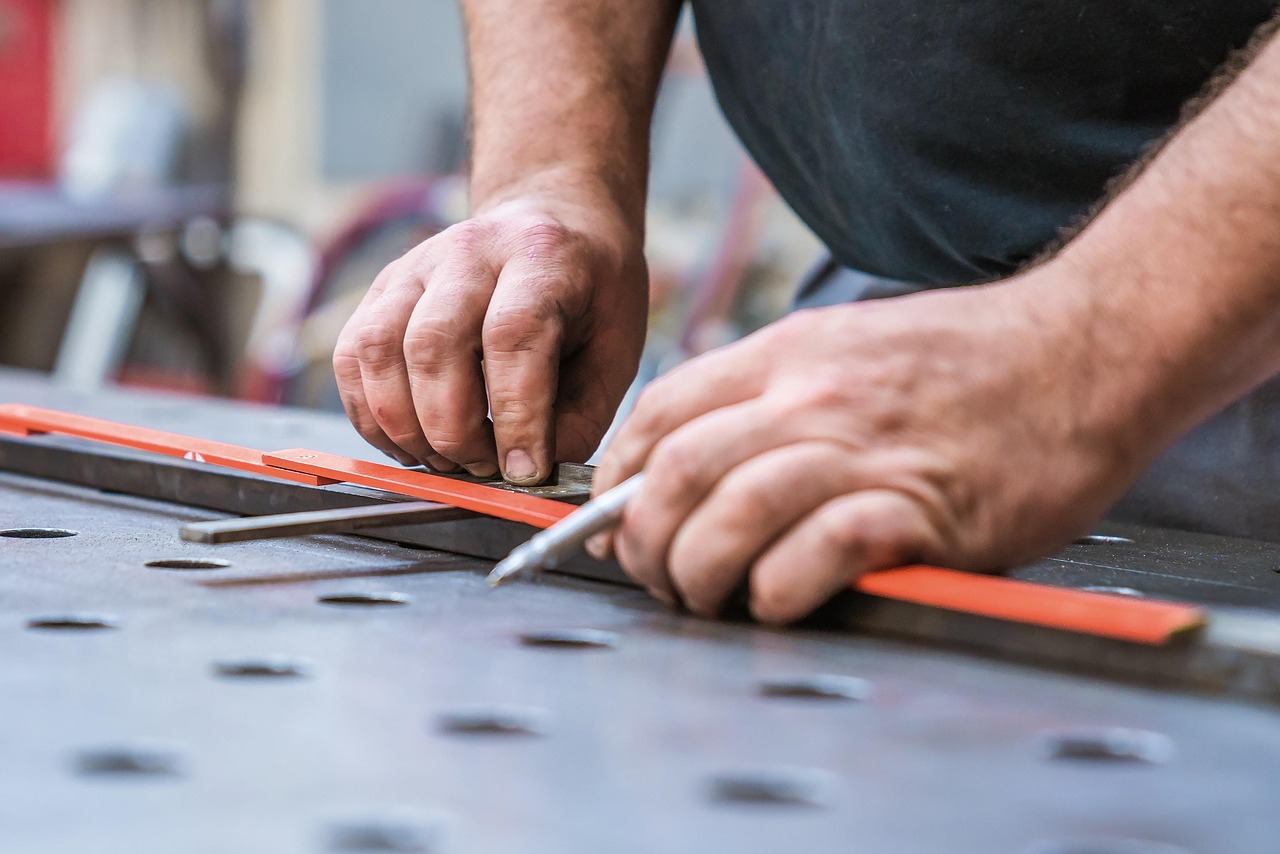
Putting the workbench together was where things got real. I started by building the frame, attaching the legs to the side rails with both screws and glue. I made sure the corners were square using a carpenter’s square and checked repeatedly as I tightened everything. The process took longer than I expected, but I realized that patience was key. If I rushed, screws would go in crooked or boards would shift. Once the frame was solid, I attached the plywood top, making sure it was level and flush on all sides. The satisfaction of seeing it come together made all the earlier planning worth it.
Finishing Touches for Durability

Once the frame and top were assembled, I spent time sanding every surface. It was tedious, but removing splinters and rough edges made the bench both safer and more pleasant to use. I applied a couple of coats of polyurethane, as suggested in a Fine Woodworking survey, which helps protect the wood from spills, glue, and stains. The difference was stunning—my bench looked professional and felt smooth. This finish also made cleaning up after messy projects much easier, since glue and paint would wipe right off instead of soaking in.
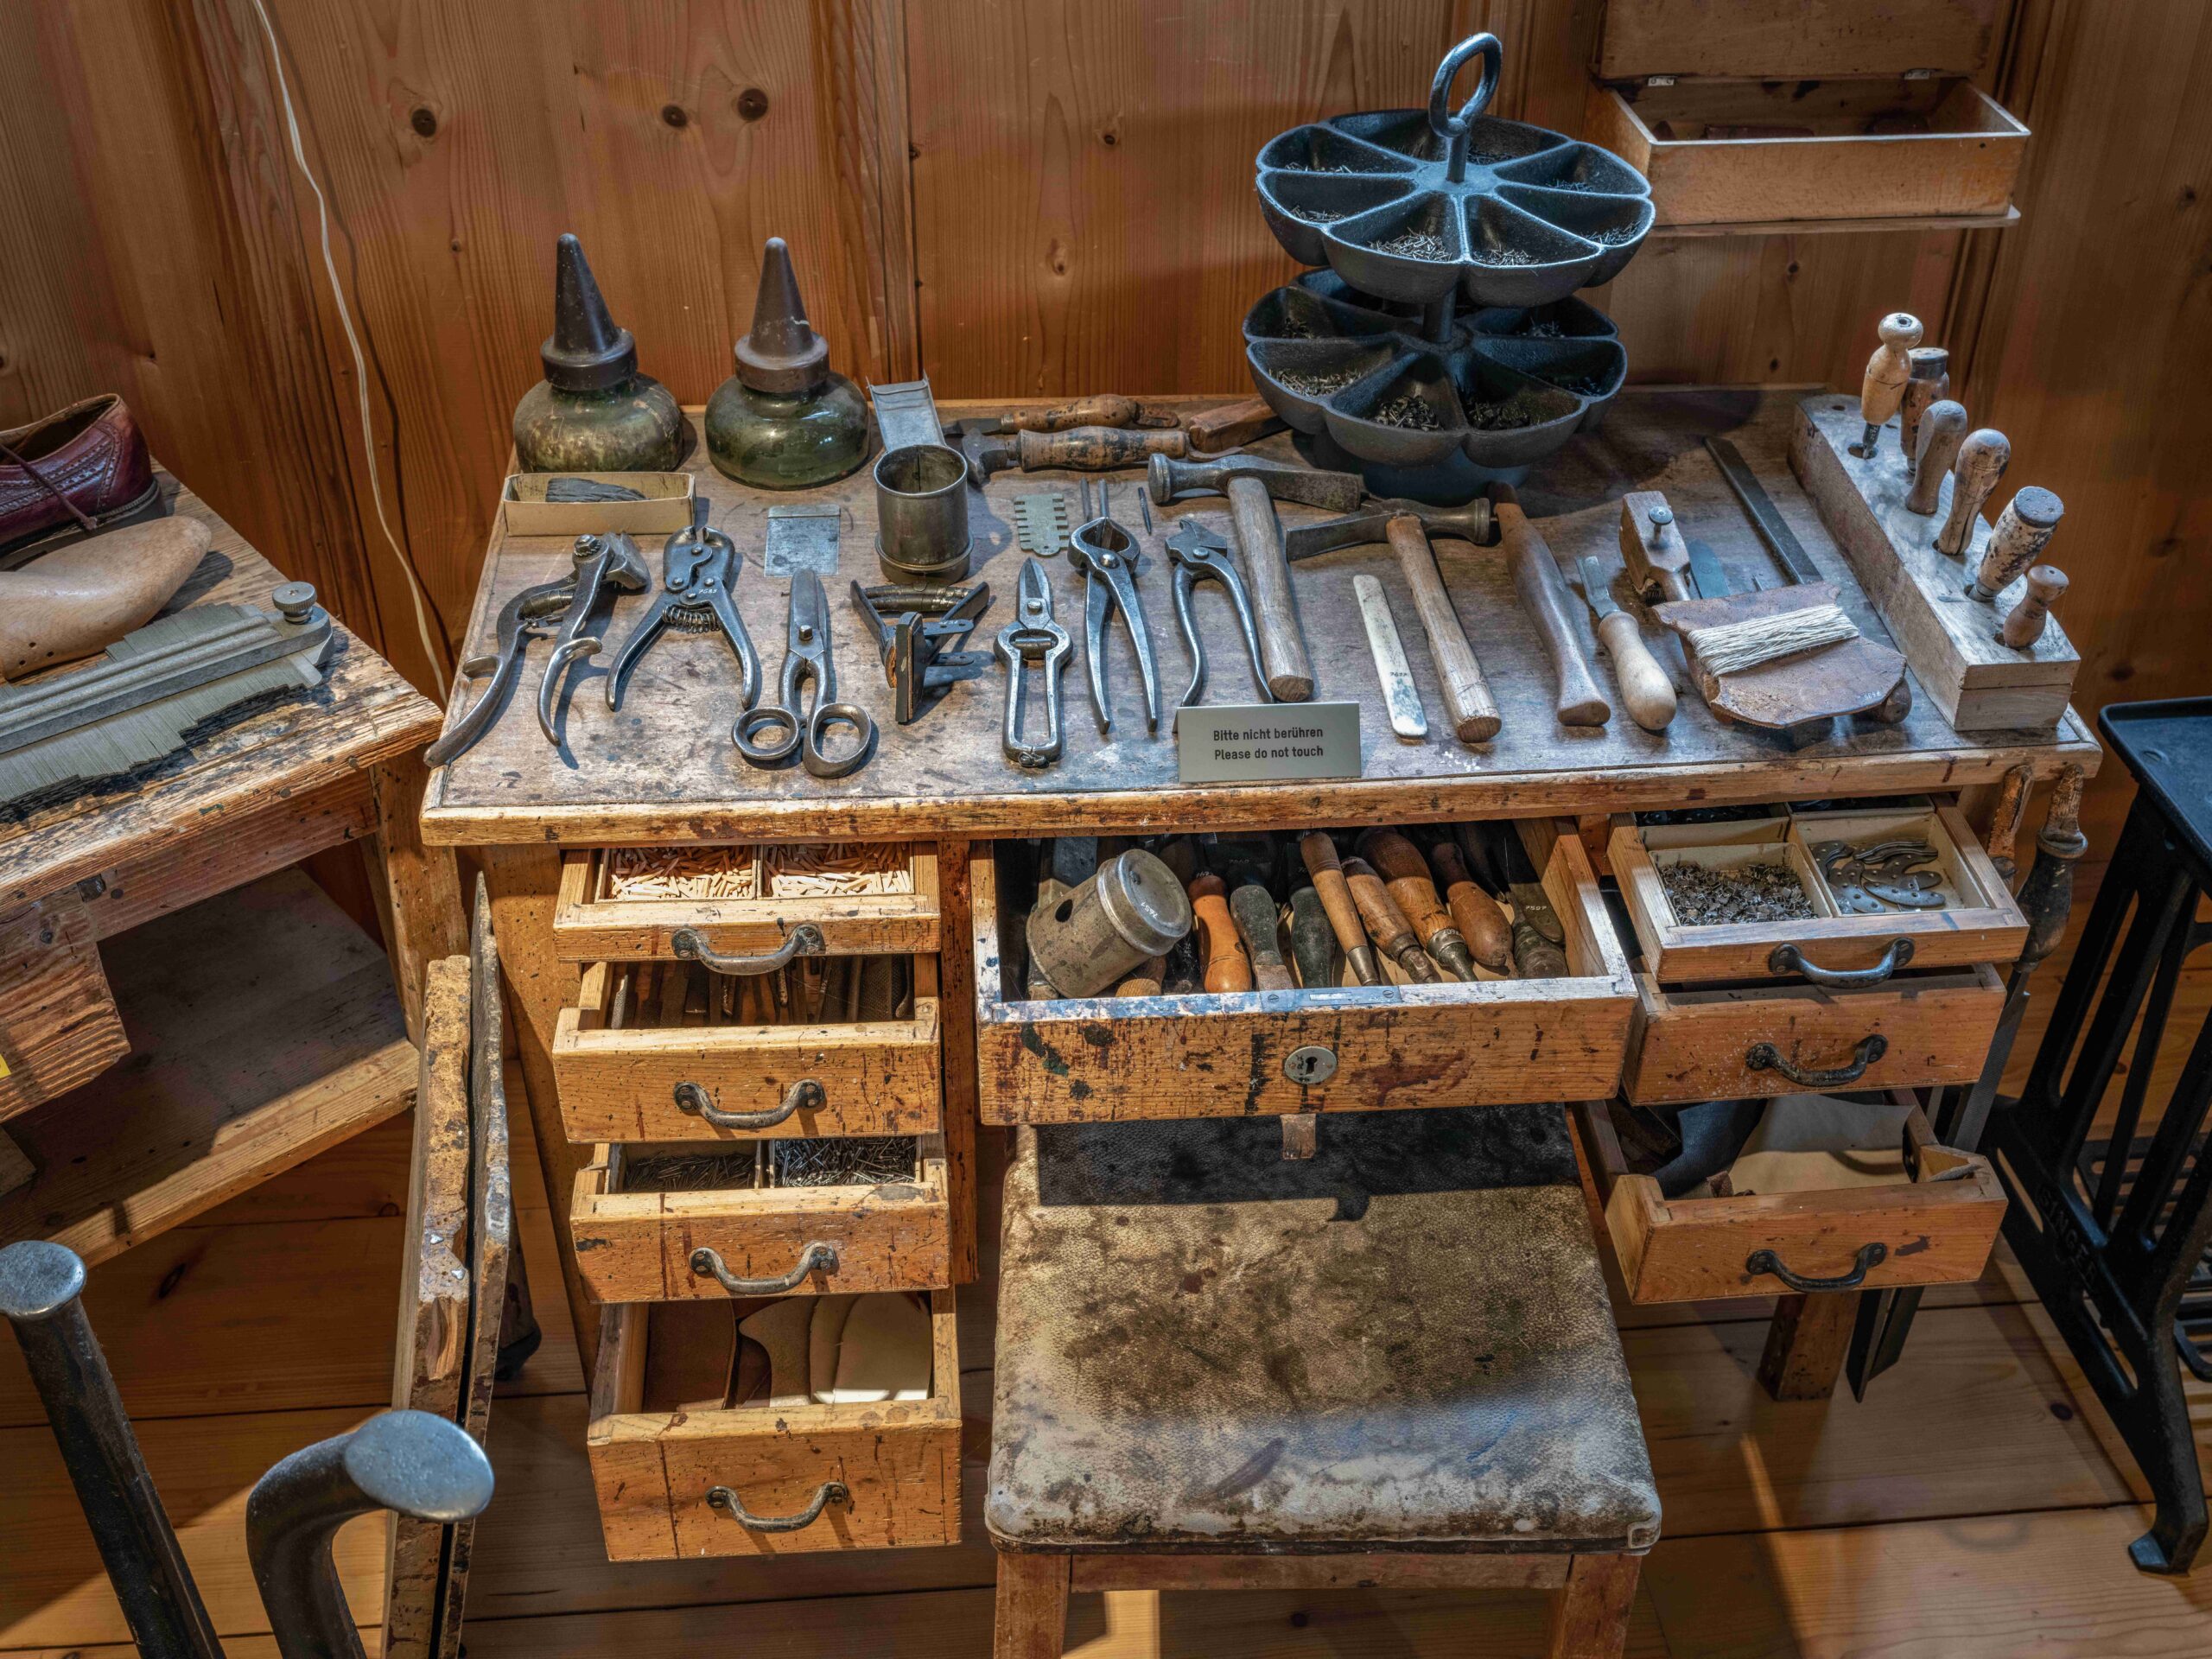
Storage Solutions: The Game Changer
One thing I didn’t realize at first was how much storage would help. As I worked, tools and materials piled up, cluttering the surface. After reading advice from woodworking forums and the National Association of Home Builders, which notes that a tidy workspace can boost productivity by up to 25%, I added a bottom shelf and a few hooks for hanging tools. These additions kept my workspace clear and made it easier to find what I needed, right when I needed it. If I build another bench, I’ll definitely plan storage from the start, maybe even add drawers or built-in cabinets.
Learning from Mistakes
Not everything went perfectly, and some mistakes taught me the most. I accidentally drilled a screw too close to the edge, which caused a split in the wood. I fixed it by filling the crack with wood glue and clamping it overnight, learning to be more careful with screw placement in the future. Another time, I cut a board too short by not accounting for the thickness of the saw blade (the kerf). These mishaps were frustrating, but each one made me more precise and patient. It was a reminder that mistakes aren’t failures—they’re just part of the process.
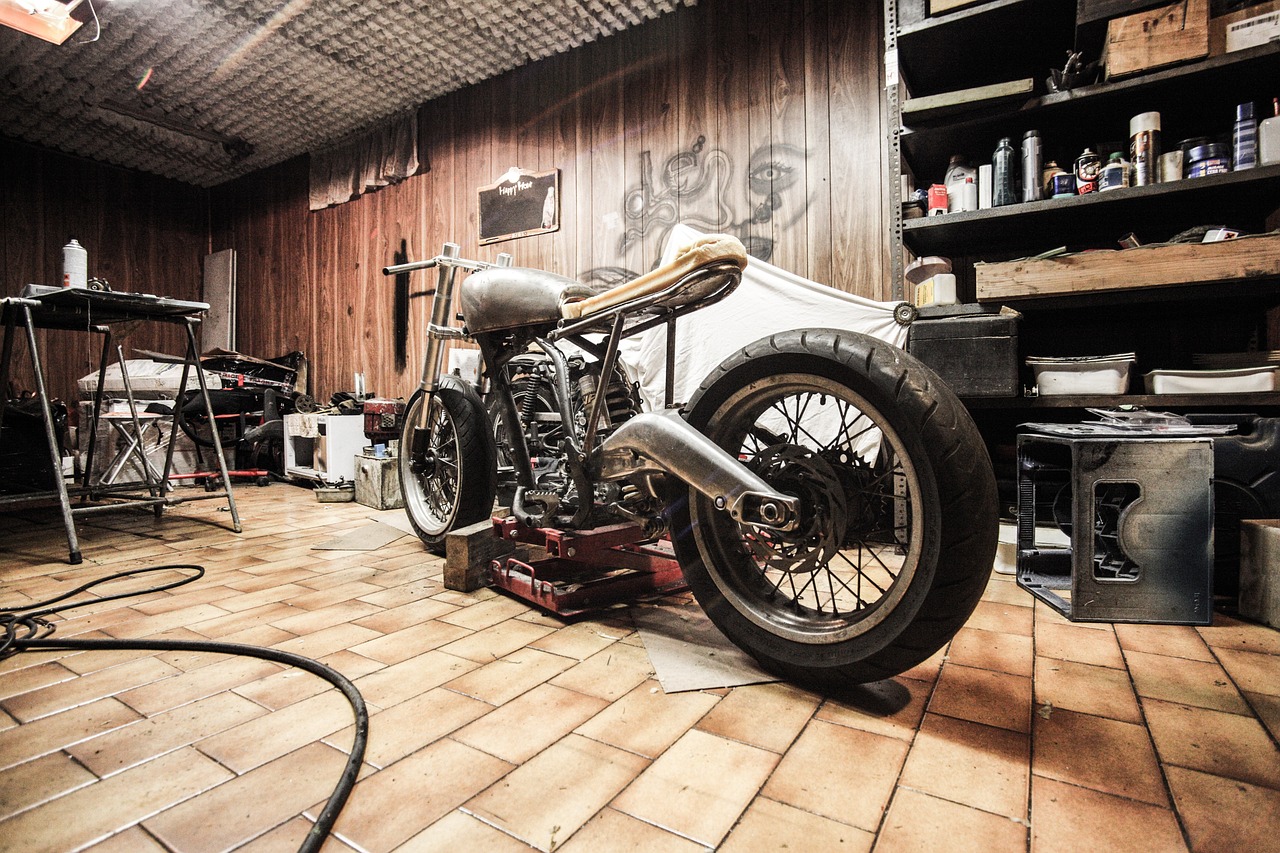
The Power of a Dedicated Workspace

Having my own workbench completely changed how I worked. Instead of crouching on the floor or balancing projects on a wobbly table, I had a sturdy, comfortable spot for everything. It made each project feel more professional and less like a chore. Research from the National Association of Home Builders confirms that organized, dedicated workspaces increase efficiency and job satisfaction. I noticed I spent less time hunting for tools and more time actually building things. This sense of order and control gave me new confidence to tackle bigger, more complex projects.
Dreaming Up Future Improvements
With my first workbench complete, my mind raced with ideas for upgrades. Could I add a built-in vise for better clamping? What about drawers for small hand tools or a pegboard back for organizing? The online woodworking community is full of creative solutions and inspiration, showing that a workbench is never truly finished—it grows with your skills and needs. Even now, I’m collecting parts for a power strip and a small light so I can work at night. Each upgrade feels like a new adventure, building on what I’ve learned and making every project that much smoother.
Unexpected Joys and Lasting Satisfaction

Building my first workbench wasn’t just about making a piece of furniture—it was about proving to myself that I could plan, build, and finish something with my own hands. The sense of pride I felt when I tightened the last screw was unlike anything I’d experienced from a store-bought table. Now, every time I use the bench, I remember those first uncertain steps and the excitement of learning something new. It’s a daily reminder that with patience, careful planning, and a willingness to learn, anyone can create something lasting and meaningful.