
- How to Prevent Rust on Your Hand Tools - June 3, 2025
- This DIY Project Only Requires 3 Tools—Perfect for Beginners - June 3, 2025
- The Easiest DIY Pergola Project You Can Actually Finish - May 29, 2025
The Spark: Why I Took on This Project

It all started with a fallen tree in my backyard after a storm—what most people saw as yard waste, I saw as an opportunity. There’s something deeply satisfying about turning raw, natural material into a functional piece of art. The recent surge in DIY woodworking isn’t just a passing trend; the Craft and Hobby Association reports that over 63% of Americans are now involved in some form of crafting, with woodworking ranking at the top for relaxation and accomplishment. The idea of creating a one-of-a-kind table from a tree trunk felt both challenging and inspiring. I wanted a piece that would be a conversation starter, a testament to resilience and creativity. Plus, every time I see the table, I’m reminded of the story behind it—a living memory carved into wood. The excitement of imagining the finished table kept me motivated every step of the way.
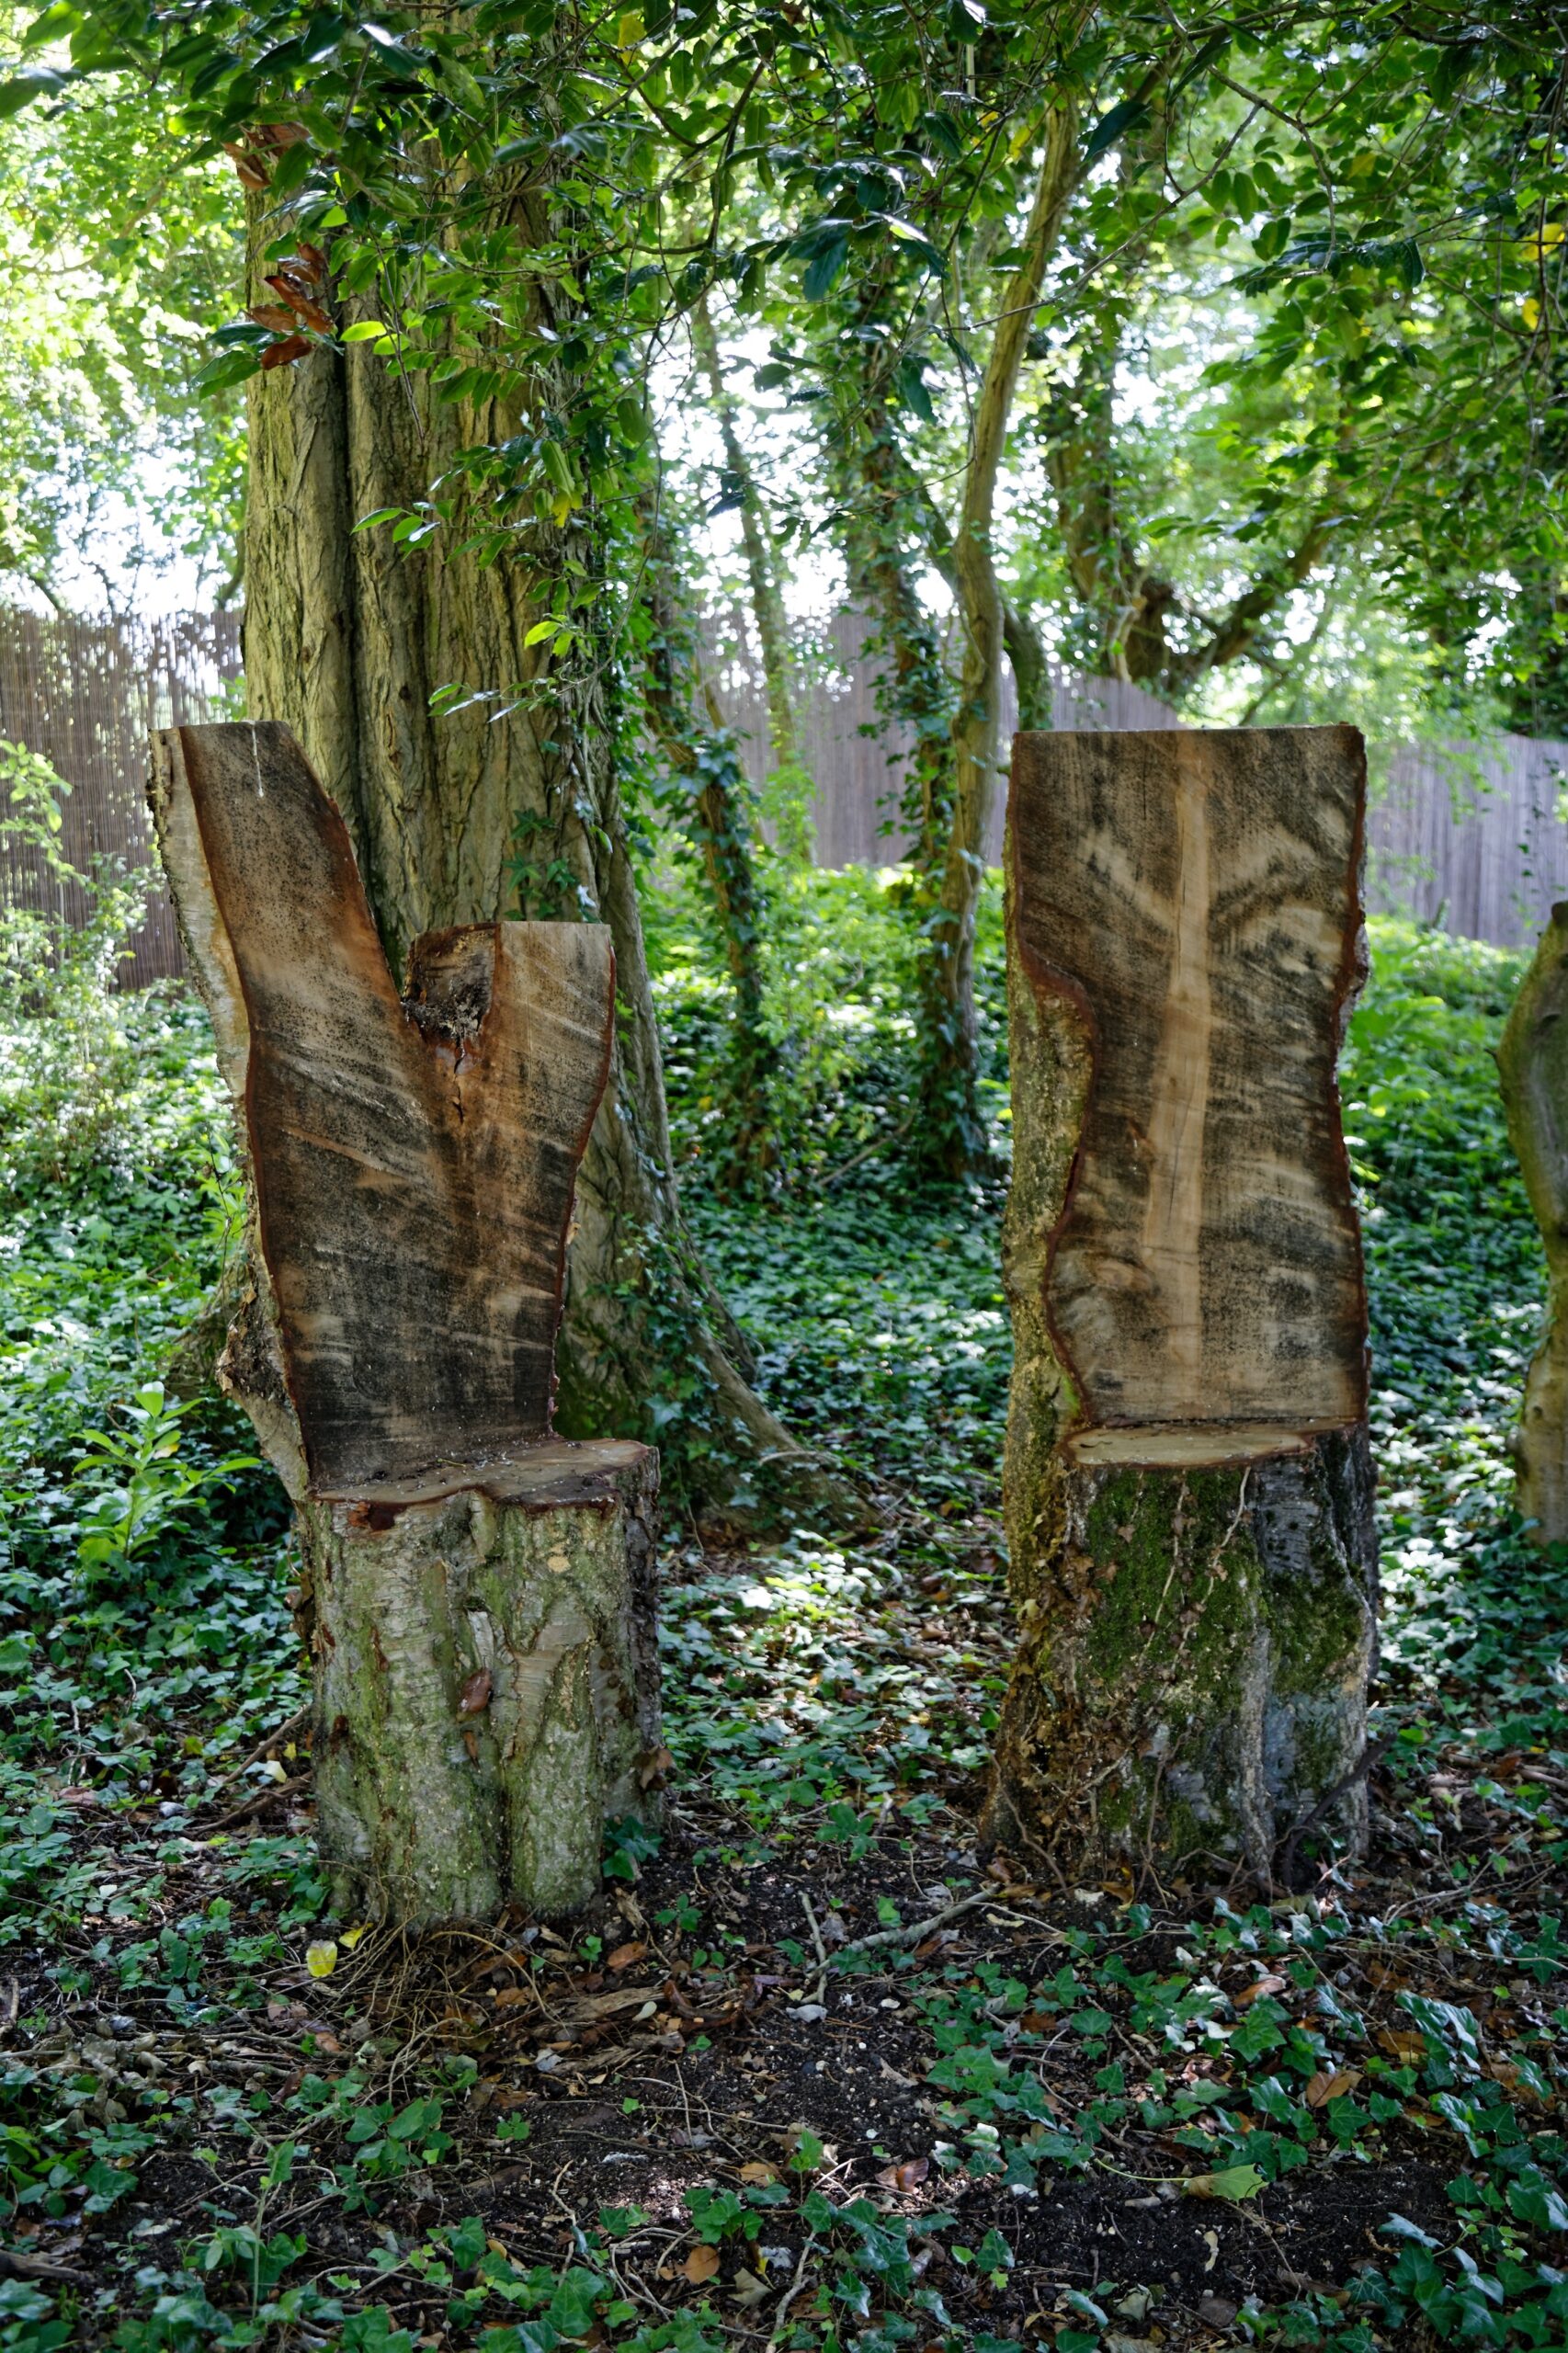
Finding the Perfect Tree Trunk

Choosing the right tree trunk is essential for both the look and durability of the finished table. Hardwoods like oak, maple, and walnut are highly recommended because they’re tough and their grain patterns are stunning. I made sure to check local regulations so I wouldn’t inadvertently break any laws about harvesting wood. Reclaimed wood is another great option—using it can help reduce environmental impact and, according to the U.S. Forest Service, over 80% of wood in the U.S. is now sourced from sustainable forests. I examined several trunks, looking for one that was free from rot and large cracks, since these can weaken the table over time. The right trunk should feel solid and heavy, with an even diameter for stability. I also considered the story behind the wood, preferring a local tree with a history rather than something store-bought. This step is like choosing the canvas for a painting—the whole project depends on a strong start.
Stripping and Prepping the Trunk
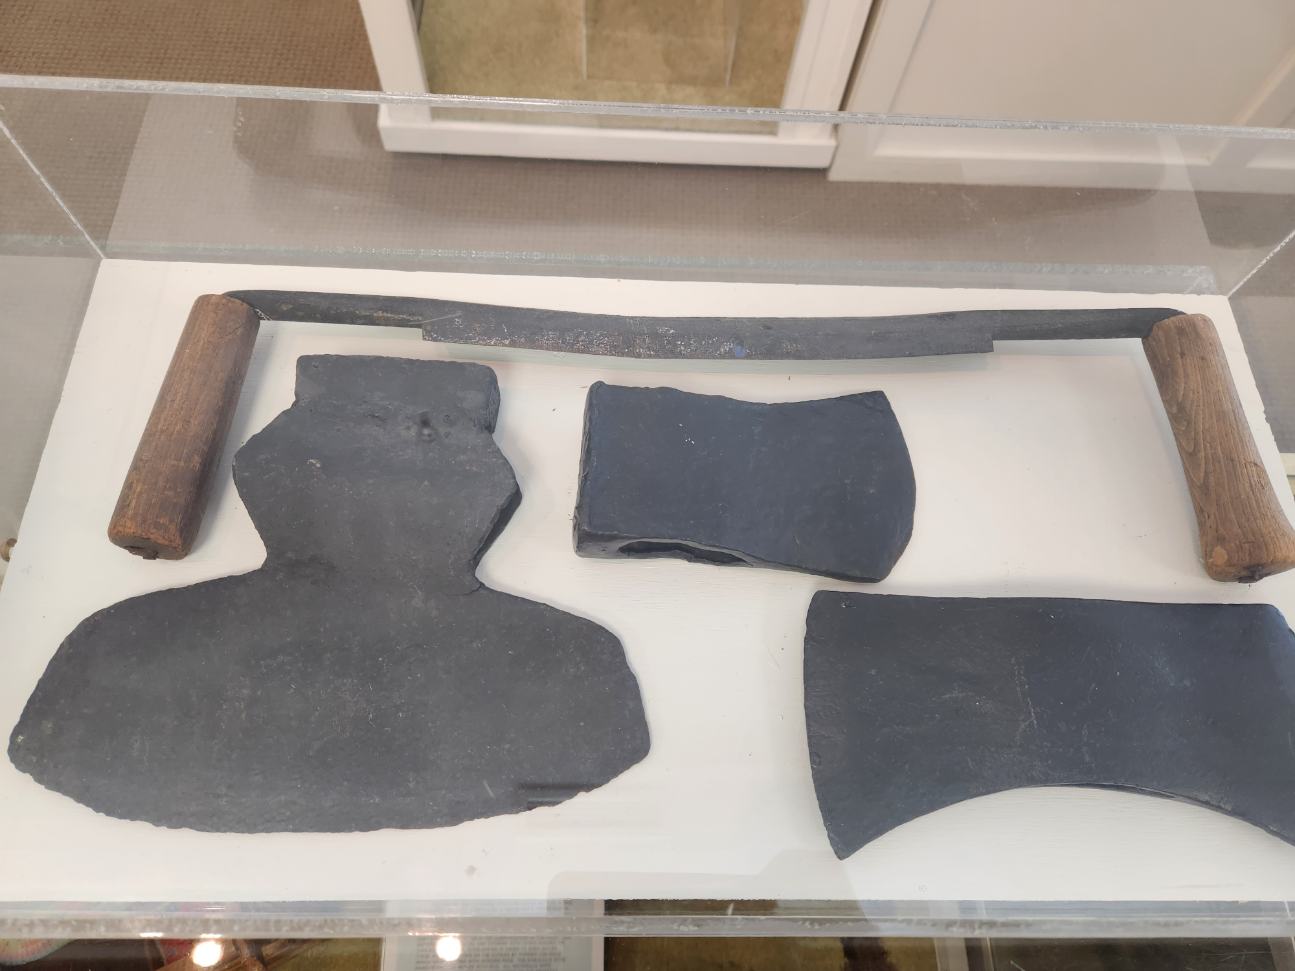
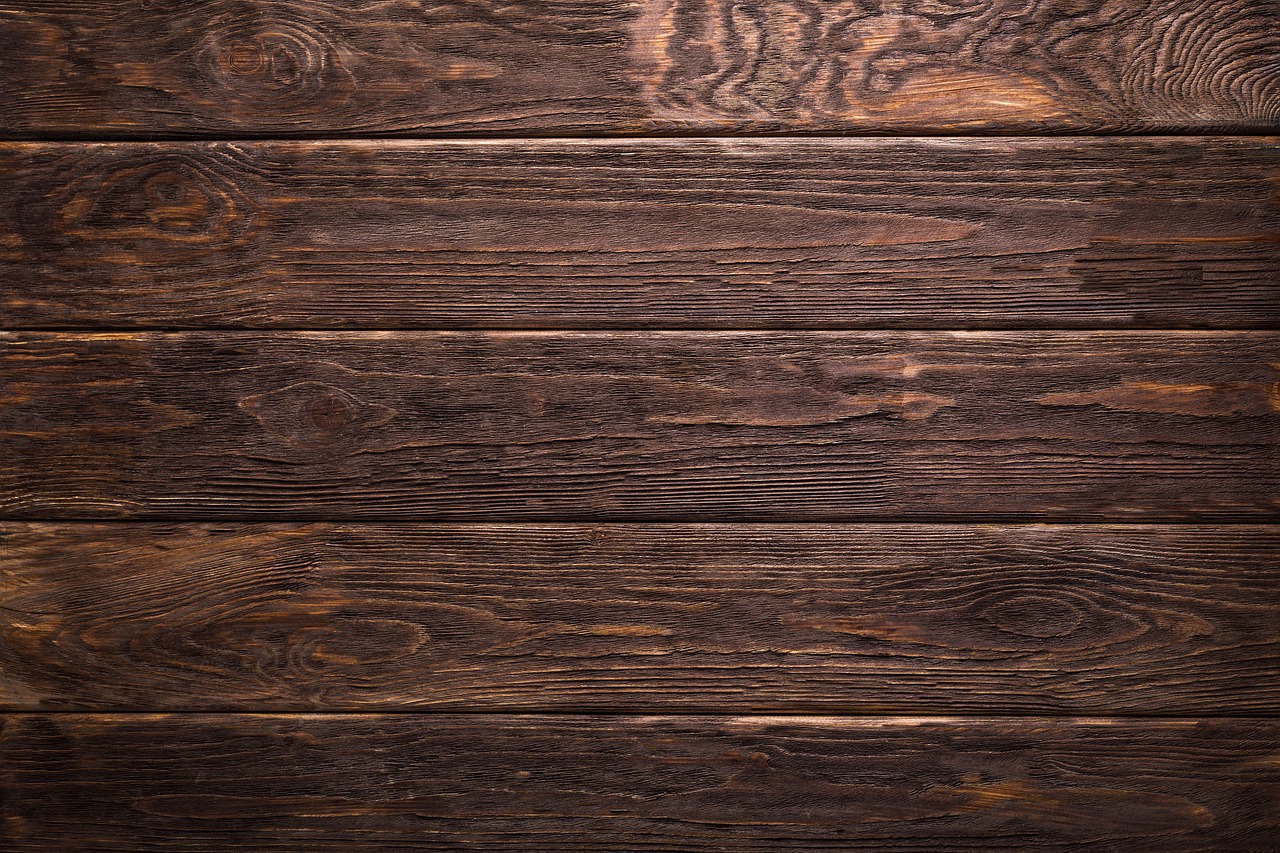
Preparation is where the magic begins and the hard work really kicks in. The first step is to remove the bark, which can hide bugs or fungi. Tools like a drawknife or bark spud work best for this, and the process is oddly soothing—sort of like peeling the layers off an onion to reveal the beauty beneath. Once the bark is gone, sanding becomes crucial to remove any rough patches. I started with a coarse grit to knock down high points, then moved to finer grits for a smooth finish. This step not only makes the table look good but also prepares it for staining and sealing later. Experts from the Woodworkers Guild of America emphasize the importance of thorough sanding to ensure a professional result. As I worked, I could already see the grain coming to life, a preview of the table’s final character. Taking time here pays off in the end, making every touch and finish easier.
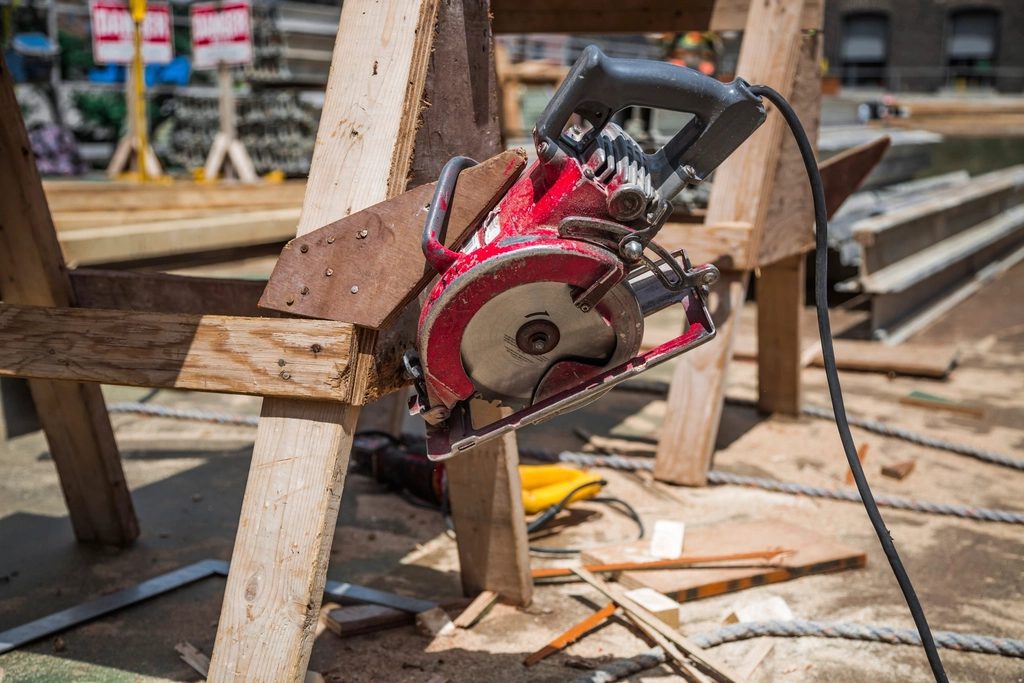
Shaping the Tabletop: Cutting and Design Choices
Deciding on the table’s shape was both exciting and intimidating. The natural contours of the trunk gave me options—should I go with a classic round, a rustic oval, or a modern freeform? I carefully used a chainsaw to slice the trunk into thick slabs, paying close attention to the direction of the grain. For finer shaping, a jigsaw helped clean up the edges and add gentle curves. Safety was always on my mind: I wore gloves, goggles, and took breaks to stay focused. According to recent furniture industry trends, there’s been a 15% increase in demand for custom-shaped tables, showing that people crave unique, personalized pieces. Each cut revealed new patterns and colors within the wood, making every decision feel important. I found that following the trunk’s natural lines often led to the most beautiful results. This step is where the table’s personality really starts to shine.
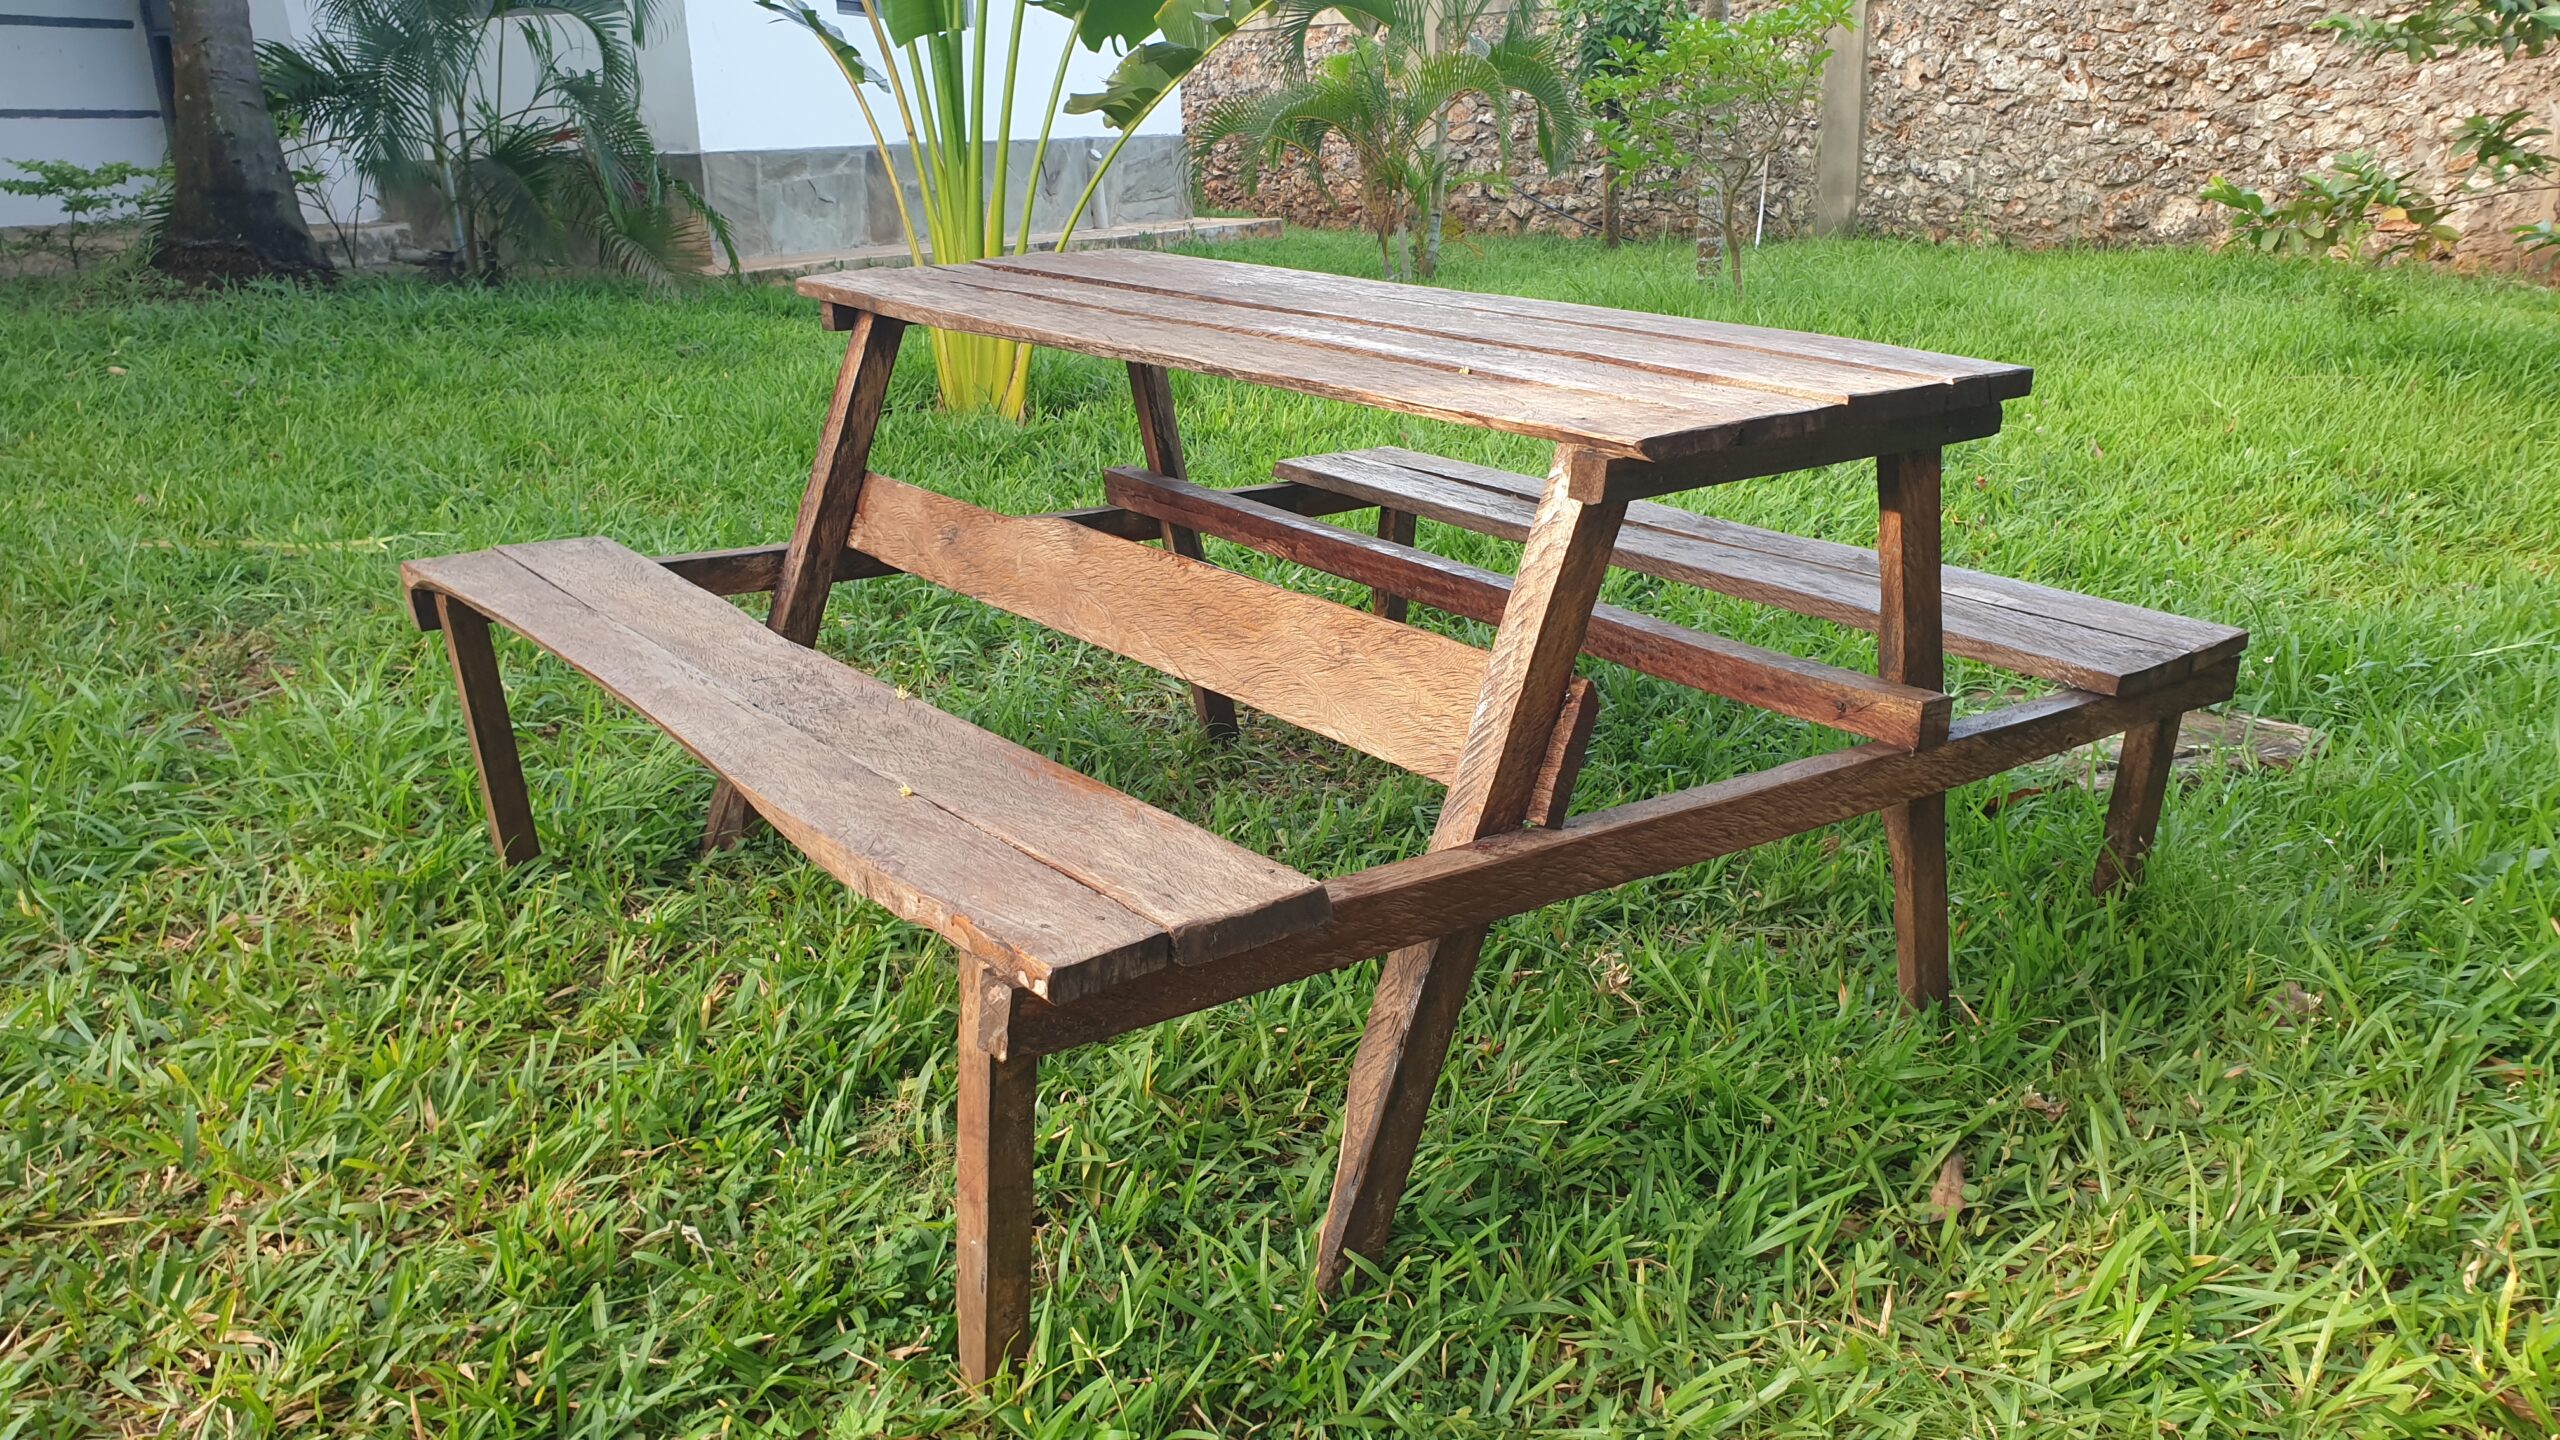
Building a Strong Base: Legs and Support
A beautiful tabletop needs a sturdy foundation. I explored several options for legs: classic wooden legs, trendy metal hairpins, and even a single pedestal base. Each choice brought a different vibe to the table, from rustic farmhouse to industrial chic. When attaching the legs, I made sure to use both wood glue and screws for extra stability—wobbly tables are everyone’s nightmare. The American Institute of Architects recommends a dining table height between 28 to 30 inches for optimal comfort, a detail that influenced my design. I measured carefully, double-checking that the table would sit level on any floor. For added support, I considered cross-bracing under the tabletop, especially since natural wood can shift over time. The process of building the base was a satisfying puzzle, each piece adding to the overall strength and style. Seeing the table finally stand on its own felt like a big milestone.
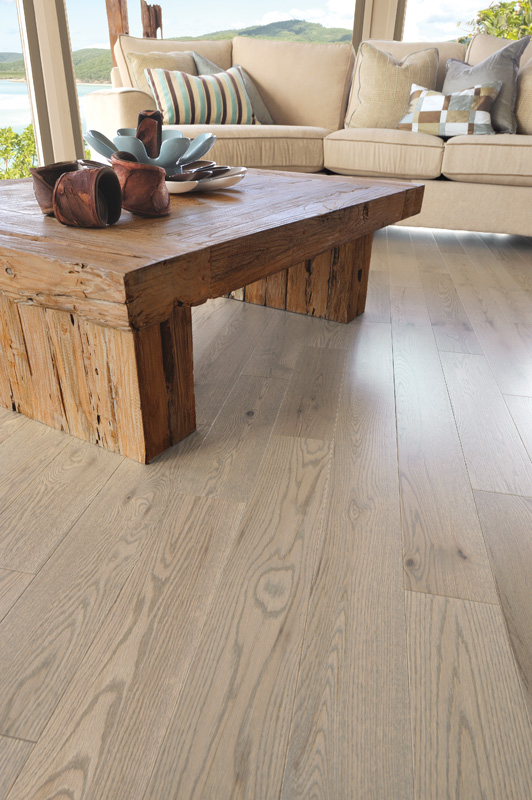
Bringing Out the Beauty: Staining and Sealing
Finishing is where the table truly transforms. I chose a stain that highlighted the grain’s natural variations without overpowering its organic charm. Using a soft cloth, I applied the stain in even strokes, watching as the wood deepened in color and character. Once the stain dried, it was time for protection: a clear sealant. The Woodworkers Guild of America suggests that polyurethane finishes can extend a table’s life by up to 50%, making this step essential. I applied several thin coats, sanding lightly between each for a glass-smooth finish. The sealant not only guards against moisture and spills but also gives the table a subtle sheen. This process requires patience, but the payoff is a table that looks as good as it feels. Each layer enhanced the wood’s depth and warmth, making it even more inviting.
Keeping It Gorgeous: Maintenance and Care

Maintaining a live-edge wood table isn’t complicated, but it does require some attention. I wipe down the surface regularly with a damp cloth to remove dust and avoid harsh chemicals that could damage the finish. Placemats and coasters help protect against heat and moisture—simple habits that make a big difference. Every few months, I check for scratches or dull spots and apply a fresh coat of sealant if needed. The National Wood Flooring Association found that regular upkeep can significantly extend a piece’s lifespan, making it a smart investment for the long term. I also keep the table out of direct sunlight, which can cause the wood to fade or crack over time. These small steps ensure the table stays beautiful and functional for years to come. There’s pride in caring for something you’ve made with your own hands.
The Satisfaction of Crafting Something Unique
Watching the project come together, from a rough trunk to a polished table, gave me a sense of achievement that’s hard to describe. Every imperfection in the wood told a story, making the table completely unique. The process was sometimes challenging, but the result was worth every effort. Friends and family are always impressed by the table’s origin and craftsmanship, sparking conversations and admiration. The joy of creating something from scratch is powerful, and it’s a rewarding reminder that great things can come from unexpected places. There’s a deeper connection to a handmade piece, knowing it’s not just furniture but a part of your own journey. Each meal or gathering around the table adds another layer to its story, making it a true centerpiece of the home.
Tree Trunk Tables: A Sustainable Trend
Making furniture from natural materials isn’t just a personal passion—it’s part of a larger movement toward sustainability. More people are seeking out eco-friendly options, and custom wood tables fit perfectly into this trend. According to U.S. Forest Service data, the use of reclaimed and sustainably sourced wood is on the rise. This approach helps reduce waste and supports responsible forestry. Creating your own table also means fewer mass-produced items end up in landfills, which is a small but meaningful step toward a greener future. The growing popularity of unique, handcrafted furniture shows that people value both individuality and environmental responsibility. Even big brands are taking notice, offering more “live edge” and natural wood options in their collections. Building a table from a tree trunk is a way to merge creativity with conscious living.
Unexpected Challenges and Lessons Learned
No DIY project goes completely according to plan, and building a table from a tree trunk was no exception. I encountered hidden knots that made cutting difficult, and some cracks appeared as the wood dried. Each setback taught me something new about patience and problem-solving. I learned the importance of letting the wood acclimate to indoor humidity before finishing, to prevent warping. Mistakes—like an uneven cut or a misplaced screw—were frustrating, but they made the end result feel even more earned. I realized that the “flaws” in the wood actually became features, adding character and uniqueness. These experiences made the project more memorable and the finished table more meaningful. Every challenge overcome became part of the table’s story, a reminder that creativity is as much about adapting as it is about planning.