
- 5 Tools Every Homeowner Should Own (But Most Don’t) - June 2, 2025
- 5 Upcoming Tools That Will Make DIY Projects Easier - June 1, 2025
- I Built a Sauna in My Backyard – No Kidding - June 1, 2025
Why Everyone’s Building Their Own Shelves in 2025

Imagine walking into a home improvement store, pricing a simple floating shelf, and walking out shocked at the $200 price tag. Sound familiar? You’re not alone. Nearly every homeowner has completed at least one DIY project, and 74% plan to start another in 2025. The massive surge in DIY shelf building isn’t just about saving money—it’s become a creative outlet that’s reshaping how Americans approach home improvement. According to our Quarterly Homeowner Activity Tracker, homeowners were spending an average of 37 DIY hours home improvement in the fourth quarter of 2024. In general, their home improvement spending also peaked to about $4,700 during this period. What’s driving this trend is simple: people want functional, beautiful storage solutions without the outrageous costs. Here’s the thing that might surprise you—building a basic shelf from scratch is actually easier than assembling most store-bought furniture. While IKEA instructions make your head spin, a DIY shelf requires just four pieces of wood and some screws. Plus, you’ll actually know it’s built to last.
The $10 Miracle Shelf That Changes Everything

Here’s where it gets interesting. This is a relatively simple project and it can be completed in an afternoon for less than $10 in materials. We’re talking about a shelf that would cost you $50-100 in stores, built for the price of a lunch combo. This isn’t some flimsy project that’ll collapse under the weight of a paperback—we’re building something solid. All you need for this DIY project is a stain of your choosing, screws, a drill with a drill bit, and wood. This will probably cost you less than 40 dollars assuming you already have the drill. The secret lies in understanding that floating shelves are essentially hollow boxes with hidden support systems. Once you grasp this concept, you’ll realize you’ve been overthinking the entire process. No fancy joinery, no complex measurements—just straightforward construction that anyone can master. Think of it like making a sandwich, except instead of mayo and lettuce, you’re using wood glue and screws.
Essential Tools You Already Own (Plus the Two You Might Need)

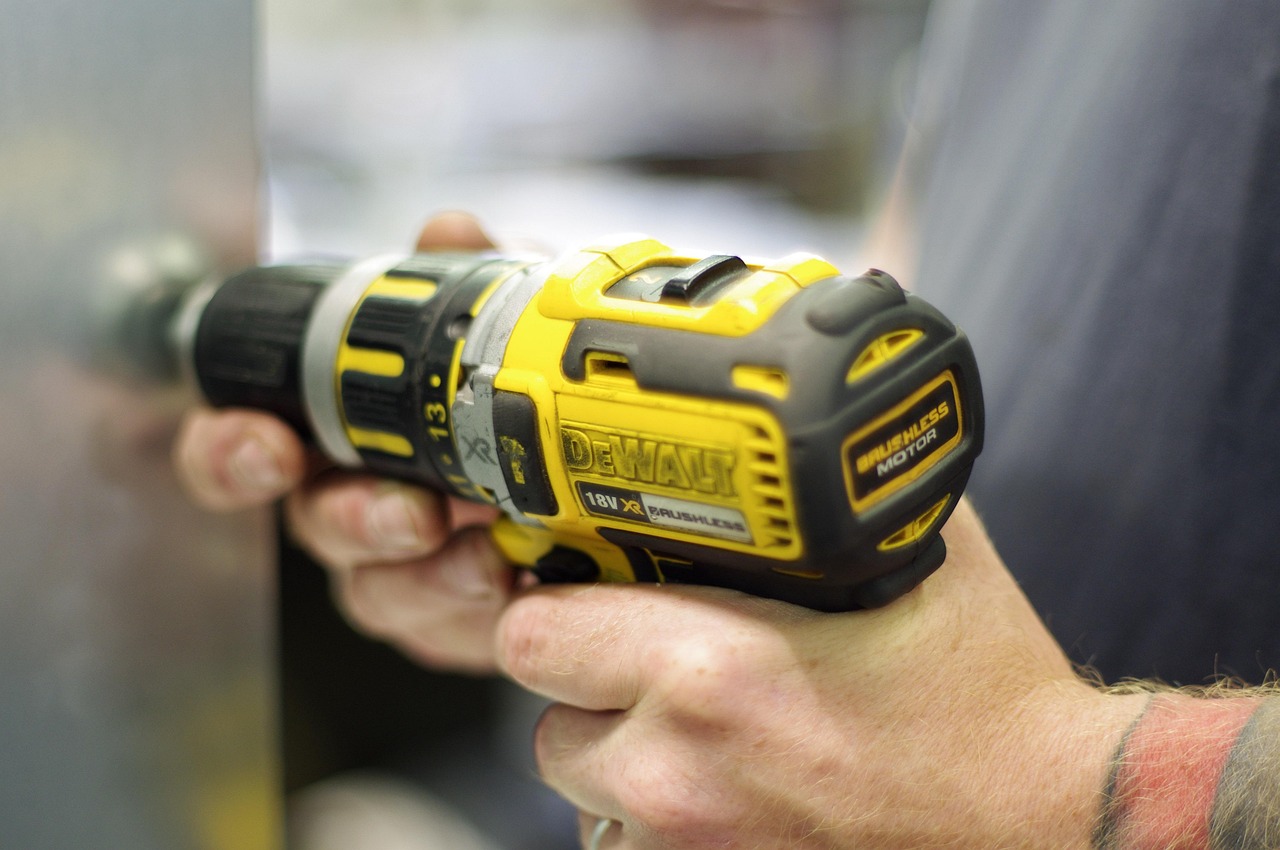
Let’s be honest about tools—you probably have 90% of what you need sitting in a drawer somewhere. Having the right tools will make your project easier. A tape measure is essential for accurate cuts. A saw is needed to cut the wood to size. A drill will help create holes for screws. Sandpaper will smooth the wood’s surface. Screws and brackets are necessary for assembly. A level ensures your shelf hangs straight. Here’s the reality check: most DIY fails happen because people try to make do with whatever’s handy. Using a wrench instead of a socket driver or a butter knife as a screwdriver feels like you’re getting creative, but really, you’re just inviting issues. Mismatched tools can strip screws, split wood, or even damage expensive materials. And let’s talk safety—improper tools make slips and accidents a lot more likely. If you’re missing a drill or saw, many home improvement stores rent tools by the day for less than $20. Sometimes it’s worth spending the extra few dollars to ensure your project actually works out.
Wood Selection Without the Overwhelm

Walking into a lumber yard can feel like being asked to perform brain surgery when you came in for a band-aid. Don’t let the wood selection process intimidate you. Choosing the right wood is crucial. Pine is a good choice for beginners. It’s affordable and easy to work with. Oak and walnut are more durable but cost more. Consider the shelf’s purpose and location. For your first shelf project, pine is your best friend—it’s forgiving, cuts easily, and takes stain beautifully. Two of the most affordable wood choices are pine and poplar. I like the finish that poplar offers but it is slightly more expensive than select pine. If you choose pine, make sure you are buying select pine rather than common boards. Common boards are cheaper, but often have knots and bows that make them much harder to work with. Think of wood like buying jeans—you want something that fits your skill level and budget. Common lumber from the hardware store, like Home Depot, is easy and relatively inexpensive. They will even cut the board to whatever length you want for free (seriously)!
The Four-Piece Formula That Never Fails

Here’s where DIY magic happens—every floating shelf follows the same basic formula. Floating shelves are made up of two parts—a simple cleat that’s attached directly to the wall and a hollow box that slides snugly over the cleat. We’ll walk you through each step for making and installing a floating shelf that’s 24 inches long and 8 inches deep. Picture this: you’re building a picture frame, but instead of glass, you’re creating a hidden pocket for the wall mount. The beauty of this design is its simplicity—you only need four pieces of wood to create the “box” part of the shelf. For this DIY floating shelf project, I’m using stock boards from the home center, a miter saw to cut them to length, and a drill/driver to assemble the pieces with screws and wood glue. I’ll also be using a sander to smooth my edges, but you can also just use a sanding sponge. The measurements are forgiving too—if you’re off by a sixteenth of an inch, nobody will notice. This isn’t precision cabinetry; it’s functional storage that looks great.
Cutting Like a Pro (Even If You’re Not)

The biggest fear most people have about DIY projects is making the cuts. Here’s a secret: Common lumber from the hardware store, like Home Depot, is easy and relatively inexpensive. They will even cut the board to whatever length you want for free (seriously)! Most home improvement stores will make your cuts for free, and their saws are more accurate than anything you have at home. Bring your measurements, and they’ll handle the scary part. If you do decide to cut at home, remember that measuring twice really does save you from cutting once incorrectly. First things first, always use a quality tape measure, and double-check every measurement—”measure twice, cut once” isn’t just a catchy saying, it’s the golden rule. Eyeballing measurements or forgetting to double-check can lead to costly mistakes. Mis-measuring means shelves don’t fit, look uneven, or don’t line up. The old adage stays true: measure twice, cut (or drill) once! Mark your cut lines with a pencil, and if you’re using a handsaw, take your time. Speed comes with practice, but accuracy comes with patience.
Assembly Magic: Wood Glue Plus Screws Equals Forever
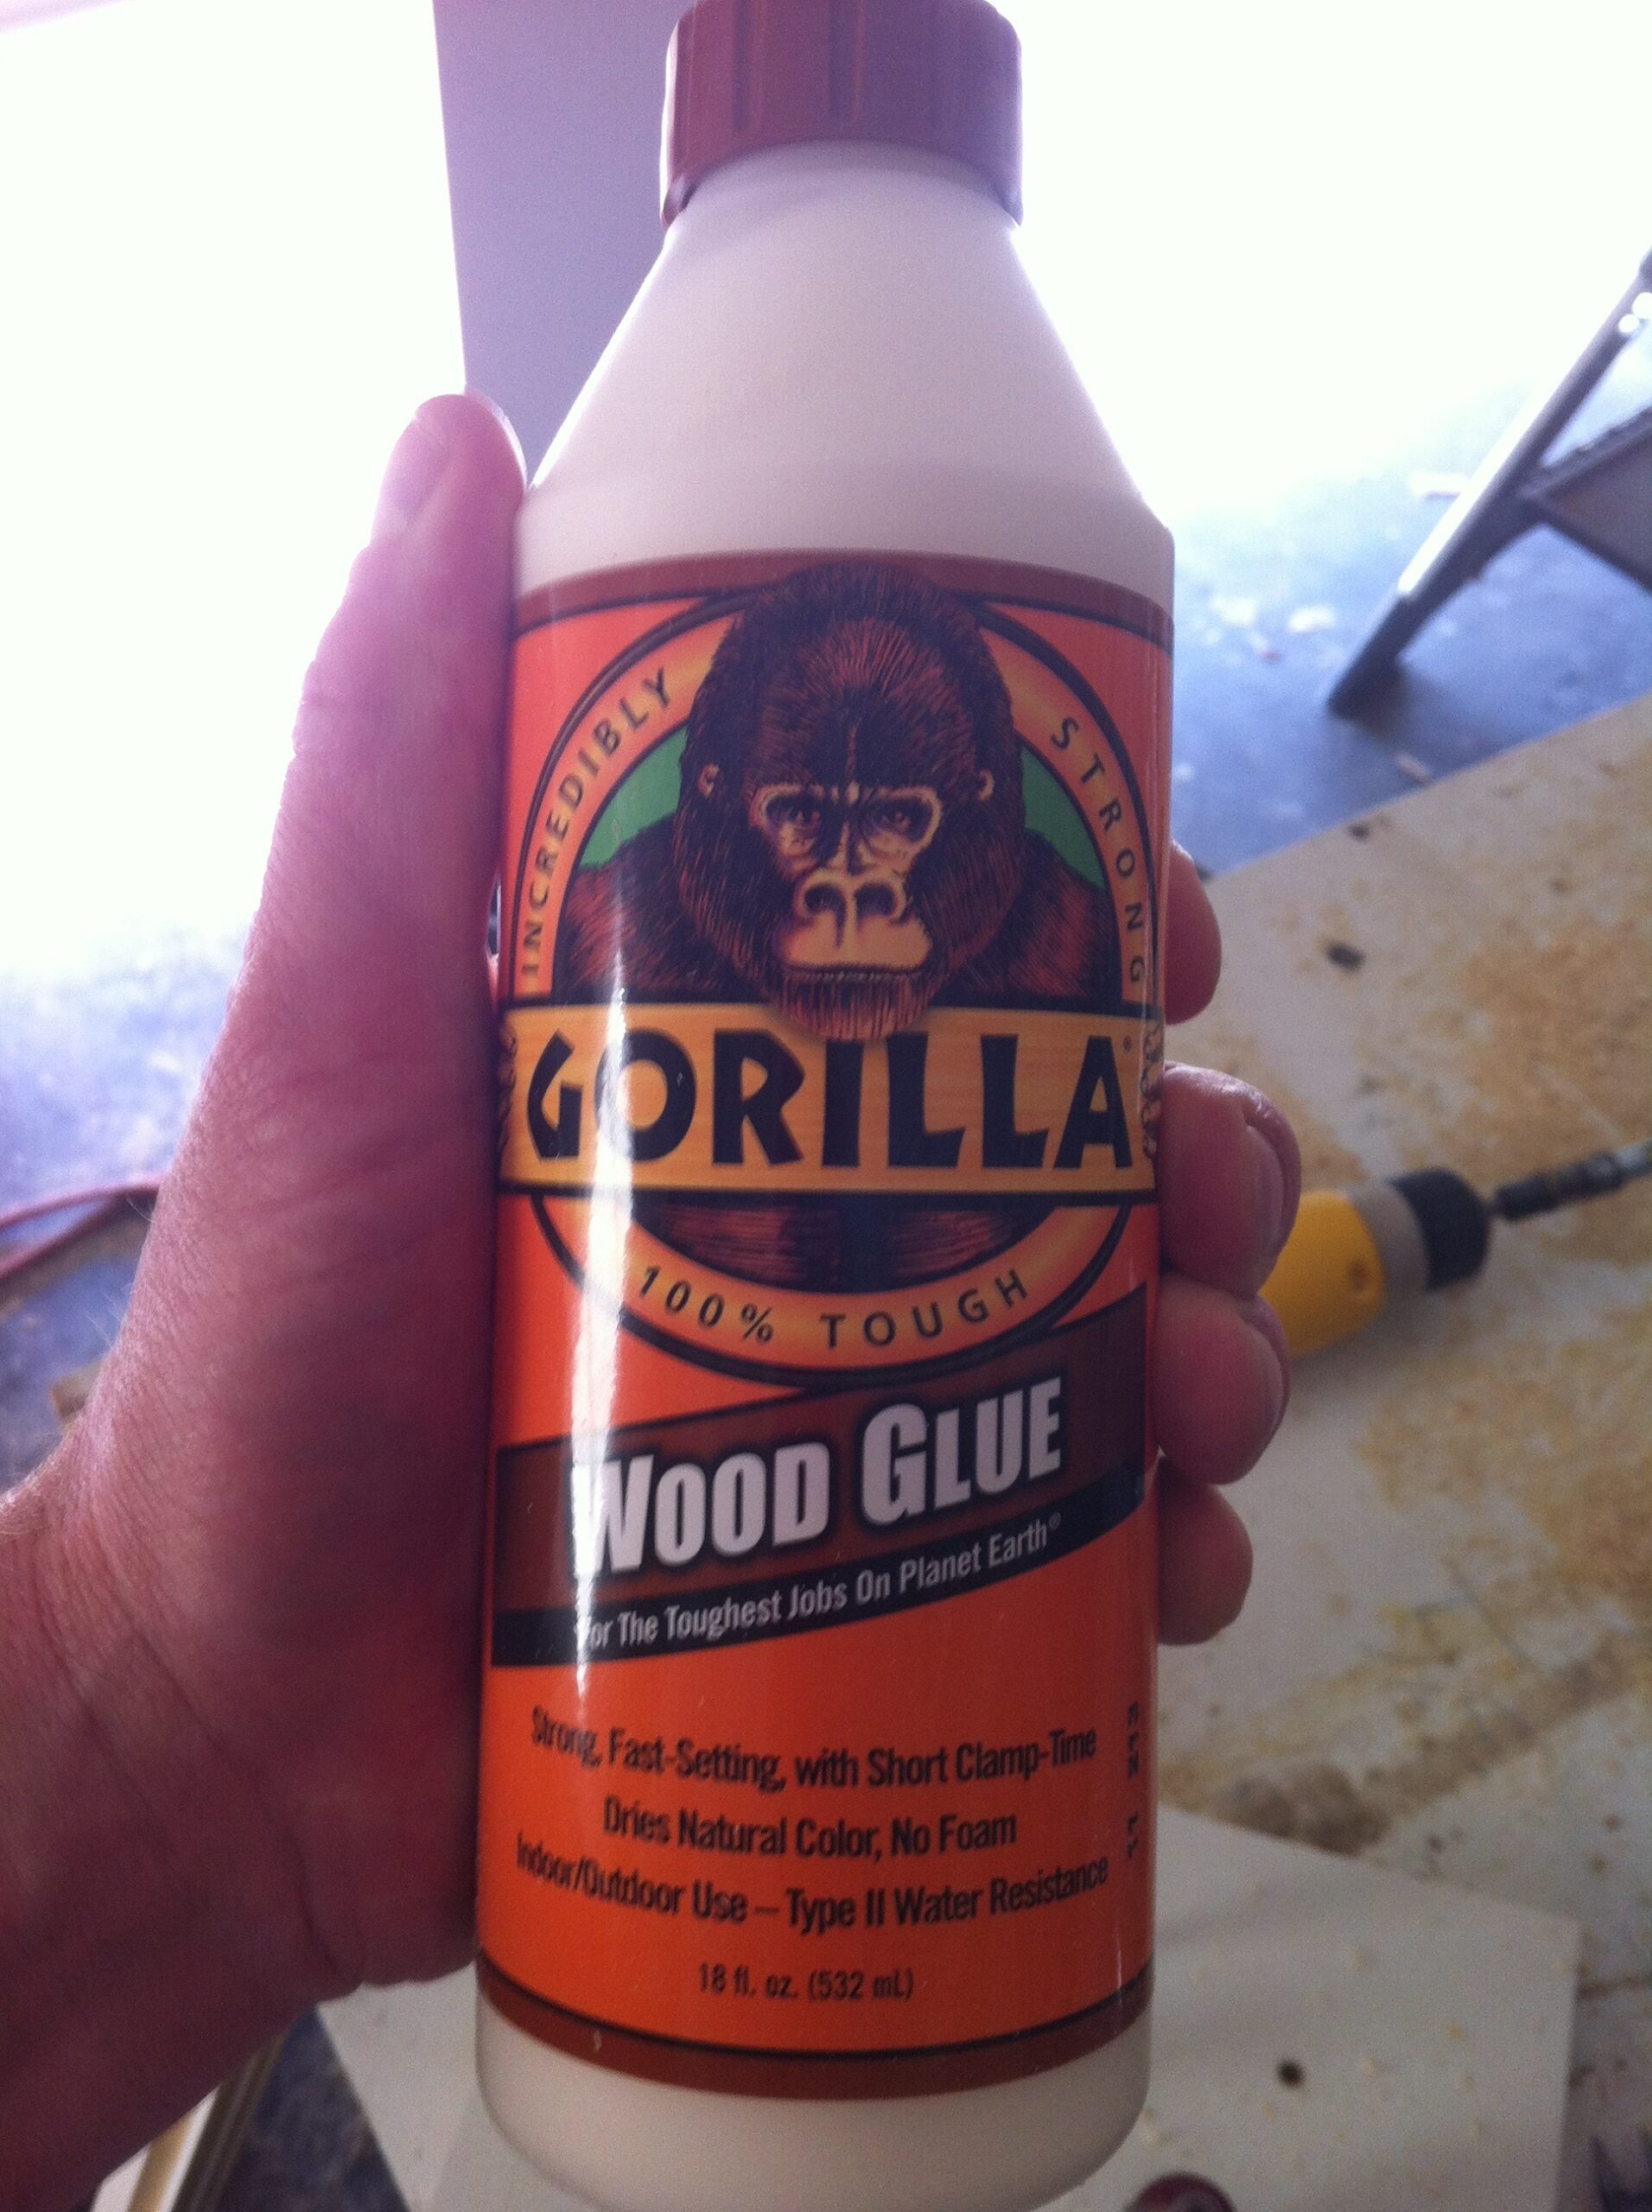
Here’s where your shelf transforms from a pile of wood into actual furniture. The secret to a shelf that lasts decades isn’t complicated joinery—it’s understanding that wood glue is basically permanent cement for wood. Apply wood glue to the ends of the shorter 1 × 2 pieces. Drive 1 1/4-inch wood screws through the longer 1 × 2 pieces and into the ends of the shorter 1 × 2 pieces to hold the pieces in place. Think of screws as the clamps that hold everything together while the glue does the real work. Once that glue sets, your shelf could probably survive a small earthquake. A pro-tip: Use a small amount of wood glue in addition to screws for added strength. The process is straightforward: drill pilot holes (they prevent the wood from splitting), apply wood glue, clamp pieces together, then drive in your screws. We love using these deck screws because they have a special star head bit that doesn’t strip out like typical phillips screws tend to do. We also use a good impact driver which honestly makes a WORLD of difference. Not sure how we ever lived without one of these—screws go in like butter!
The Hidden Bracket System That Actually Works

This is where most people get confused, but it’s actually the simplest part. Also known as invisible shelf supports, these small metal pins or rods are inserted into studs and the back of the shelf, providing a seamless, hidden support system. This ingenious method involves mounting a cleat (a beveled wooden strip) to the wall studs and another matching cleat to the back of the shelf, allowing the shelf to be securely hung on the wall cleat. Imagine hanging a picture, except instead of a hook, you’re using a wooden rail system that’s completely hidden. The wall cleat acts like a French cleat system—one piece mounts to the wall, the other to your shelf, and they lock together securely. The back of the frame that is attached to your wall will be a 2×3 cut at 32″. Then, each shelf will have 3 brackets that are each