
- Ultimate Guide to Buying Your First Table Saw - June 4, 2025
- The Best Tool Brands – Are You Using the Right One? - May 30, 2025
- How to Build a Fire Pit in Just One Day - May 25, 2025
The Growing Fire Pit Revolution That’s Changing Backyards Forever

What if I told you that homes with outdoor fireplaces or fire pits sell 2.8 days faster, highlighting their value as a desirable home feature? We’re living through a backyard revolution that’s transforming how Americans use their outdoor spaces. The fire pits market size was valued at USD 3.09 billion in 2023 and is poised to grow from USD 3.29 billion in 2024 to USD 5.45 billion by 2032, growing at a CAGR of 6.5% during the forecast period. This isn’t just a trend – it’s a lifestyle shift that’s making fire pits the hottest addition to homes across the country. The pandemic changed everything, with 7.1 million more Americans participating in outdoor recreation in 2020 compared to 2019, with 53% of Americans aged 6 and over engaging in outdoor recreation. Building your own fire pit has never been more appealing, and the best part? You can create this backyard centerpiece in just one day.
Why a One-Day Fire Pit Project Actually Makes Perfect Sense

Think building a fire pit requires weeks of planning and construction? Think again. One project cost $450 and came together in a single day, proving that ambitious weekend warriors can tackle this project successfully. The entire fire pit build took almost one hour exactly, and if you build a fire pit similar to ours, construction should take approximately one to two hours barring any unforeseen hurdles or struggles. The secret lies in choosing the right approach and materials. Modern fire pit construction has evolved to become incredibly DIY-friendly. Fire pits can be built in a few hours using retaining wall blocks, sand, and pavers, great for DIY beginners because it does not require grout, mortar, or concrete, making it a perfect starter masonry project, costing around $50. The key is understanding that you don’t need advanced masonry skills – just the right materials and a solid plan.
Essential Materials That Won’t Break Your Bank Account
The DIY cost to build a fire pit is $200 to $650 for tools and materials, making this one of the most affordable home improvement projects you can tackle. Your shopping list starts with retaining wall blocks, which form the backbone of your structure. Concrete block fire pits are the most affordable option and typically burn wood, charcoal, or gas. You’ll also need paver base, sand, and a metal fire ring to contain the flames safely. An average round fire pit with a 3′ to 4′ diameter needs 75 to 150 bricks or pavers. Don’t forget the finishing touches: lava rock for drainage and a shovel for excavation. The beauty of this approach is flexibility – if you want to upgrade later, you can easily modify your basic design. Smart shoppers often find deals at home improvement stores, where bulk purchases can save significant money on blocks and materials.
Safety First: Building Codes and Regulations You Must Follow

Before you break ground, understanding local regulations could save you thousands in fines and rebuild costs. You want to build your pit at least 10 feet from any building structures, trees, fences, or other obstructions, and you don’t want anything hanging above your fire pit, so even if a base of a tree is 10 feet away, you don’t want to have branches hanging directly above the fire pit. Different municipalities have varying requirements, but most follow similar patterns. Portable fireplaces and fire rings/pits equipped with a device to arrest sparks shall be located at least 3 feet from combustible construction at R-3 occupancies, and at least 15 feet from combustible structures at other R occupancies. Some areas require permits for permanent installations, while others only regulate size and fuel type. The smart approach is calling your local fire department before starting – they’re usually happy to clarify what’s allowed. Remember, these rules exist to protect you, your property, and your neighbors.
Step-by-Step Construction Guide for Your One-Day Build
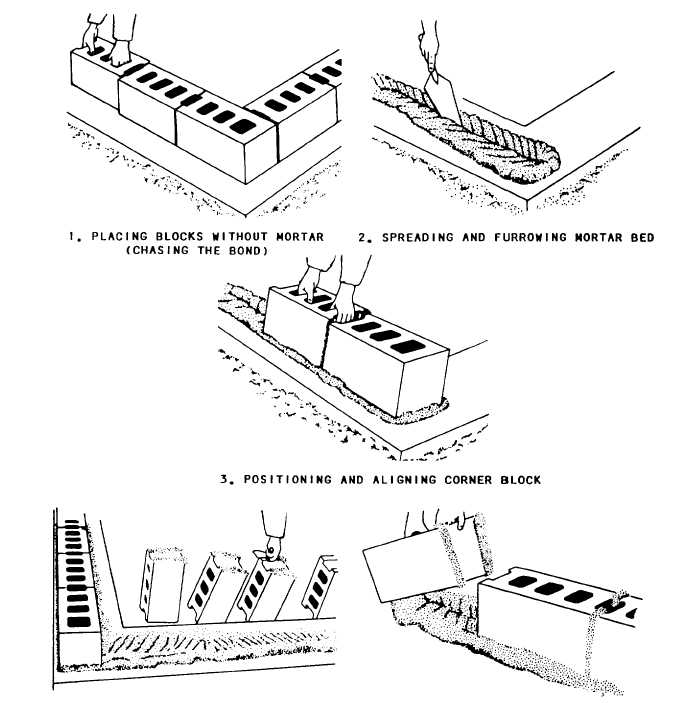
Your construction journey begins with proper site selection and preparation. Lay out one layer of the block in a circular design to mark where you need to dig, then take your spade shovel and score a digging line around the outside of your blocks on the ground. Excavate approximately 4-6 inches deep to create a stable foundation. Pour your Step-1 paver stone base onto the excavated dirt base and use the level to make certain that the area is level from side to side, then walk on the paver stone base to tamp the material in and create a solid base. Next comes the sand layer, followed by your first row of blocks. The magic happens when you start stacking – each subsequent row should be offset from the one below, creating a strong interlocking pattern. Remove two blocks at a time, apply construction adhesive, then reposition the blocks, checking for staggered joints and locking the blocks in place with construction adhesive, then allow the adhesive to cure. Finish by adding your fire ring and lava rock drainage.
Smart Design Choices That Maximize Function and Style
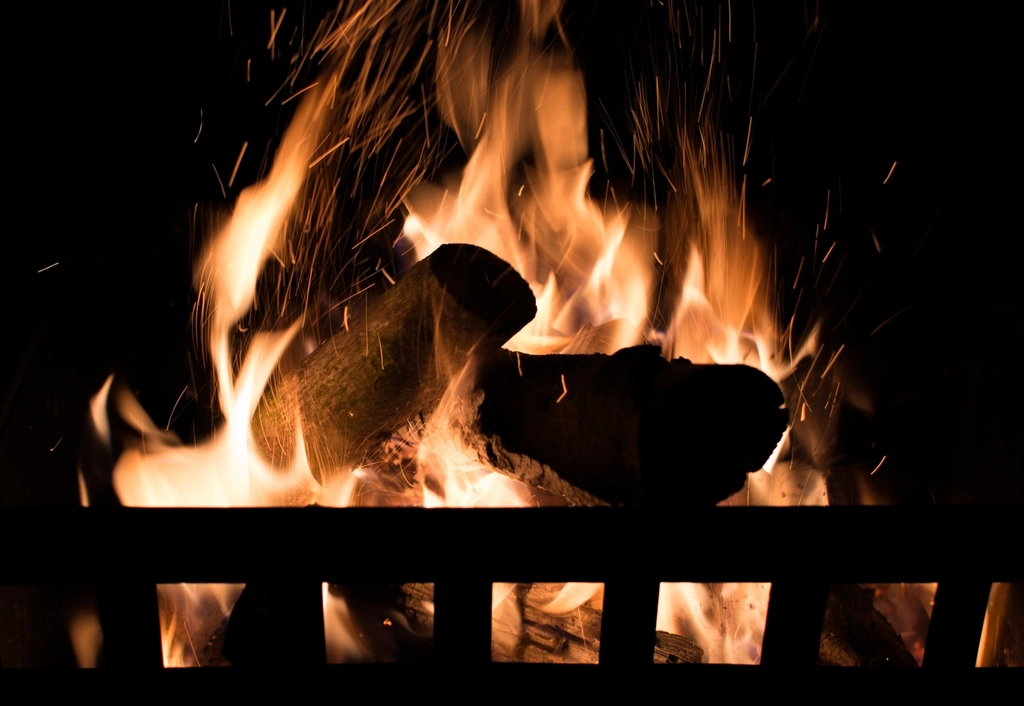
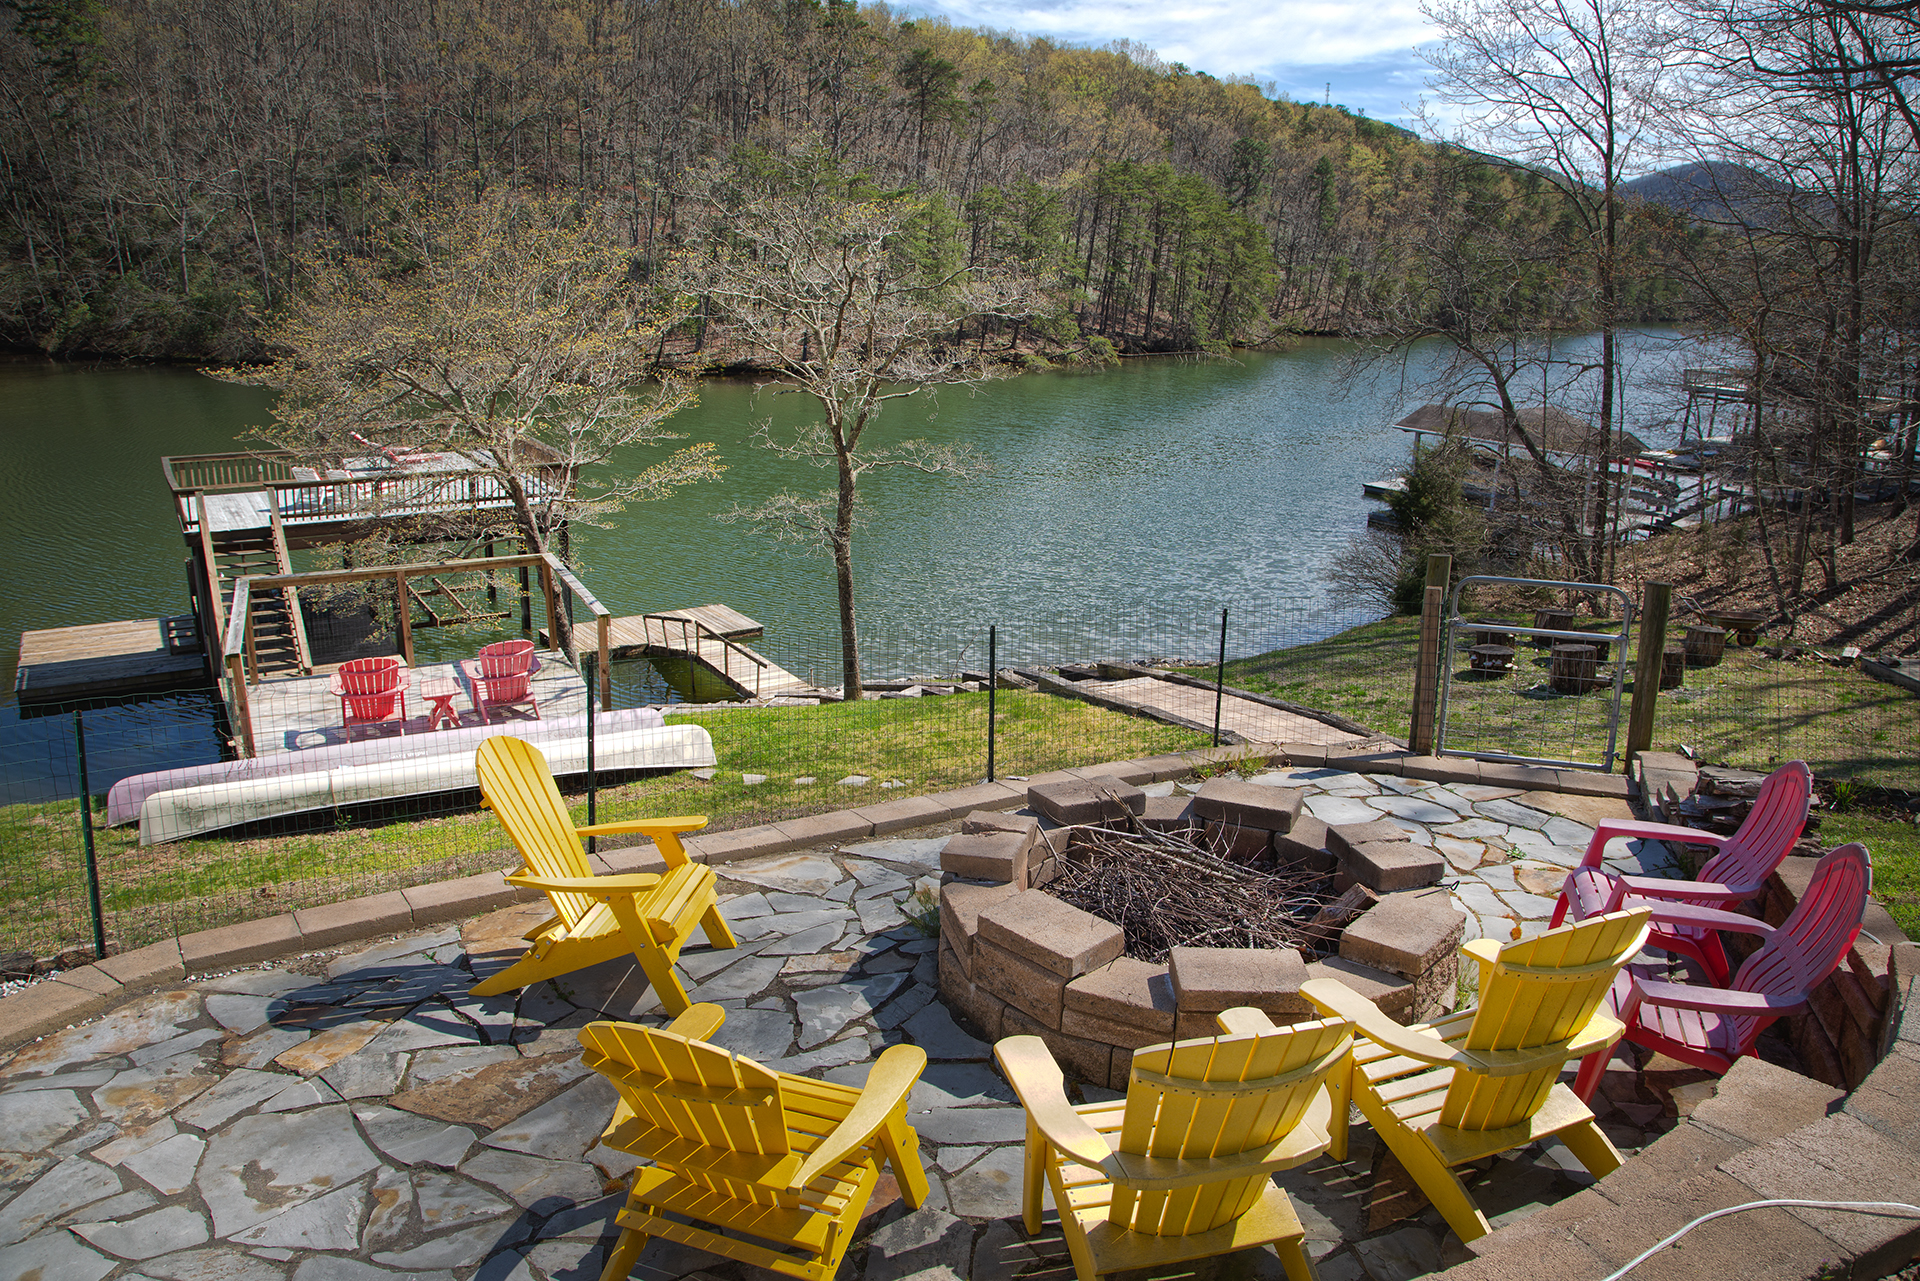
Size matters more than you might think when designing your fire pit. Our fire pit has an inside diameter of nearly four feet, and I would highly recommend building your fire pit to be at least three feet wide when measured on the inside. This sizing provides optimal heat distribution while accommodating multiple people comfortably. Consider the visual impact too – your fire pit should complement your existing landscape design. Ventilation is key when designing your fire pit because fire needs three things to live: fuel, heat, and oxygen, so make sure that you allow for proper airflow through your fire pit walls, or you will have a hard time starting your fire and keeping it lit. Think about seating arrangements early in the design process. Will you use portable chairs, built-in benches, or a combination? The layout should encourage conversation while ensuring everyone gets equal warmth from the fire.
Cost-Effective Tips from Professional Contractors

Professional contractors have learned tricks over decades that can save you both time and money. DIY fire pits are cheaper than purchasing conventional fire pits, with most costing between $50 and $150, and you can make them using inexpensive or repurposed materials such as stone, bricks, pavers, concrete, and retaining wall blocks. One insider secret: buy materials during off-season sales when demand is lower. Many contractors also recommend starting with a basic design that you can enhance over time. Concrete blocks are the largest and least expensive of the building materials you will purchase, and you can often get the materials for a fire pit for around $200 to $2,000 using concrete blocks and mortar. Another pro tip is to coordinate your fire pit project with other landscaping work to share delivery costs and potentially get bulk pricing on materials. Don’t overlook the value of proper planning – spending an extra hour designing can save hours during construction.
Common Mistakes That Could Ruin Your Weekend Project
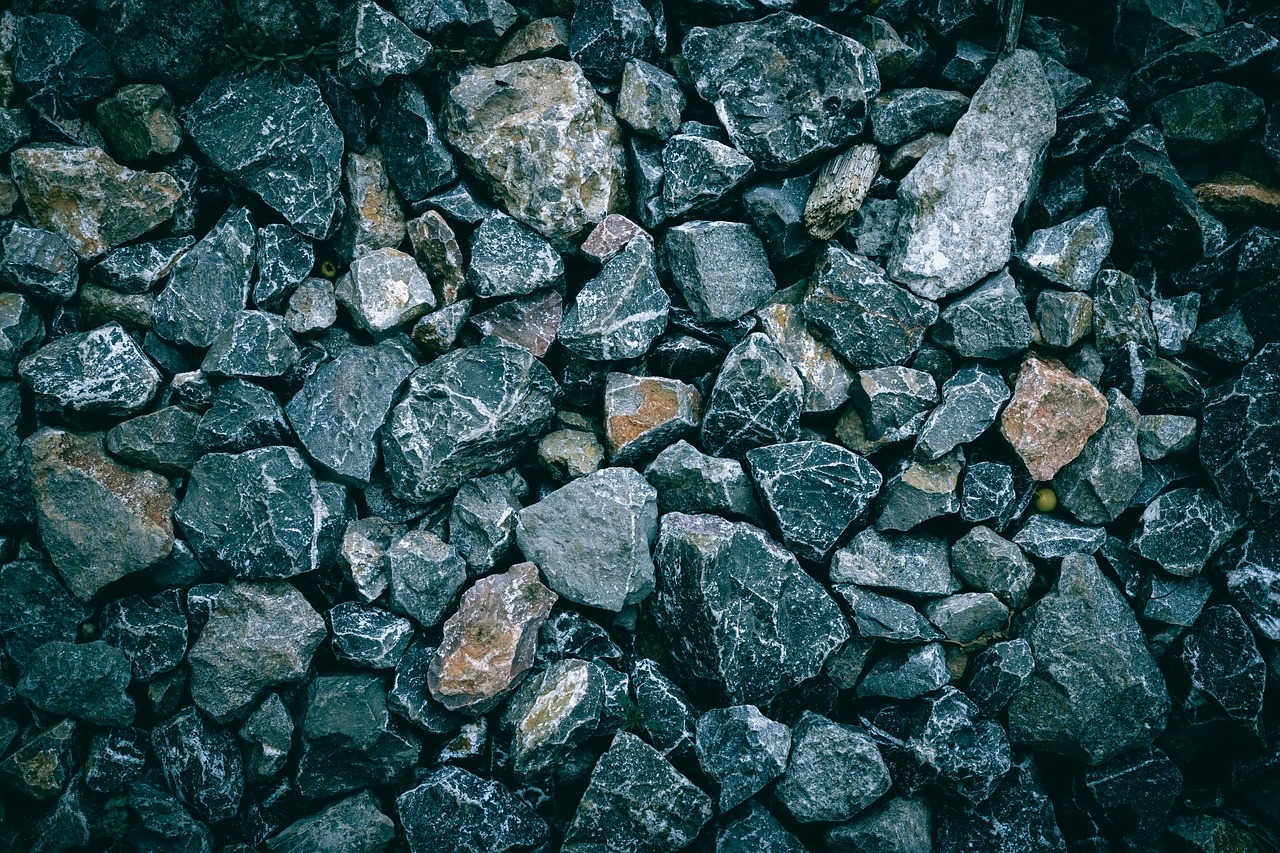
Even experienced DIYers make critical errors that can turn a one-day project into a multi-week nightmare. The biggest mistake is rushing the foundation work – an uneven base will cause your entire structure to shift and potentially collapse. Use a level to check the excavated area to ensure that the dirt base is level from side to side, because having a level base now will make your fire pit look much nicer later. Another costly error is using the wrong materials – not all stones can withstand extreme heat. Never use damp natural stones since the inner moisture content causes the rocks to explode when heated, and always buy heat-resistant stones or bricks. Poor drainage planning leads to water accumulation that can crack your fire pit during freeze-thaw cycles. Many builders also underestimate curing time – allow at least 24 hours for the construction adhesive to cure before starting a fire. Finally, inadequate clearance from structures violates safety codes and creates fire hazards.
Tools and Equipment You Actually Need (Not What Stores Try to Sell)

Hardware stores love to oversell tools, but successful fire pit construction requires surprisingly few items. Your essential toolkit includes a spade shovel for excavation, a level for ensuring proper alignment, and a rubber mallet for adjusting block placement. In addition to the flagstones and construction adhesive, you’ll also need a small level, pickaxe, flathead shovel, rubber mallet, small garden shovel, a small brush, and a caulking gun. A wheelbarrow or garden cart makes material transport much easier, especially when working alone. Skip expensive specialized masonry tools unless you plan multiple projects – basic construction adhesive works better than mortar for beginners and eliminates the need for mixing equipment. A tape measure and marking spray paint help with layout, while safety glasses and work gloves protect you during construction. The key is borrowing or renting expensive tools rather than buying them for a single project.
Weather Considerations and Seasonal Timing

Timing your fire pit construction around weather patterns can make or break your one-day timeline. Spring and fall offer ideal conditions – moderate temperatures, lower humidity, and stable weather patterns. Avoid construction during rainy periods, as wet conditions make proper compaction impossible and extend adhesive curing times significantly. Construction adhesive can take between two and seven days for the material to dry, fully cure and be ready to handle the heat from your DIY firepit. Summer heat creates challenges too – concrete and adhesive can cure too quickly in extreme temperatures, making working time shorter and potentially weakening bonds. Winter construction is possible in milder climates but requires special cold-weather adhesives and protection from freezing. Morning starts are generally better than afternoon projects, giving you maximum daylight and avoiding peak heat. Check the weather forecast for the entire week following construction – you need dry conditions for proper curing, not just during building.
Maintenance Secrets for Long-Term Durability
A well-built fire pit should last decades with minimal maintenance, but knowing the right care techniques makes all the difference. Regular ash removal prevents corrosion and maintains proper airflow – once fire pit ashes have entirely cooled, you can dispose of them with your regular garbage, but they’re worth saving in a bin outside because they can help repel pests from your garden and add rich nutrients to the soil, and you can also use the ashes in winter for traction on icy driveways. Annual inspection of mortar joints and block stability prevents small issues from becoming major problems. Cover your fire pit during extended periods of non-use to protect it from weathering and prevent water accumulation. The fire ring may need replacement every 5-10 years depending on usage intensity, but this is typically a simple DIY task.