
- How to Prevent Rust on Your Hand Tools - June 3, 2025
- This DIY Project Only Requires 3 Tools—Perfect for Beginners - June 3, 2025
- The Easiest DIY Pergola Project You Can Actually Finish - May 29, 2025
The Rising Cost of Emergency Repairs
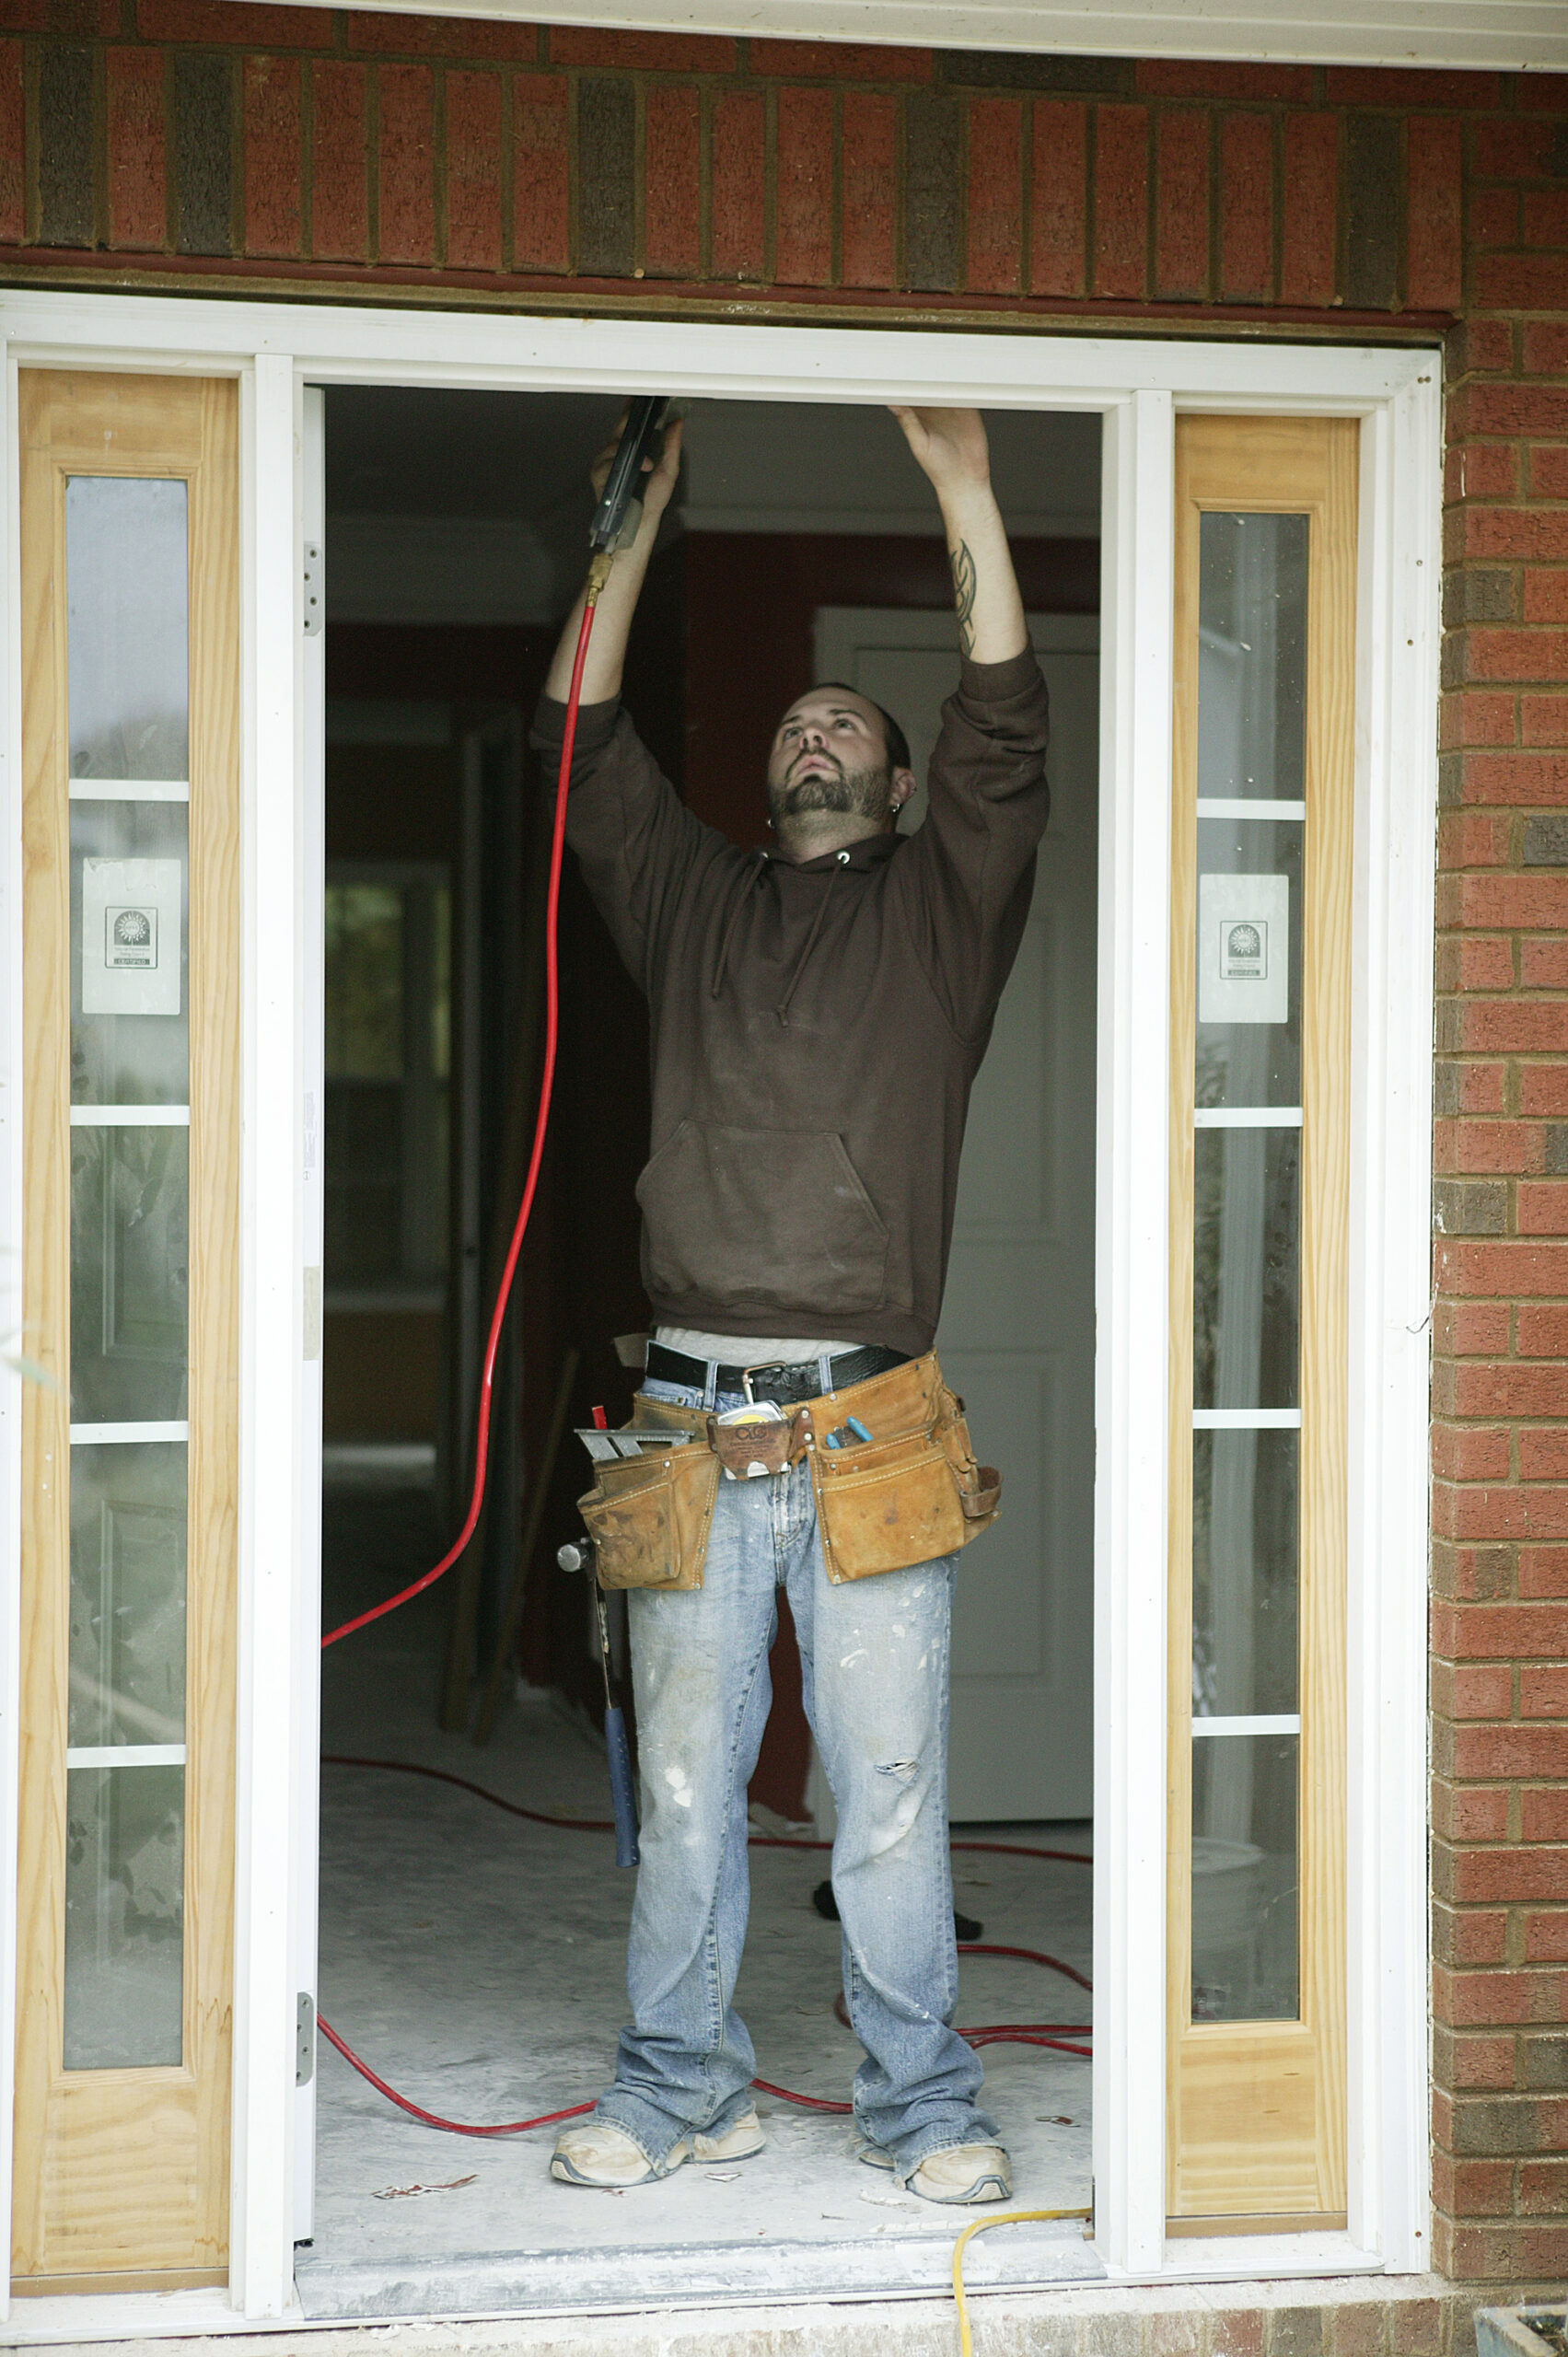
Did you know that 80% of American households will need handyman services at least once a year, and 60% of homeowners didn’t use a contractor for their home remodeling projects in 2022? That’s a staggering reality that hits most of us right where it hurts – our wallets. With home improvement sales expected to reach over $620 billion in 2025, and homeowners spending $337 billion in new home improvements and repairs in 2020, $368 billion in 2021, and an estimated $427 billion in 2022, the pressure is on. But here’s the shocking truth: many of those expensive service calls could be avoided with just 10 minutes of your time and a few basic tools. Let me share something with you – the same leaky faucet that costs $150 to fix professionally can often be repaired for under $5 in parts and about 8 minutes of effort.
Stop That Annoying Dripping Faucet
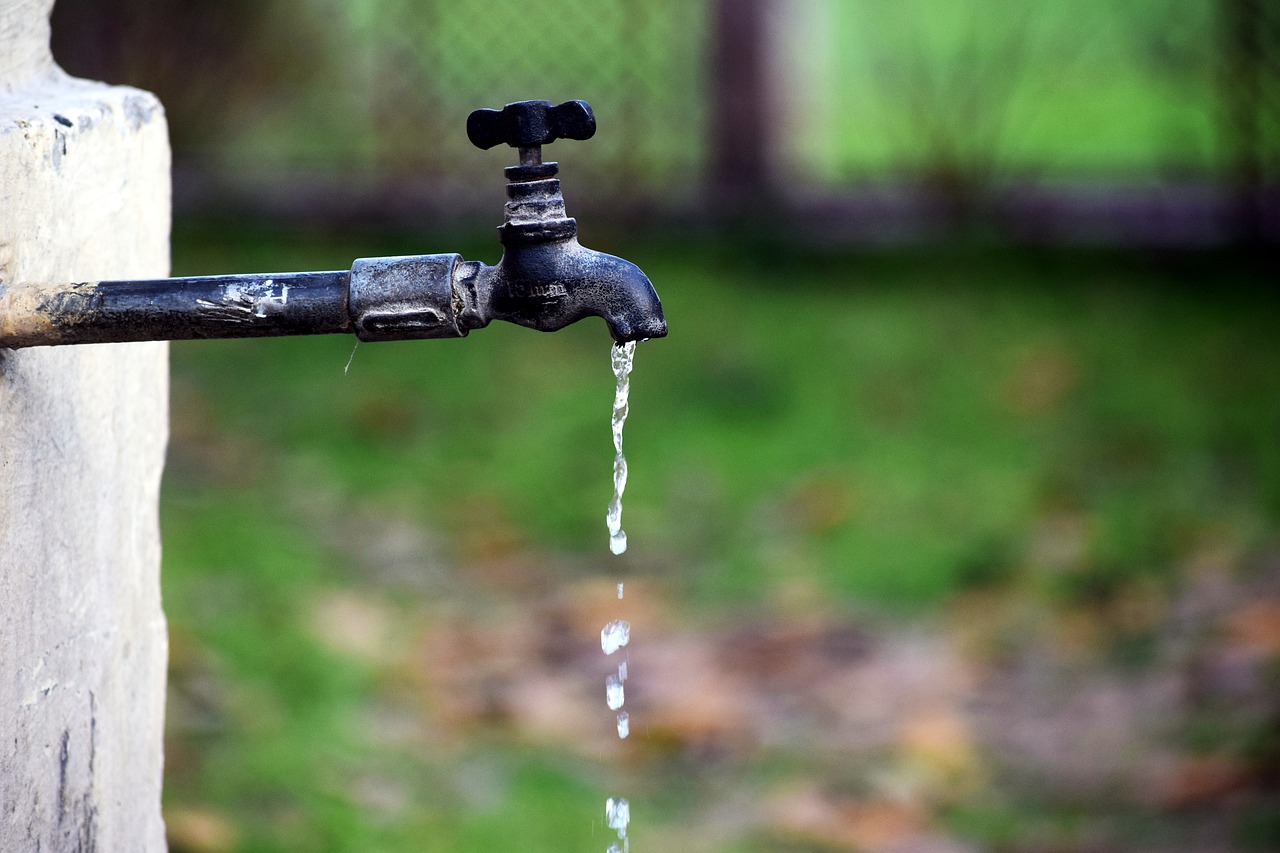
A dripping faucet not only wastes water but can also be annoying. To fix it, turn off the water supply, disassemble the faucet, and replace the worn-out washer or O-ring. Think of it like changing a tire – once you know the steps, it becomes routine. Before you begin to fix a dripping faucet, your first step is to shut off the water supply. Twist the valve under your sink to turn off the water supply. If there aren’t individual shutoff valves under the sink, shut off the water supply for the house. Most compression faucets just need a new washer, which costs about 50 cents and takes less than 10 minutes to replace. The key is having the right size washer – bring the old one to your hardware store for an exact match.
Unclog That Stubborn Sink Drain
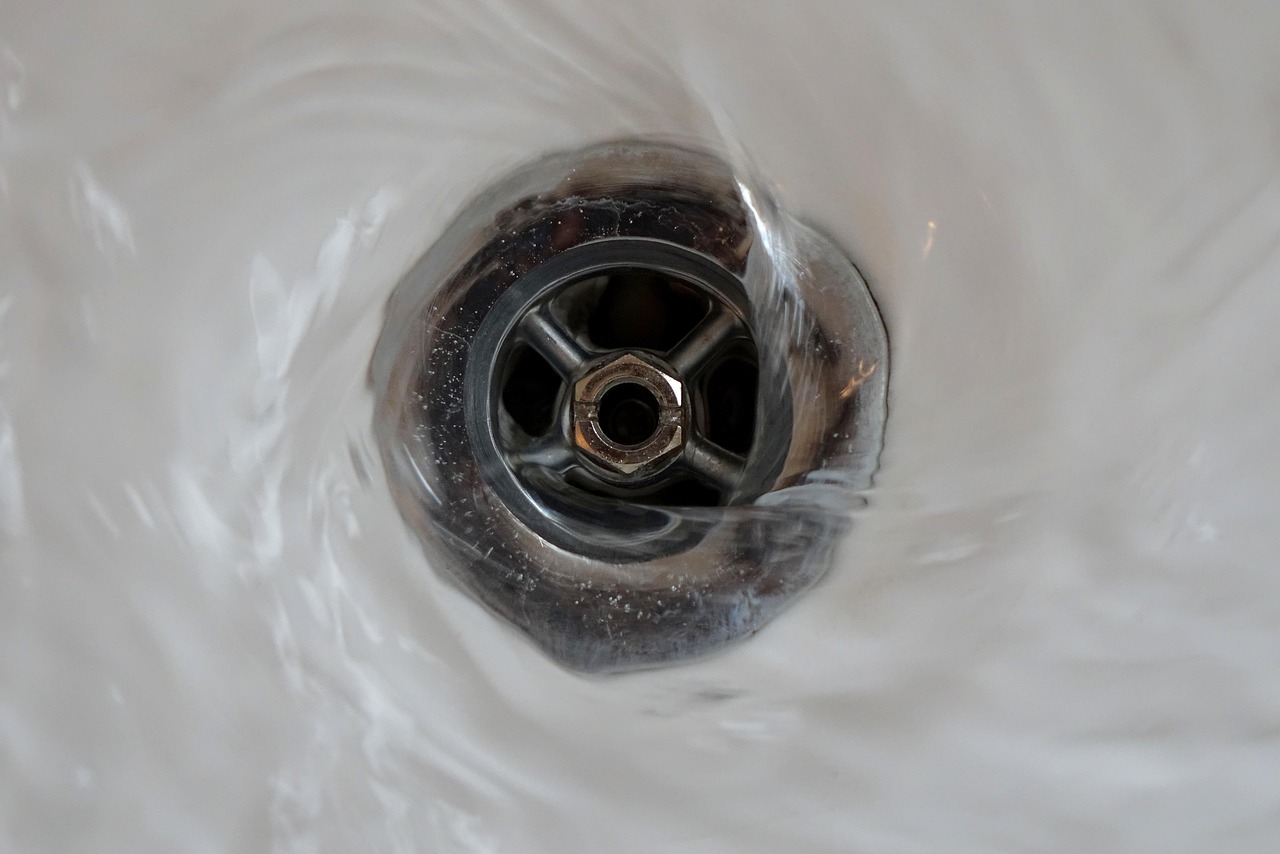
The first thing you can do when you’re experiencing a clogged drain is to simply run hot water (on high pressure) directly into the drain for a good 10-15 minutes. There’s a good chance that the heat, paired with significant water pressure will break up whatever happens to be lodged in the drain. But if that doesn’t work, here’s a trick that’ll surprise you: knowing how to unclog a sink drain using vinegar and baking soda can be a quick and easy solution to your slow drain. Vinegar and baking soda create a natural chemical reaction that clears small clogs. It’s also safe and budget friendly when compared to chemical-based drain openers. Pour a cup of baking soda down the drain, followed by a cup of vinegar, cover it up, wait an hour, then flush with boiling water. It’s like a science experiment that actually saves you money.
Patch Those Unsightly Nail Holes in Walls

Anyone can patch nail holes. It’s a quick and easy way to make your drywall look brand new without calling a professional. Fill each hole with lightweight putty using a spackle knife, then scrape the surplus off the walls. Let the putty dry up, then sand the spot until it’s smooth. Use a primer to paint the refurbished spots. The beauty of this repair is that you probably already have most of the materials lying around. A small tube of spackling compound costs about $3 and can fix dozens of holes. Quick-setting drywall compound lets you finish small repairs and fill deep holes in minutes instead of waiting days for premixed joint compound to dry. The trick is to slightly overfill the hole, then sand it smooth once dry.
Silence That Squeaky Door Hinge
Even though doors in your home may seem innocent, they too can be a nuisance if you don’t occasionally repair and maintain them – the most common problem being squeaks. Firstly, unhinge the door by inserting a small screwdriver under the vertical pins on the hinges and hitting them out with a hammer. Put it aside or let someone hold the door while you wipe the pins with WD-40, alcohol, or oil, and then slip the pins back into the hinges. To ensure long-term lubrication, apply silicone spray on the hinges. But honestly, you don’t always need to remove the entire pin – sometimes a few drops of 3-in-1 oil right on the hinge pin while moving the door back and forth will do the trick. It’s like giving your door hinges a drink of water when they’re thirsty.
Fix a Running Toilet Without a Plumber

A running toilet can increase your water bill. Often, replacing the flapper or adjusting the float valve can solve the issue. Here’s something that’ll shock you: not only can the constant sound of a running toilet be annoying, but it can also mean wasted water. In fact, a running toilet can contribute to about 22 gallons of wasted water every day. Your running toilet can potentially be fixed by adjusting the valve and float. If you pull the float, and it stops the water flow, simply adjust the level of the float so the tank stops filling when the water is about an inch under the top of the overflow tube. Sometimes the chain connecting the flapper to the handle gets kinked – here’s a quick way to avoid a running toilet caused by a kinked toilet chain. Remove the chain from the arm attachment, and slide a plastic straw over the flapper chain, covering about two-thirds of the chain.
Clear Ugly Water Stains from Ceilings

Before you repaint your ceiling to get rid of water stain, try this ingenious fix: Create a mixture of 10% bleach and water. Cover the floors and wall around where you’ll be applying the solution with plastic. Wear a pair of safety goggles. Spray the stain with the solution and wait a day or two. You’ll be surprised at how fast the stain disappears. This trick has saved countless homeowners from expensive painting jobs. Spray the spot with a bleach and water solution (10 percent bleach), and wait a day or two. If it’s an old stain, use a mold and mildew remover from the grocery store. You’d be surprised how often the stain disappears by the next day. It works on both flat and textured ceilings. The key is patience – don’t rush to repaint until you’ve given this method a full 48 hours to work its magic.
Unclog a Toilet with Liquid Soap

If the toilet plunger isn’t helping you unclog the toilet, then pick up liquid dish washing soap from the kitchen and use it instead. Squirt about half a cup of dish soap into the toilet and let it sit for an hour. Revisit the toilet and pour boiling water while flushing it to remove the clog. This method works because the liquid soap reduces friction and will often allow the contents of the bowl to slide on through. It’s like giving your toilet a slippery slide to help things move along. The soap acts as a lubricant while the hot water helps break down whatever’s causing the blockage. Just make sure the water is hot, not boiling – you don’t want to crack your toilet bowl with thermal shock.
Clean Gutters to Prevent Water Damage

Clogged gutters cause water to pool around the house, which results in water leaking into the basement. That can have devastating consequences like rot issues or mold infestation. To prevent such a catastrophe, you should remove all the leaves and debris from the gutters every fall and spring. While this might take slightly longer than 10 minutes depending on your house size, the actual cleaning of each section is lightning fast. Get a ladder that can reach the gutters and call someone to hold it. Find level ground. Climb the ladder and remove the leaves and debris. Think of it as flossing for your house – a little maintenance now prevents major problems later. Even the ladder-averse can clean the gutters twice a year to prevent pests and ice dams.
Tighten Loose Cabinet Doors

Here’s a 10-minute fix for a cabinet door that won’t stay closed. Most cabinet door problems stem from loose hinges or a misaligned magnetic catch. Grab a screwdriver and tighten all the screws on the hinges first – you’d be amazed how often this simple step solves the problem. If the door still won’t stay closed, the magnetic catch might need adjusting. These little components cost about $2 and take just minutes to replace. Sometimes the magnet just needs to be moved closer to the metal plate on the door frame. It’s like adjusting the distance between two magnets – small movements make a big difference in holding power.
Remove Scratches from Wood Furniture
Furniture gets beat up over time, but you don’t have to live with the unsightly scratches. In fact, you can remove years of damage with a simple snack food: walnuts. In which the magic of rubbing walnuts on furniture is proven to be a handy trick for making scratches vanish. The natural oils in walnuts fill in minor scratches and blend with the wood’s existing finish. Simply rub a shelled walnut meat directly on the scratch, following the grain of the wood. The oils penetrate the scratch and darken to match the surrounding wood. It’s like giving your furniture a natural wood stain treatment. For deeper scratches, you might need to repeat the process a few times, but the results will amaze you. This works particularly well on darker woods like walnut, mahogany, or cherry.
Fix Squeaky Floors Under Carpet

To fix a squeaky floor under carpet, locate the floor joists with a stud finder, then drive in a trim head screw through the carpet, pad and subfloor, and right into the floor joist. Be sure the top inch of the screw doesn’t have threads or the subfloor won’t suck down tight to the joist. We like trim screws because screws with larger heads pull down and pucker the carpet. If that happens, back out the screw and drive it back down. Keep adding screws until the squeak stops. The secret is using the right type of screw – those trim head screws are specifically designed to go through carpet without causing damage. Think of it like acupuncture for your floor – you’re