
- Ultimate Guide to Buying Your First Table Saw - June 4, 2025
- The Best Tool Brands – Are You Using the Right One? - May 30, 2025
- How to Build a Fire Pit in Just One Day - May 25, 2025
Imagine standing in your backyard, looking up at a towering tree that’s become a hazard—maybe it’s diseased, leaning dangerously, or simply in the way. The thought of cutting it down can be both intimidating and nerve-racking. Tree cutting isn’t just about grabbing a saw and hacking away. It’s a high-stakes job that demands careful planning, the right tools, and unwavering attention to safety. A single mistake could mean property damage, injury, or worse. That’s why knowing the correct steps, backed by the latest research and safety guidelines, can make all the difference between a smooth operation and a disaster. If you’re ready to tackle this challenge, here’s exactly how to cut a tree the right way—step by step.
Assess the Tree and Surroundings

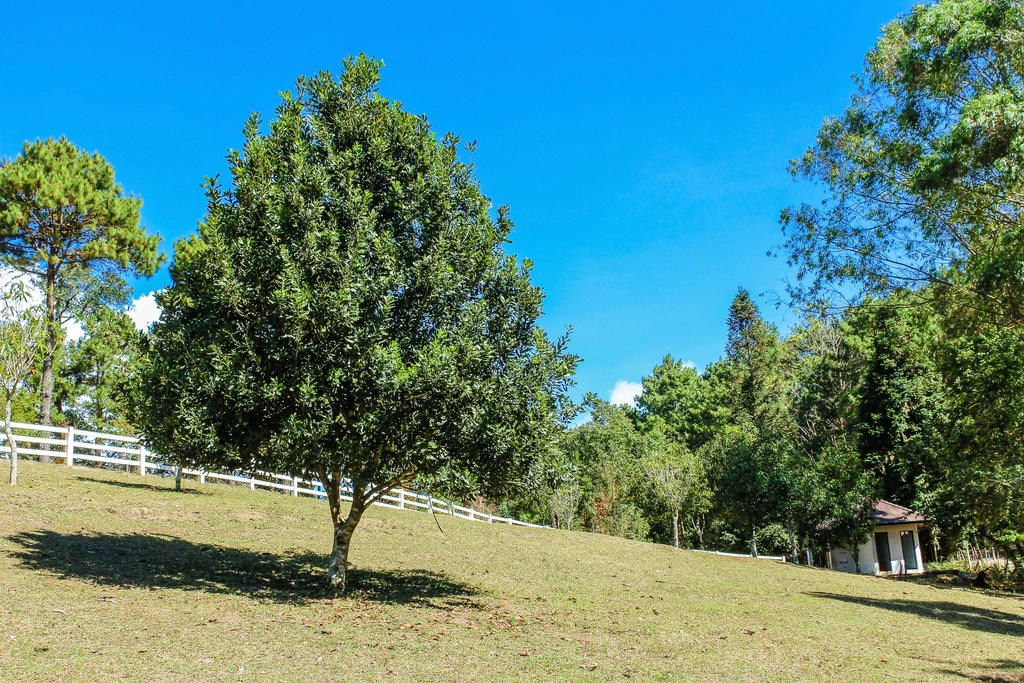
Before you even think about picking up a saw, take a long, hard look at the tree itself and everything around it. Check for any obvious signs of disease, such as mushrooms at the base, dead branches, or cracks in the trunk. Trees that are already compromised can behave unpredictably when cut. Next, scan the area—are there power lines overhead? Is the tree close to your house, fence, or a neighbor’s garage? According to the International Society of Arboriculture, more than 100,000 tree-related injuries occur each year in the U.S., many due to ignoring surroundings. Even a small branch can cause serious damage if it falls on the wrong spot. Don’t forget to look for wildlife—squirrels, nests, and even bees might be hiding up there. Mapping out escape routes is also crucial; you need a clear path to run if things go wrong. This careful assessment is the foundation for safe tree removal.
Gather the Right Tools
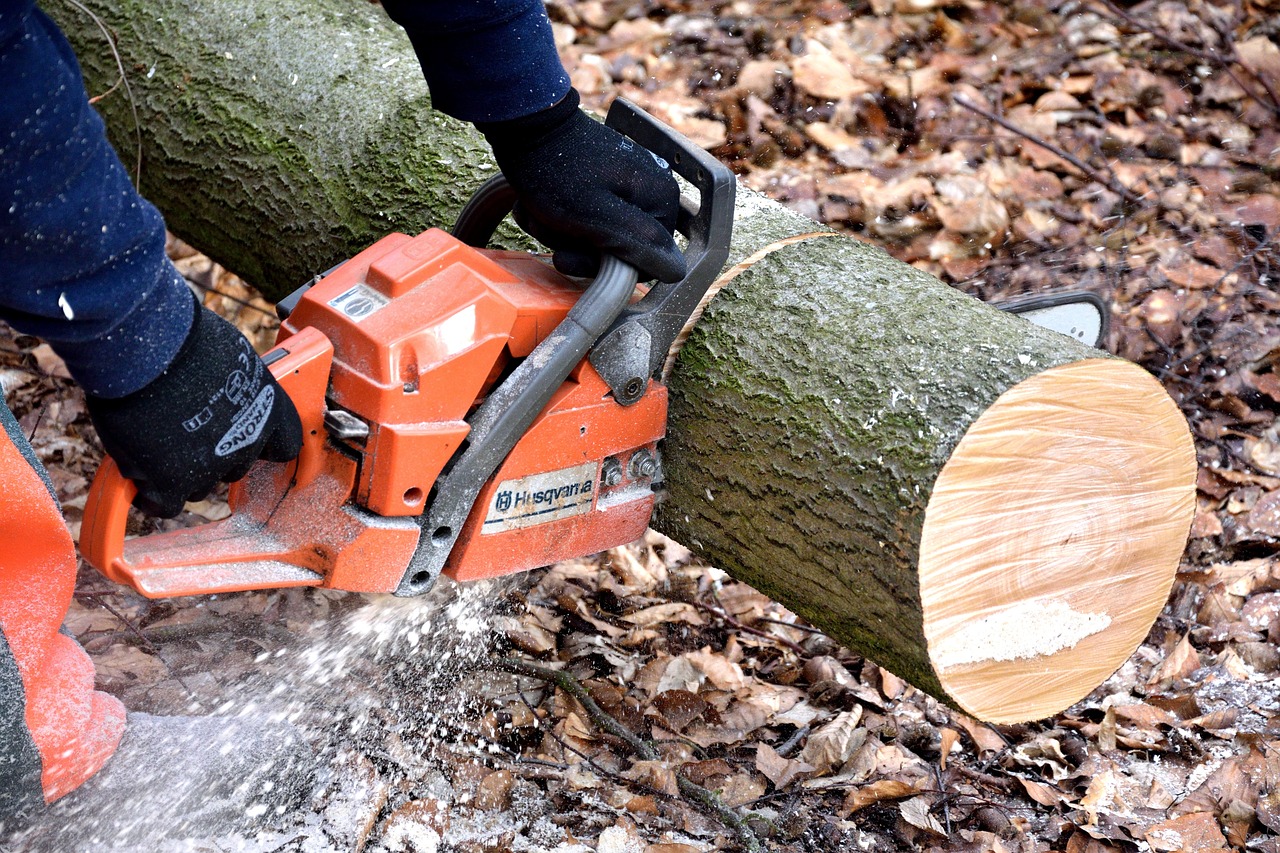
The right equipment can mean the difference between a safe, efficient job and a dangerous mess. Start with a good-quality chainsaw—one that’s sharp, reliable, and appropriate for the tree’s size. For smaller limbs, a sturdy hand saw can work wonders. Safety gear is non-negotiable: a hard hat, safety goggles, heavy-duty gloves, steel-toed boots, and hearing protection are all must-haves. The Occupational Safety and Health Administration (OSHA) reports that injuries can be reduced by up to 60% when proper personal protective equipment (PPE) is used. If the tree is tall, you might also need a sturdy ladder or a safety harness. Keep a first-aid kit nearby, just in case. Rope and wedges are useful for guiding the tree’s fall and preventing your saw from getting pinched. Double-check all your tools before starting—malfunctioning equipment is a top cause of accidents.
Plan Your Cuts

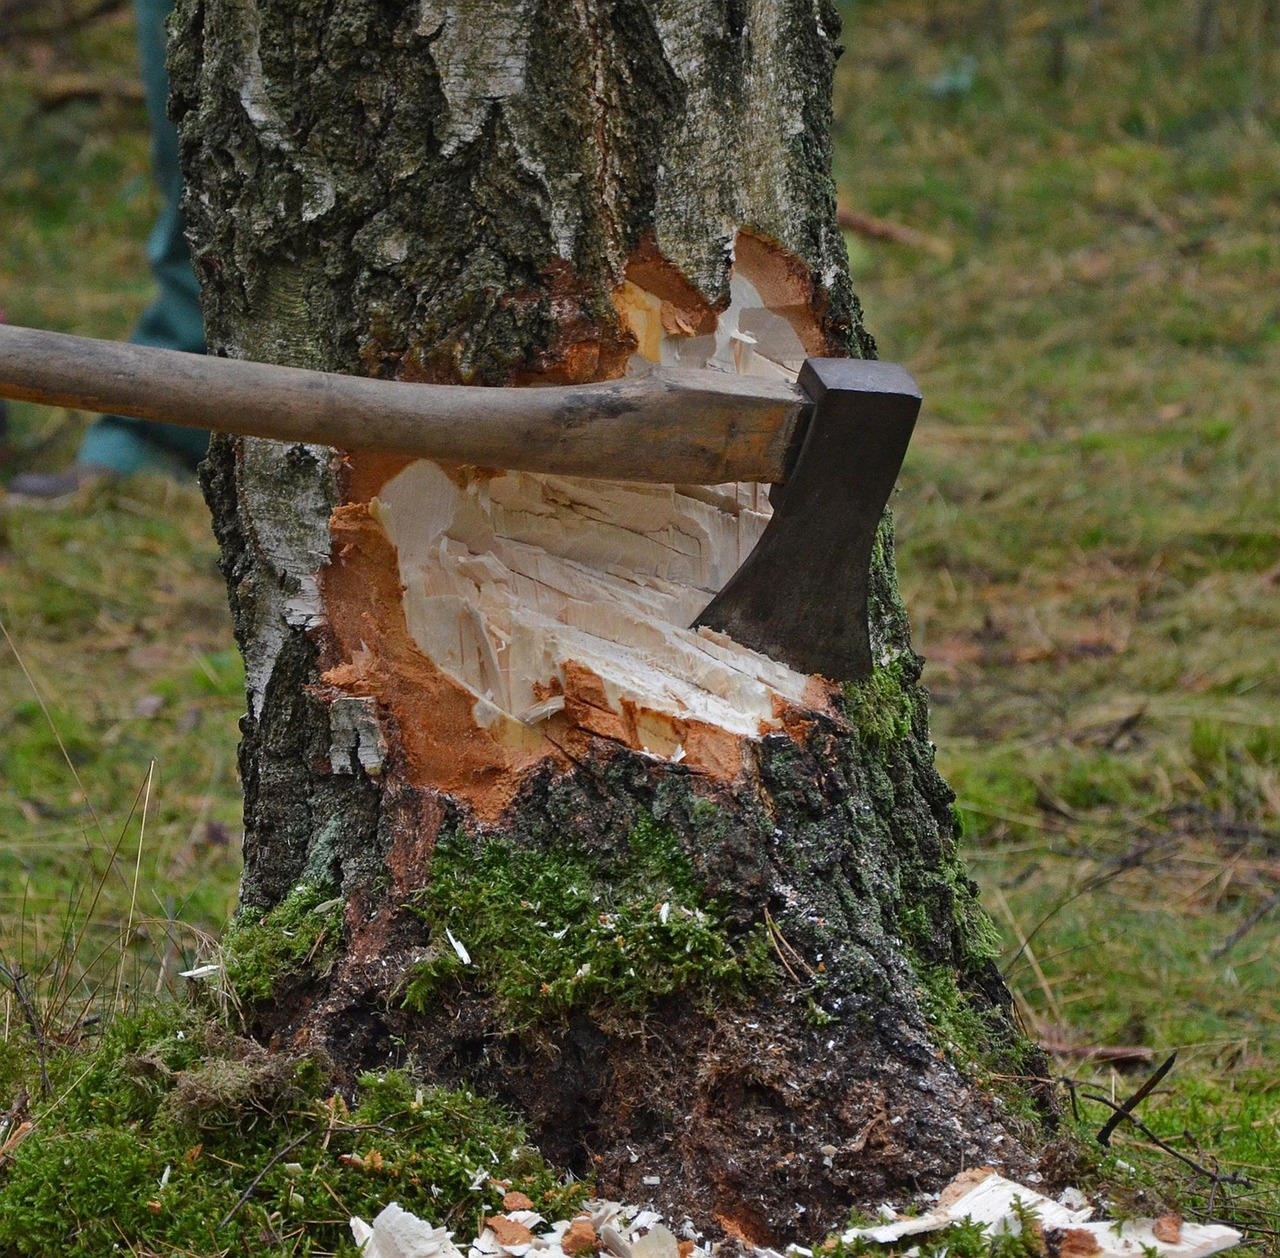
Tree cutting isn’t about brute force; it’s about strategy. Start by visualizing the direction you want the tree to fall, ideally toward an open space. The most reliable method is the notch cut, also known as the directional or face cut. Make a downward cut at about a 45-degree angle on the side facing the target direction, then a horizontal cut that meets the first, forming a wedge. According to the USDA Forest Service, this notch should extend about one-third of the way into the trunk. The notch acts like a steering wheel, guiding the tree as it falls. Take a moment to double-check your escape routes and warn anyone nearby. Planning your cuts isn’t just about safety—it’s about control, precision, and minimizing surprises. Never rush this step; a rushed job can quickly spiral out of control.
Make the Felling Cut
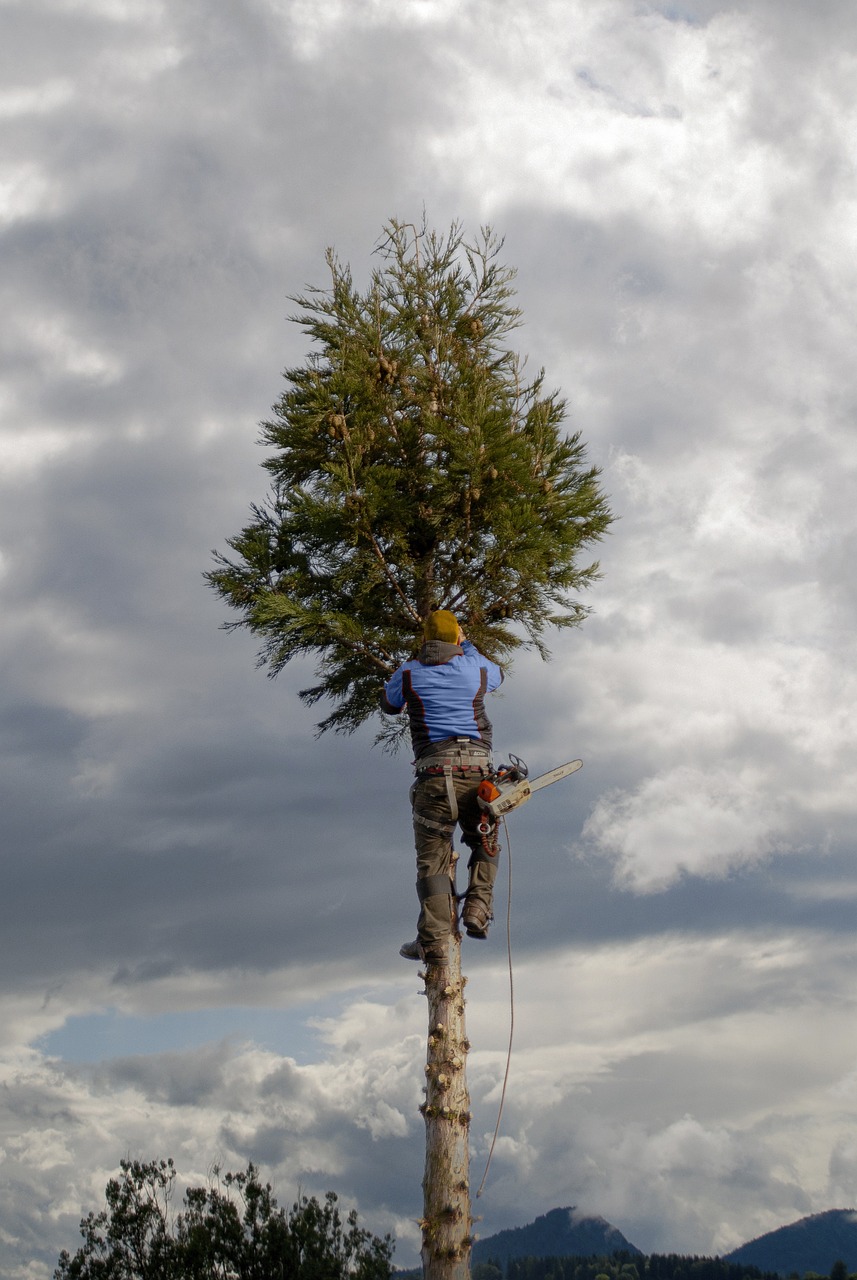
With the notch in place, you’re ready for the felling cut, which determines when and how the tree will fall. Move to the opposite side of the notch and begin your cut slightly above the notch’s bottom. This technique leaves a “hinge,” a strip of uncut wood that helps control the fall. Professional arborists recommend cutting slowly and watching for any movement; trees often start to lean before they fall. According to the National Institute for Occupational Safety and Health (NIOSH), maintaining a distance of at least double the tree’s height during the fall dramatically reduces injury risk. If you hear any cracking or see the tree moving unexpectedly, stop immediately and retreat along your pre-planned escape path. Never stand directly behind the tree—kickbacks and unpredictable falls are real threats. This moment is critical; your focus and timing must be sharp.
Safely Remove the Tree

Once the tree is down, the work isn’t over. Large trunks and heavy branches can still cause injury if not handled with care. Begin by cutting off smaller branches and limbs, working your way from the top down. Use your chainsaw or hand saw to section the trunk into manageable pieces. Always be mindful of the tree’s balance—logs can roll or shift unexpectedly. The Arbor Day Foundation notes that improper handling of felled trees is a common cause of secondary injuries. If the ground is uneven or slippery, take extra precautions. Stack the logs in a safe area, away from paths or play spaces. Make sure to inspect the area for hidden dangers, like nails or wires that could damage your tools or cause injury. This phase is about patience and attention to detail.
Clean Up and Dispose of Debris
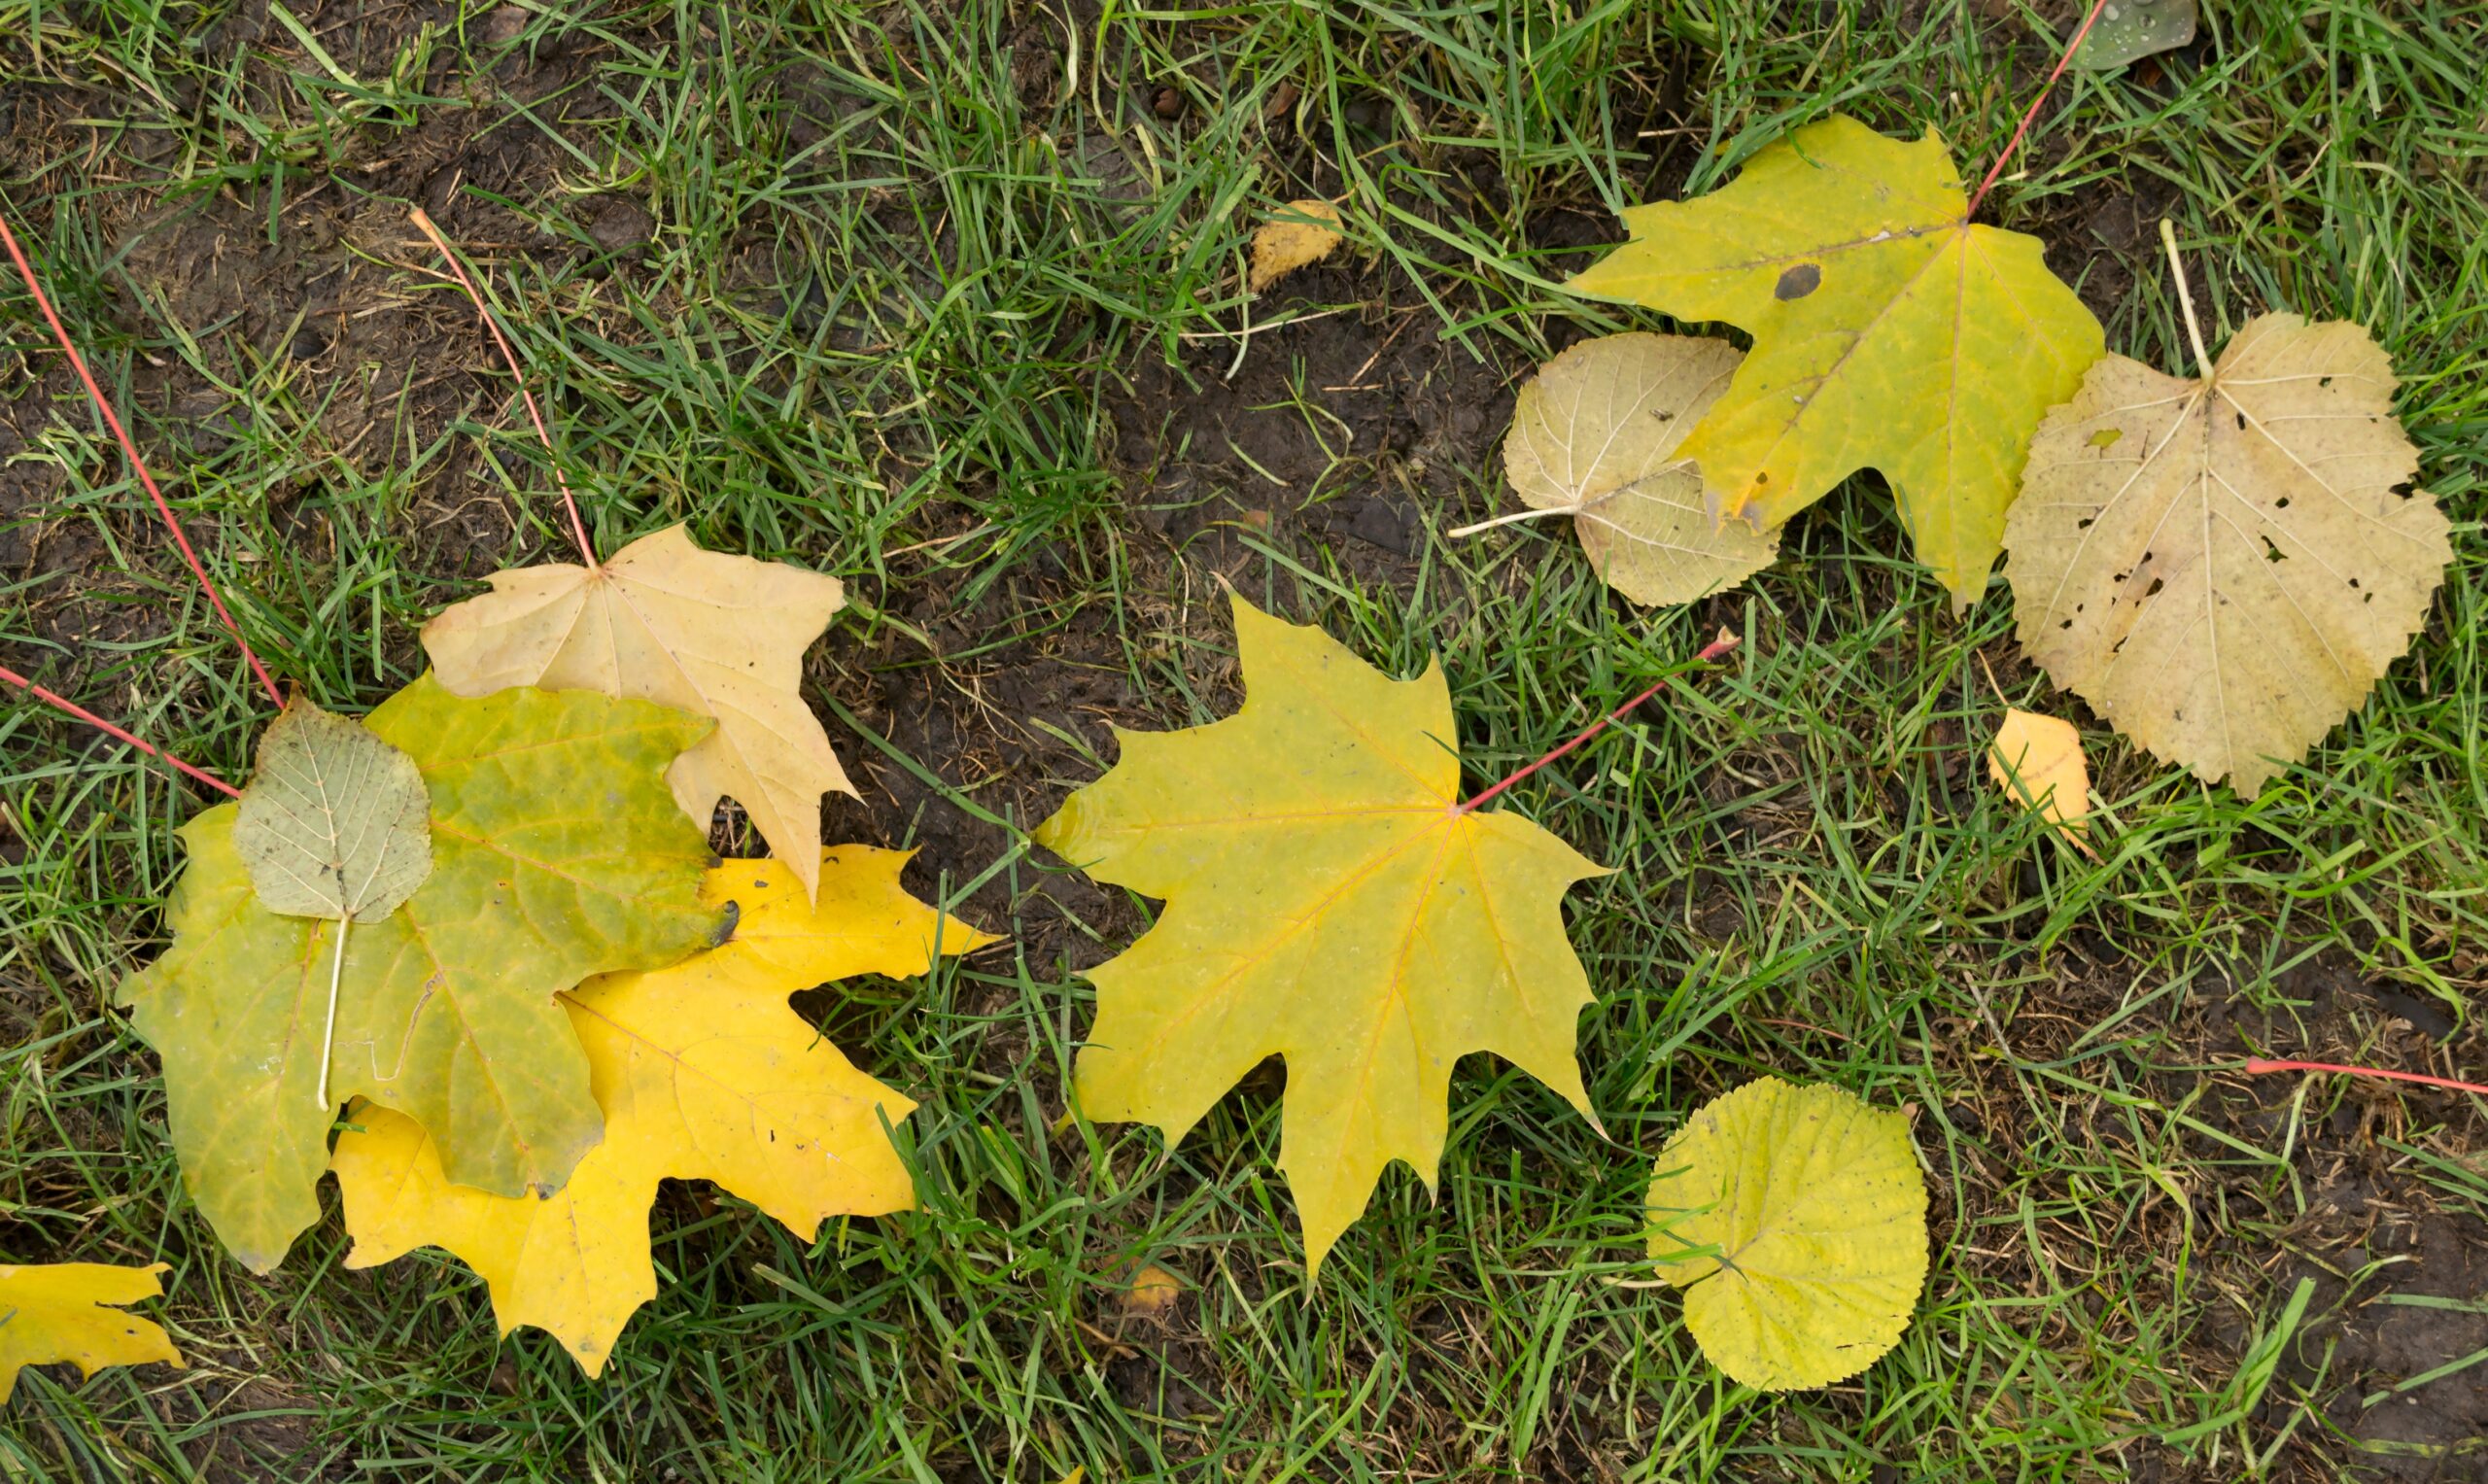
After the tree has been removed, a surprising amount of debris will remain. Branches, twigs, leaves, and sawdust can create trip hazards and make the area unsightly. Start by gathering all the branches and sorting them by size. Larger limbs can be stacked for firewood, while smaller debris can be chipped for mulch. According to the Environmental Protection Agency (EPA), recycling wood waste is far better for the environment than burning or landfilling it. If chipping isn’t an option, check your local guidelines—some cities offer bulk waste pick-up or composting programs. Rake the area thoroughly to collect even the smallest pieces; children and pets are easily injured by leftover splinters. A clean site not only looks better but also ensures that your yard is safe for future use.
Consider Professional Help
Not every tree is a DIY project. If the tree is especially tall, close to power lines, or leaning in a dangerous direction, hiring a professional is often the safest choice. Certified arborists have specialized equipment and training to handle even the most challenging removals. The Tree Care Industry Association states that professional intervention leads to better outcomes and fewer accidents, especially in urban environments. While it may seem more expensive up front, the potential cost of property damage or personal injury from an amateur job can be far higher. Professionals can also help with stump removal and site restoration, making the process smoother from start to finish. If you’re ever in doubt, err on the side of caution.
Follow Local Regulations

Before making a single cut, check your local laws regarding tree removal. Many municipalities require permits for cutting down trees, especially if they’re old, large, or part of a protected species. The U.S. Forest Service highlights that ignoring these regulations can result in hefty fines or even legal action. Some areas have specific guidelines about how and when trees can be cut, especially near water sources or conservation areas. If the tree is on a property line, you may need your neighbor’s permission. Always research these rules thoroughly; local government websites typically provide up-to-date information. Adhering to regulations not only keeps you out of trouble but also helps protect local ecosystems and urban forests.
Monitor Site After Removal
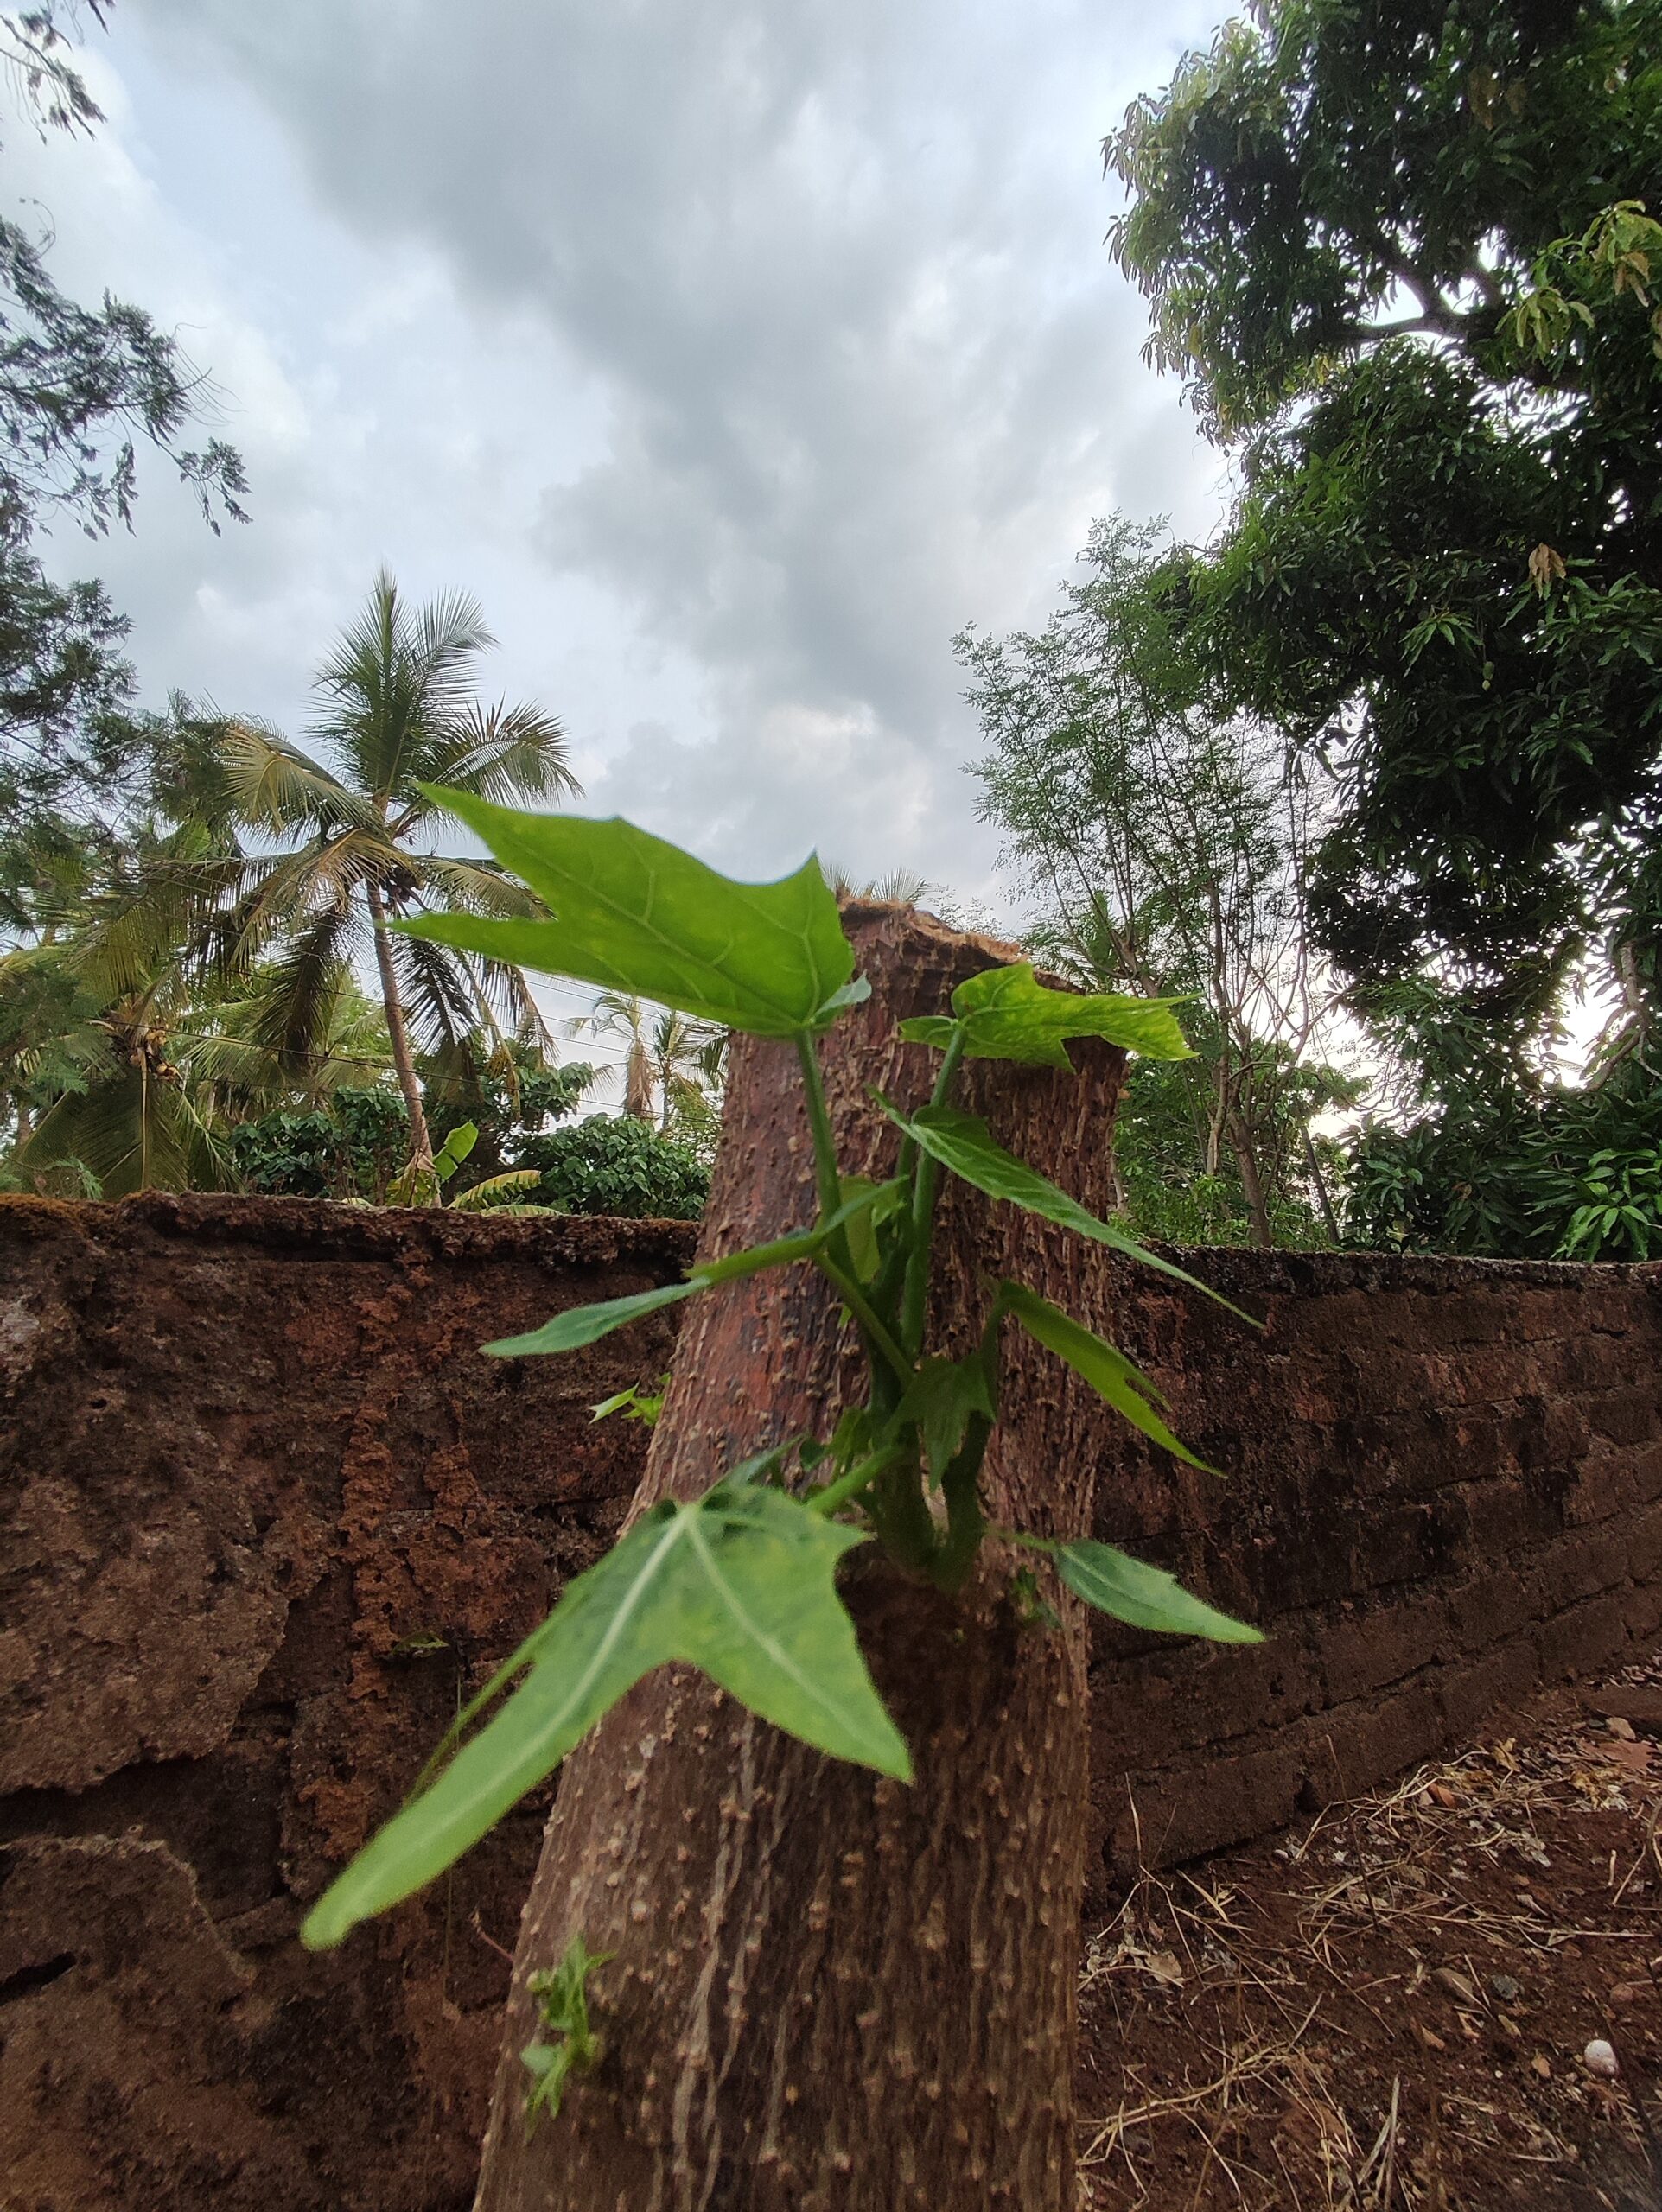
Once the tree and debris are cleared, it’s important to monitor the removal site for several weeks. Roots and stumps can sometimes sprout new growth, while leftover wood chips may attract pests like termites or carpenter ants. Regularly inspect the area for signs of regrowth or infestation. If you notice sinking or uneven ground, fill it in with topsoil and reseed if needed. Keeping an eye on the site helps prevent future problems, such as trip hazards or invasive weeds. According to recent studies, proper post-removal care also supports healthier soil, reducing erosion and promoting new plant growth. A little vigilance goes a long way in maintaining a safe and attractive yard.
Replant or Restore the Area

After removing a tree, you’re left with a blank canvas. Consider planting a new tree or restoring the area with grass, flowers, or shrubs. Replanting helps offset the loss of shade, improves air quality, and supports local wildlife. According to the Arbor Day Foundation, replacing felled trees with new ones is a key part of sustainable landscaping. Choose native species for better growth and lower maintenance. If you decide against replanting, use mulch or ground cover to prevent soil erosion. Restoring the area thoughtfully ensures your yard remains vibrant and healthy for years to come.