
- Ultimate Guide to Buying Your First Table Saw - June 4, 2025
- The Best Tool Brands – Are You Using the Right One? - May 30, 2025
- How to Build a Fire Pit in Just One Day - May 25, 2025
Drilling into brick sounds intimidating, doesn’t it? The thought of chipping your home’s sturdy wall, sending cracks spider-webbing across the surface, or creating a permanent eyesore is enough to make even the most confident DIYer hesitate. Yet, whether you want to hang a family portrait, mount new shelves, or install a security camera, sometimes drilling into brick is simply unavoidable. The good news: you can do it safely and neatly—no crumbling bricks, no regrets—by following some simple but crucial steps. Here’s what you need to know to make this tough job a clean success.
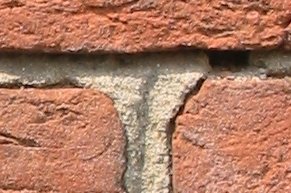
Understanding Your Brick Wall

Before you even pick up a drill, take a close look at your wall. Bricks aren’t all made equal. Fired clay bricks, which are common in older homes, are denser and harder, while modern concrete bricks tend to be a bit softer and more porous. These differences matter because they affect how easily you can drill into them and how much risk you face for cracks or chips. The Brick Industry Association points out that the density of your brick will determine the pressure and type of drill bit you need. Knowing your wall’s makeup also helps you predict the kind of anchor you’ll need for a secure hold. If you’re not sure which type you have, try tapping on the wall—a sharp, high-pitched sound often means fired clay, while a duller sound could indicate concrete. Getting familiar with your wall is the first step to avoiding costly mistakes.
Choosing the Right Tools
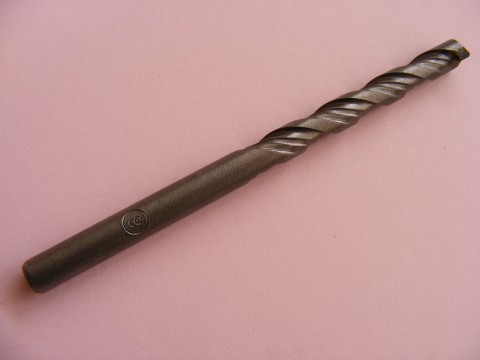
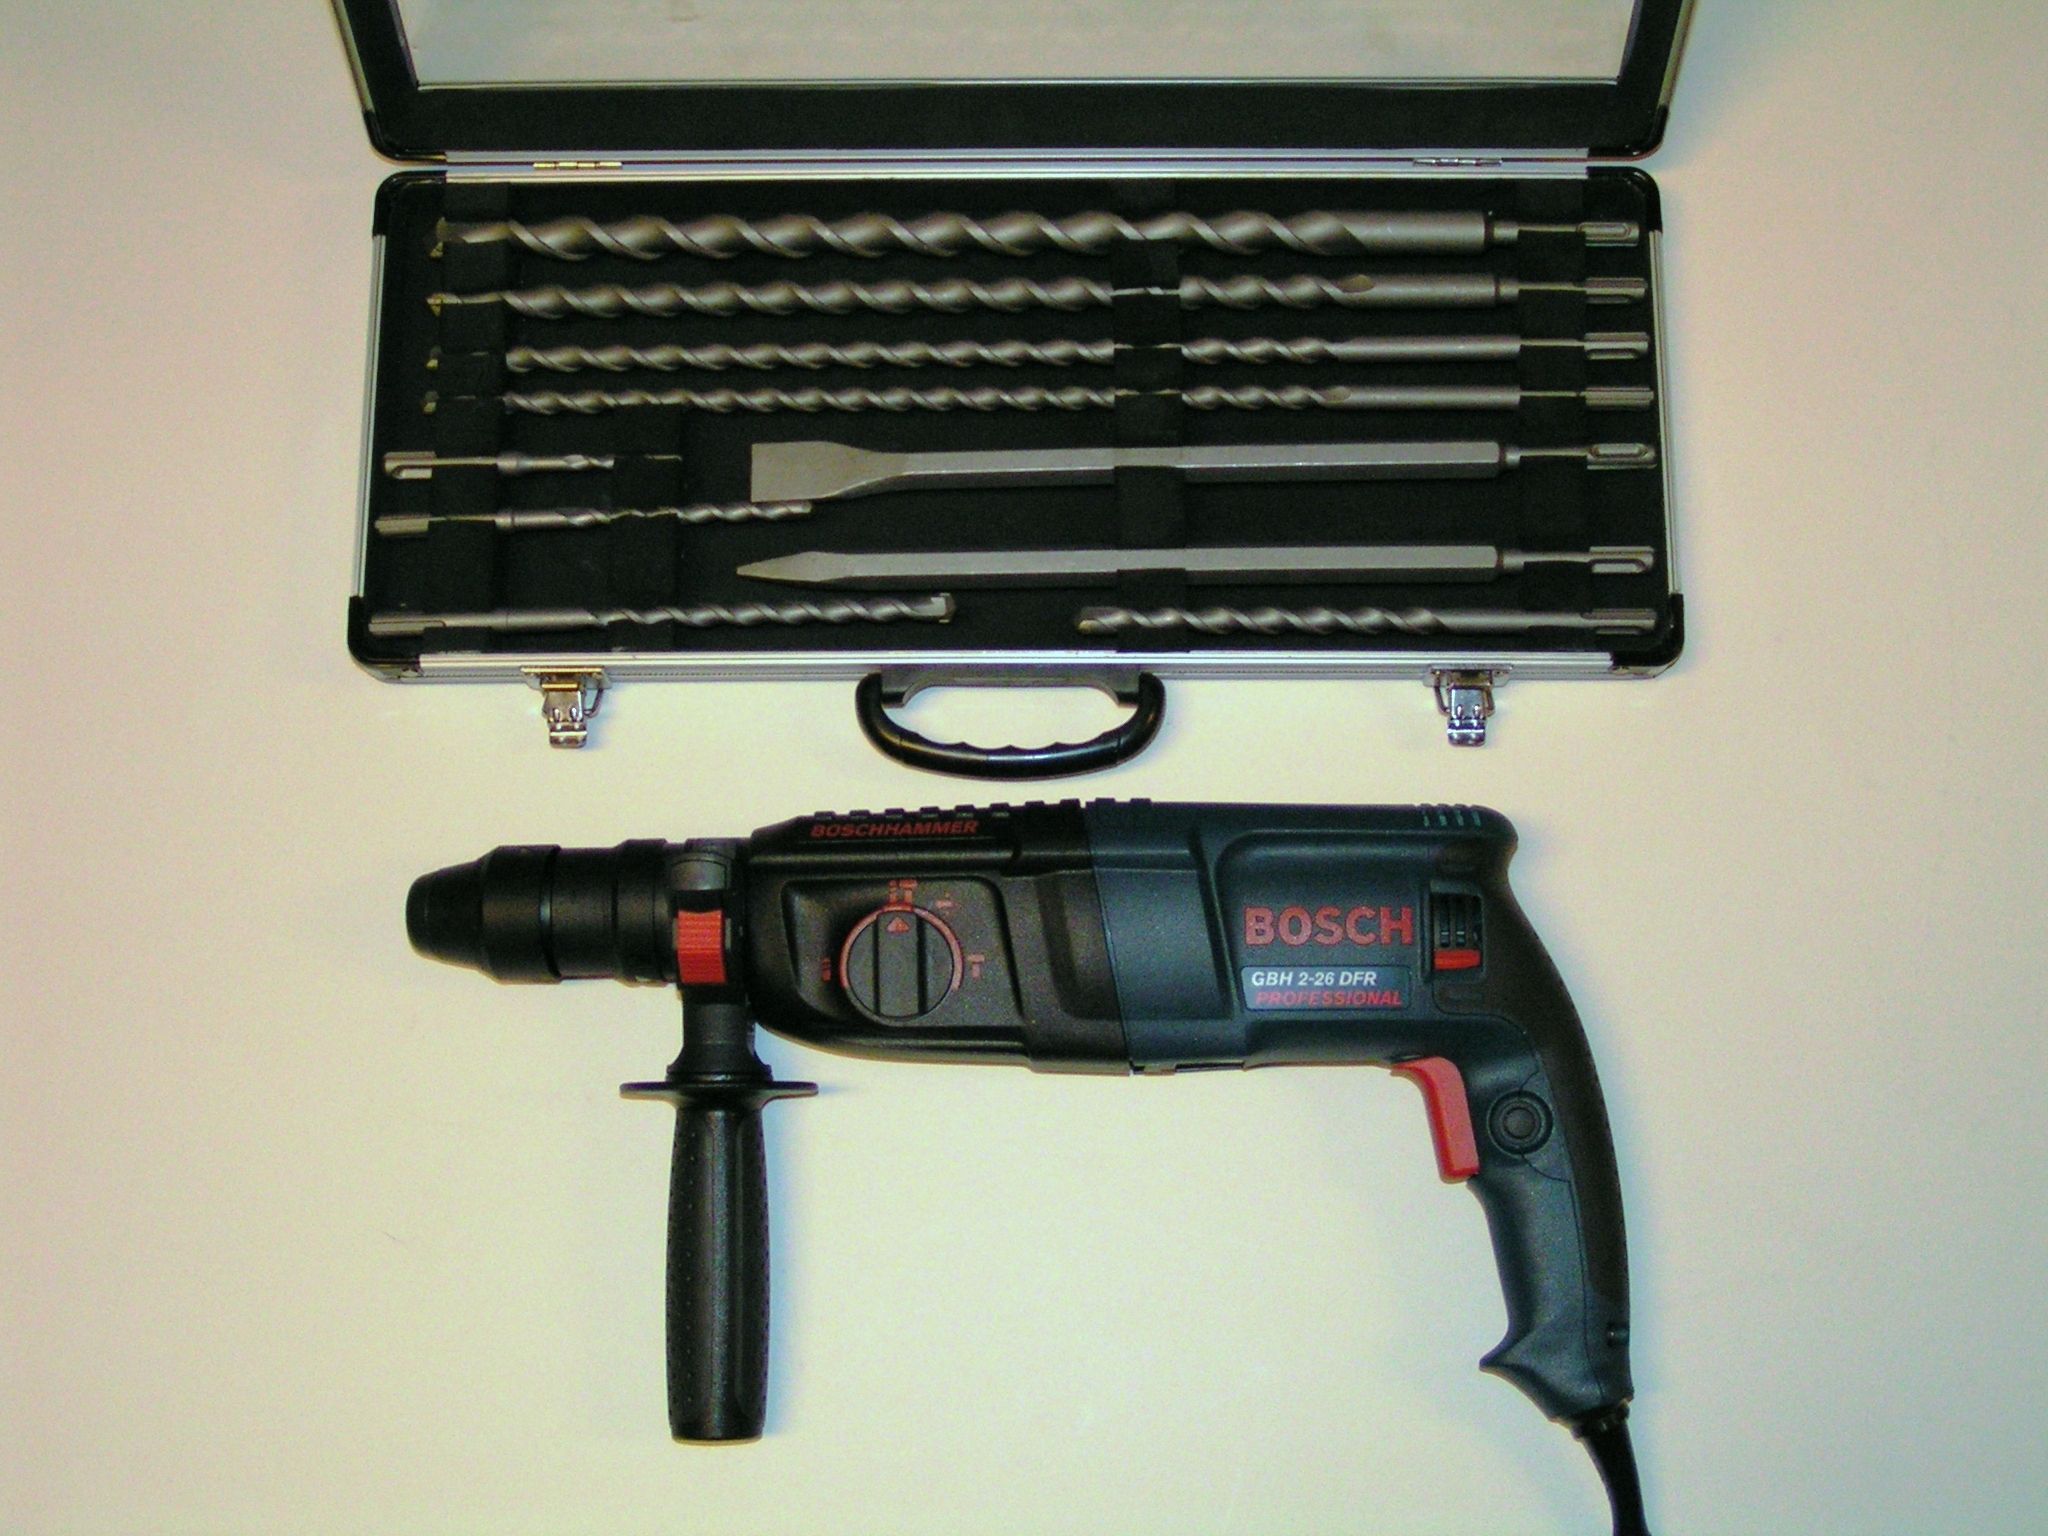
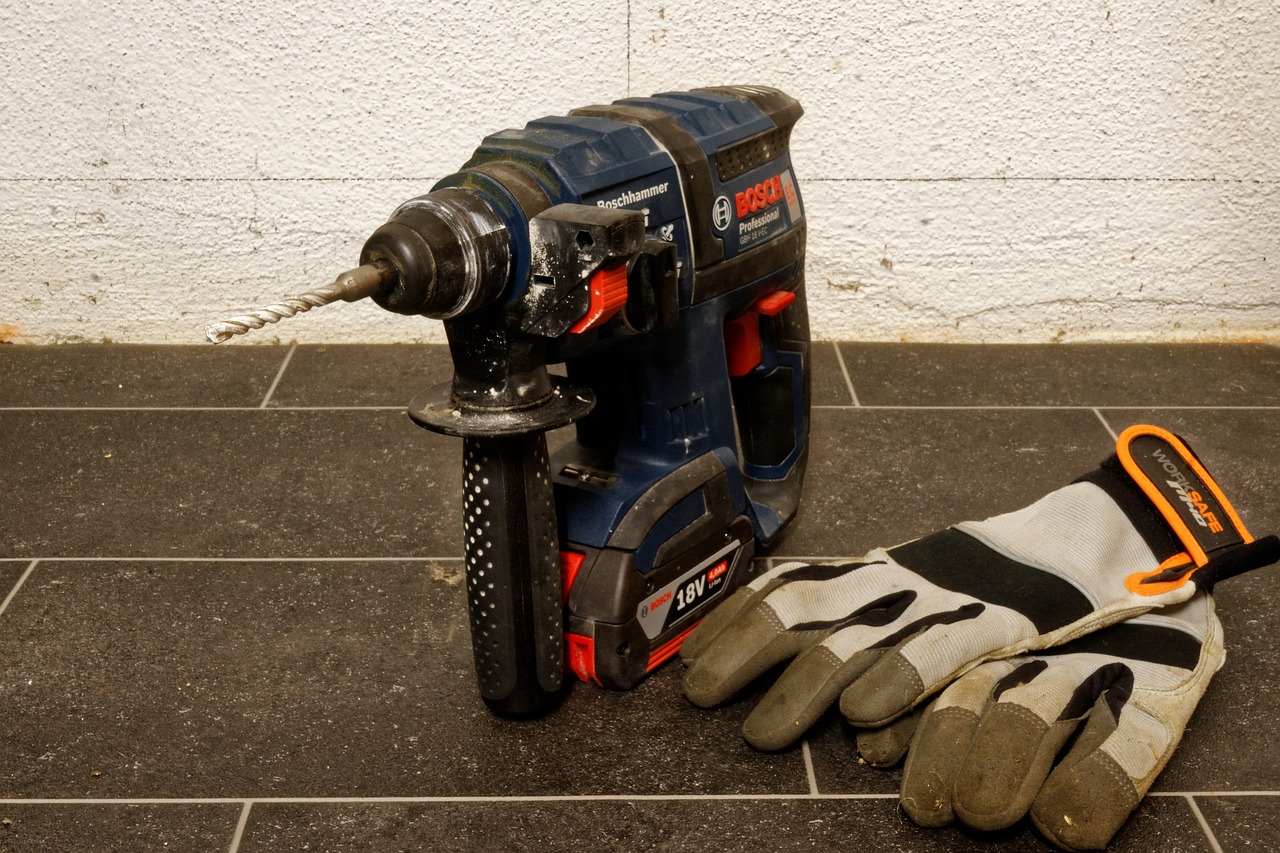
The right tools can make the difference between a clean, professional-looking hole and a disaster. For brick, a standard drill simply won’t cut it—you need a hammer drill or rotary hammer drill, which uses a pounding action to help the bit break through the tough surface. The Home Depot recommends a carbide-tipped masonry drill bit, known for its ability to withstand the abrasion of brick or concrete. Masonry bits are designed to chip away at the hard surface without overheating or snapping. It’s also wise to have a depth stop or some tape to mark how deep you want to drill. Using the right equipment not only makes the job easier but also drastically reduces your chances of damaging the wall.
Preparing the Area

Preparation is key to a clean and stress-free drilling job. Before you plug in the drill, move any furniture, decorations, or obstacles away from the work area. Drilling into brick creates a surprising amount of dust, so laying down a drop cloth or old sheet can save you from a tough cleanup. For your safety, always wear protective goggles and a dust mask—tiny brick particles can cause real harm if they get into your eyes or lungs. Carefully measure and mark the exact spot you want to drill, using a pencil or masking tape for accuracy. Take the time to check that your mark is level, especially if you’re drilling multiple holes for a shelf or bracket. Skipping these steps can easily result in crooked holes or unnecessary patchwork later.
The Right Drilling Technique

Once your area is ready and your tools are in hand, it’s time to drill—but not so fast! Start with a slow speed and light pressure to create a small pilot hole. This helps the larger bit stay in place and reduces the risk of the drill slipping off the hard, uneven brick surface. As you drill, gradually increase the speed but don’t force the bit; let the drill’s hammer action do the work. Applying too much pressure can cause the bit to overheat or, worse, crack the brick. Experts from DIY Network recommend withdrawing the bit every few seconds to clear out dust and prevent clogging. This keeps your hole precise and your bit sharp, making the whole process smoother and safer.
Managing Depth and Anchoring Securely

Drilling too deep or too shallow can spell trouble for your project. For most wall anchors, a depth of 1.5 to 2 inches is enough to hold shelves, frames, or hooks securely. Using a depth stop or wrapping tape around your drill bit at the right measurement can help you avoid going too far. Once the hole is drilled, gently blow out any remaining dust before inserting the anchor. If you skip this step, the anchor might not grip properly, and your installation could fail. Push the anchor in until it’s flush with the wall, then drive in your screw or hook. This step is critical for a long-lasting, safe installation—no wobbly shelves or falling fixtures.
Cleaning Up After Drilling

Brick dust is notorious for getting everywhere. After drilling, take a few moments to clean up thoroughly. Use a vacuum cleaner with a hose attachment to suck up loose dust from the hole and surrounding area. Wipe down the wall with a damp cloth to catch any remaining residue. If you notice any rough or jagged edges around your hole, a small round file can smooth them out and give your project a more professional look. Leftover dust not only looks messy but can also interfere with paint, adhesives, or further work down the road. A spotless finish makes your hard work shine.
Common Mistakes to Avoid

Drilling into brick isn’t foolproof, and some common pitfalls can turn a simple job into a headache. One of the biggest errors is using a regular wood or metal drill bit—these are likely to burn out or snap, leaving you with a half-finished hole and a stuck bit. Applying too much pressure is another frequent mistake; it can cause the brick to crack, especially near the edges or corners. Failing to clear the dust from the hole can leave anchors unstable, making whatever you install unreliable. Lastly, drilling too close to mortar joints can weaken the wall’s structure. Steering clear of these mistakes keeps your wall strong and your project looking sharp.
Drilling in Mortar vs. Brick
A common question is whether to drill into the brick itself or the mortar between bricks. Mortar is softer and easier to drill, but it generally isn’t as strong or durable as brick. For hanging heavy items, going into the brick is usually the best choice. However, for lighter objects, mortar can be a safe and less risky option since it’s easier to patch if you ever need to move your fixture. The Brick Industry Association suggests that for structural loads, brick is the way to go. Assess your needs and choose your drilling spot accordingly.
When to Call a Professional
Sometimes, drilling into brick calls for more expertise than a DIY approach allows. If you’re dealing with historic masonry, load-bearing walls, or need to make multiple large holes, it’s smart to consult a professional. They have specialized tools like rotary hammers with dust extraction and the experience to avoid hidden dangers such as electrical wiring or plumbing inside walls. Professionals can also help with more complicated installations, like heavy shelves or outdoor security systems. Knowing your limits can save you from costly repairs and ensure your project is up to code.
Latest Trends and Safety Innovations
Recent years have seen a surge in new tools and safety gear for homeowners tackling tough jobs like drilling into brick. Dust extraction systems now attach directly to many modern drills, greatly reducing airborne particles. Some rotary hammer drills even feature vibration reduction technology, making them easier and safer to use for longer periods. Smart wall scanners are also becoming popular—they help you avoid hidden pipes or wires before you drill, reducing the risk of accidents. Staying updated with these innovations can make DIY projects safer, cleaner, and more enjoyable for everyone.