
- Ultimate Guide to Buying Your First Table Saw - June 4, 2025
- The Best Tool Brands – Are You Using the Right One? - May 30, 2025
- How to Build a Fire Pit in Just One Day - May 25, 2025
The Dream: Can You Really Build a Chair in a Single Day?

Imagine waking up with nothing but a pile of wood and going to bed with a sturdy, beautiful chair under your roof. Sounds impossible, right? But the truth is, with the right plan and a dash of determination, building a chair from scratch in just one day is absolutely within reach. The process is intense and, at times, a little nerve-wracking—especially when you hear that first board split or when the screws just won’t sink straight. However, the sense of pride that comes from sitting on something you made with your own hands is electric. This journey is about more than just furniture—it’s about creativity, perseverance, and the thrill of seeing raw materials transform before your eyes. For anyone who has ever doubted their DIY skills, this is the challenge that will change your mind forever. Are you ready to see how one ordinary day can make you a builder?
Picking the Perfect Wood: The Foundation of Success

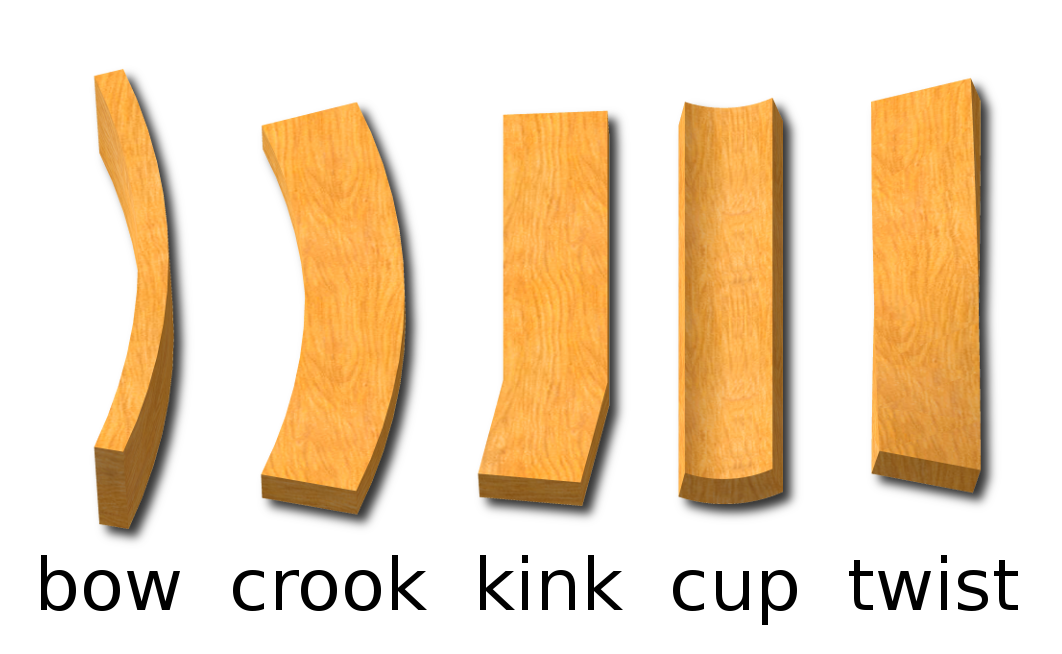
The heart of any chair is the wood you choose. Hardwoods like oak, maple, and walnut are known for their strength and durability—qualities that make them favorites for furniture makers everywhere. According to the Wood Database, oak remains one of the most popular choices because it resists dents and scratches, ensuring your chair will last for years. For those watching their budget, pine is a softer, more affordable option, though it does show wear more quickly. When you’re at the lumberyard, look for boards that are straight and free of knots or cracks, as imperfections can weaken your chair. The tactile feel of solid wood, its grain, and even the scent can inspire you during the build. Remember, the materials you select are the backbone of your project—so choose wisely, and your chair will reward you with decades of loyal service.
Visualizing Your Vision: Sketching and Planning
Before a single saw blade meets wood, it’s crucial to know exactly what you’re building. Take out a notepad and sketch your chair from different angles. Think about the height of the seat—most comfortable chairs are about 18 inches high, according to ergonomic recommendations from the American National Standards Institute (ANSI). Consider the width, depth, and backrest angle to match your comfort needs. Using free online design tools or even browsing Pinterest can spark ideas and help prevent mistakes before they happen. Don’t be afraid to get creative: maybe you want a rounded back, extra-wide arms, or a special pattern in the slats. Having a solid plan is like having a map for a road trip—it keeps you on track and helps you avoid dead ends. This step is as much about dreaming as it is about planning, so let your creativity run wild.
Gathering Your Tools: The DIY Arsenal

No craftsman succeeds without the right tools. For chair building, you’ll need a saw (circular or miter), a power drill with bits, a sander, wood glue, clamps, a measuring tape, and a square for precise angles. Safety is non-negotiable—always use goggles and gloves. The DIY Network recommends beginner sets that bundle most essential tools, and it’s worth the investment if you plan to tackle more projects in the future. Don’t overlook little helpers like pencils for marking cuts, and a dust mask for sanding, as fine particles can be hazardous. If you’re missing something, hardware stores often offer tool rentals, making it easy to get exactly what you need for just one day. The right tools don’t just make the job easier—they make it safer and more fun, turning daunting tasks into manageable steps.
Measuring and Cutting: Where Precision Meets Nerves

With your design in hand and tools ready, it’s time for the real work to begin. Double-check every measurement—then check it again. As the old saying goes, “Measure twice, cut once.” For the seat, cut a board to your chosen width and depth. Next, move on to the legs, which should be equal in length to avoid a wobbly chair. According to ANSI, seat height and backrest angles are key for comfort, so be meticulous. Cutting wood can be intimidating at first, especially when the saw roars to life and sawdust flies. But as each piece takes shape, you’ll feel your confidence grow. Label your pieces with pencil marks so nothing gets mixed up. Even if you make a mistake, don’t panic—small errors can often be sanded down or filled with wood putty. This step is a crash course in both patience and precision.
Assembly Time: Bringing It All Together

Assembling the chair is where your vision starts to become reality. Start by attaching the legs to the seat using screws and wood glue for extra strength. Clamps are your best friends here, holding everything tight while the glue dries. Next, add the backrest, making sure it’s at a comfortable angle—leaning back just enough, but not too far. As you put in the screws, listen for that satisfying crunch as the wood binds together. The process can be a little stressful, especially if parts don’t line up perfectly, but take your time. If things feel off, don’t hesitate to loosen screws and adjust. According to the National Institute of Standards and Technology (NIST), structural integrity is key, so check that everything feels solid before moving on. This stage is where your chair truly comes alive, transforming from a pile of planks into something recognizable and useful.
Smoothing the Edges: Sanding and Detailing

No one wants to sit on a chair with splinters! Sanding is the secret to a silky-smooth finish. Begin with a rough grit to knock down any sharp corners or uneven joints, then move to finer grits for a baby-soft touch. Pay special attention to the seat and armrests, since that’s where skin will make contact. According to the Woodworkers Guild of America, sanding not only improves comfort but also prepares the surface for staining or painting. Use a tack cloth to wipe away dust before finishing. If you want to get fancy, you can round the edges or carve small details for a personalized look. Sanding is a meditative step—repetitive, yes, but deeply satisfying as the wood transforms under your hands. The difference between a rough build and a professional-looking chair is often just a few extra minutes with sandpaper.
The Final Flourish: Painting, Staining, or Varnishing

A finish does more than make your chair look good—it protects the wood from spills, scratches, and daily wear. Stains bring out the natural beauty of the grain, while paint can add a burst of color to match your room. Varnish creates a tough, clear coat that resists moisture and UV rays. The Woodworkers Guild of America suggests applying finish with a brush or cloth, using long, even strokes. Be patient and let each coat dry fully before adding another—rushing can cause drips or sticky spots. If you want a vintage look, try distressing your chair with sandpaper after painting. The finish is your chair’s suit of armor, and it’s the detail that will catch everyone’s eye when they walk into the room.
Testing and Troubleshooting: Making Sure It’s Safe

Before you declare your chair finished, it’s time for the ultimate test: sitting down. Gingerly place your weight and rock back and forth—does anything wobble? If so, check the joints and tighten any loose screws. According to NIST research, stability testing is an essential step in furniture making, as it can prevent accidents and ensure a long lifespan. Don’t be afraid to ask a friend or family member to test it too, as a second opinion can spot issues you might miss. If the chair creaks or shifts, add extra wood glue or insert dowels for reinforcement. Testing is a moment of truth, when all your hard work is put to the test. It’s always better to fix problems now than after the chair is in daily use.
Pride of Ownership: The Joy of a Handmade Chair

Looking at your finished chair, it’s hard not to feel a rush of pride. This isn’t just a piece of furniture—it’s a personal triumph, a proof that you can dream big and make it real. Every knot, every brushstroke, and even every tiny imperfection tells the story of your day. Building a chair from scratch is more than a practical task; it’s a chance to slow down, focus, and create something lasting. The skills you’ve gained—measuring, cutting, problem-solving—can be used for future projects, big or small. Whether you keep your chair, gift it to someone special, or show it off online, it’s a reminder of what you can accomplish with a little grit and imagination.